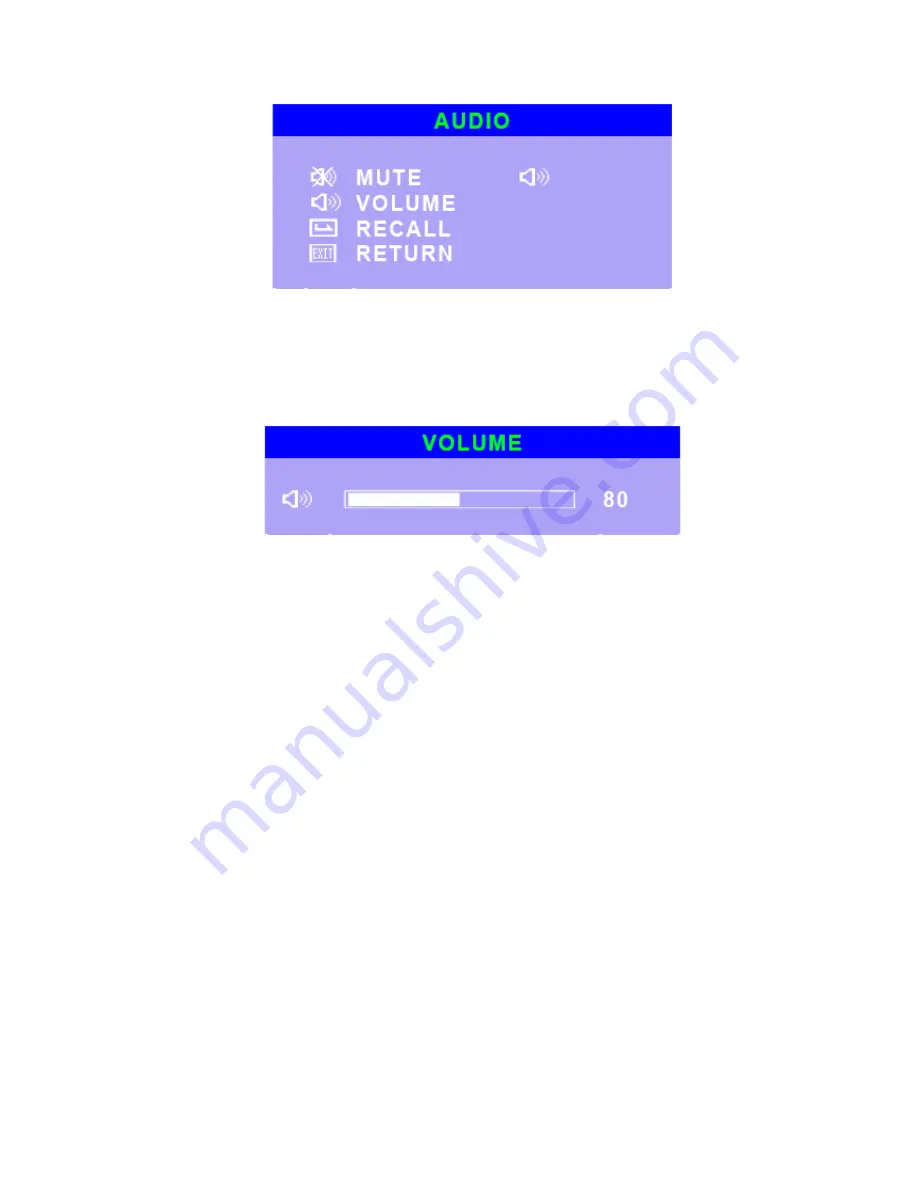
EBN Technology TM 120 Скачать руководство пользователя страница 26


pic22 


i1. MUTE   

Select MUTE function, which is switching to mute mode of audio.   

Switch back normal mode by push MENU key again.   


i2. VOLUME   


pic23  

i3.RECALL  

Select RECAL function, which is recalling the value for the MUTE and 
VOLUME.  


i4. RETURN   

Select RETURN function, return from DISPLAY menu to MAIN MENU.   


j. Hot Key   


j1. Directly press the “ Adj +” or “UP” key to switch the mode of audio mute.   
j2. Directly press the “ Adj -” or “DOWN ” key to adjust the volume of audio output.   

Содержание TM 120

Страница 1: ...TM Series Quick Guide...

Страница 2: ...packing Touch monitor 2 2 Product Overview 2 3 Main Unit 2 4 Rear View 2 5 Internal layout 2 6 MSR Installation 2 7 Customer Display Installation Chapter 3 Driver Installation 3 1 Installing the touch...

Страница 3: ...XGA SVAGA VGA VESA Mac compatible 30 62KHz horizontal scan 56 75 HZ refresh rate Auto adjustment capability High quality full screen re scaling Multilingual OSD menus English French Germany Spanish J...

Страница 4: ...stive Type Tilt Angle 20 to 90 I O Ports VGA 15pin D SUB x1 Serial RS232 x 2 For Touch Panel MSR I Button Key PS2 Keyboard 1 For MSR I Button Speaker Internal 2W x2 Others Power Supply Internal Adapte...

Страница 5: ...Chapter 2 Hardware Set up 2 1 Unpacking the touch monitor Check that the following 4 items are presented and in good conditions a Main Unit b CD Quick Guide Driver Bank c Power Cord USA Europe UK...

Страница 6: ...d Option Item d1 Customer Display RS232 port pin 9 was power input 12VDC d2 MSR Magnetic Stripe Reader 2 3 tracks KB RS232 option d3 MSR and I BOTTOM 2 in 1 Module MSR with Dallas Key Reader...

Страница 7: ...10V 220V 2 VGA cable 15 pin D Sub Connect with VGA port of PC 3 Touch cable COM 9 pin D Sub Connect with RS232 port of PC 4 MSR Optional COM 9 pin D Sub Connect with RS232 port of PC 5 Touch USB Optio...

Страница 8: ...trol board connection 2 COM1 for standard touch control board 3 COM2 for optional RS232 type MSR 4 PS2 for optional Key Board type MSR 5 VGA 6 AUDIO in 7 POWER in d MSR Installation d1 Release the 2 s...

Страница 9: ...e Clipper insert and connect the MSR cable Then recover the Chassis and Cable Clipper d3 Remove the MSR cover on right side of monitor Install the MSR module by 3 screws Finally connect the MSR cable...

Страница 10: ...e Customer Display Installation Remove the cover pad then install the pole tube and customer display connect the cable with the RS232 port pin 9 with 12V of PC...

Страница 11: ...ouch Systems provide diver software that allows your touch monitor to work with your computer Drivers are located on the enclosed CD ROM for the operating systems as WinXP 2000 NT ME 98 95 1 Click TM...

Страница 12: ...l Driver Serial 5 For single device application click the drop down list and select Plug and Play Device for dual monitor application select Non Plug and Play Device 6 Click Continue Anyway 7 Click OK...

Страница 13: ...3 2 Installing MSR Utility a Click the MSR driver as following driver bank...

Страница 14: ......

Страница 15: ......

Страница 16: ...b After completed the driver installation please make a testing MSR function as followings c If MSR doesn t work please double check the parameter of protocol as followings...

Страница 17: ......

Страница 18: ...ge will show up press the UP or ADJ AND Down or ADJ key appear pic1 to select what function adjustment you need pic1 The end of this page will be shown the working resolution and frequency a AUTO SET...

Страница 19: ...decrease backlight current of the inverter pic3 c CONTRAST Select CONTRAST function press ADJ or ADJ key to increase or decrease video gain of the picture pic4 d DISPLAY Select DISPLAY ADJUST functio...

Страница 20: ...ON Select V POSITION function press ADJ or ADJ key to shift up or down the picture in vertical position pic7 d3 CLOCK Select CLOCK function press ADJ or ADJ key to increase or decrease the pixel clock...

Страница 21: ...ons The function is not working d6 RECALL Select RECALL function which is recall the value for the H POSITION V POSITION CLOCK PHASE and QUALITY d7 RETURN Select RETURN function return from DISPLAY me...

Страница 22: ...unction which is recalling the value for the color temperature of 6500K e4 AUTO GAIN Select AUTO GAIN function which is acting the auto white balance adjusting e5 RED Select RED function press ADJ or...

Страница 23: ...decrease the R gain in user s mode of color temperature pic14 e8 RETURN Select RETURN function return from DISPLAY menu change to MAIN MENU f LANGUAGE In this mode that could into the sub page pic15...

Страница 24: ...ion press ADJ or ADJ key to shift up or down the vertical position of OSD display pic18 g3 OSD TIMER Select OSD TIME function press ADJ or ADJ key to increase or decrease the time of OSD display Excep...

Страница 25: ...I function enter into the sub page to select input source pic21 h1 ANALOG INPUT Select ANALOG INPUT function the input signal from VGA h2 DIGITAL INPUT Select DIGITAL INPUT function the input signal f...

Страница 26: ...2 VOLUME pic23 i3 RECALL Select RECAL function which is recalling the value for the MUTE and VOLUME i4 RETURN Select RETURN function return from DISPLAY menu to MAIN MENU j Hot Key j1 Directly press t...

Отзывы: