System assembly
36
Power Xpert
®
UX with W-VACi
circuit breaker 6063308 G01 01 14 July 2011 www.eaton.com
3.5.1
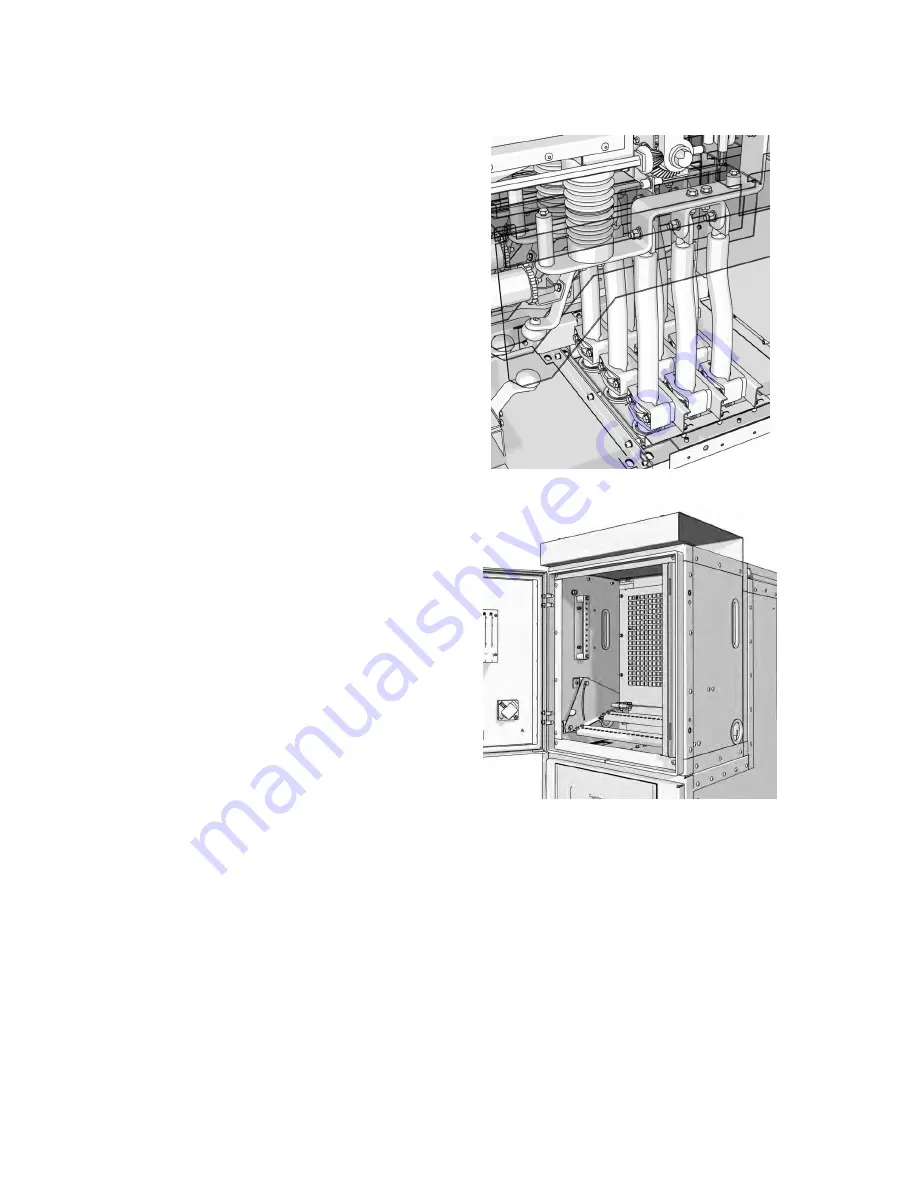
Connecting a main cable
Depending on what is housed in the cable compartment
and the space behind the installation, the main cable can
be connected from the front.
Proceed as follows:
1. Open the middle and bottom door (connection at the
front).
2. Terminate the cable in accordance with the
manufacturer’s instructions.
3. Connect the cable in accordance with the
manufacturer’s instructions.
4. Secure the cable or cable box with clamps or blocks
to the angle section in the compartment (this also
provides strain relief).
5. Connect the earthing screen of the cable to the earth
busbar of the cable compartment.
Fig. 3-10 Connecting main cable
3.5.2
Connection of secondary wiring
The documentation pack contains a wiring diagram for the
secondary wiring (the inter-panel wiring).
Both the terminal strips and the wiring are coded. These
codes can be found in the wiring diagram.
Proceed as follows:
1. Terminate the wire ends, where necessary, in
accordance with the diagram pack.
2. Open the doors of both the low-voltage and main MV
switch compartments.
3. Install secondary wiring in accordance with the wiring
diagram, using the bushings between the low-voltage
compartments.
4. Connect the wiring to the terminal strips in
accordance with the wiring diagram and codes.
Fig. 3-11 Low voltage compartment


