2
Instruction Booklet
IB150031EN
Effective November 2020
Power Xpert Multi-Point
6” tenant metering touchscreen
display features
EATON
www.eaton.com
1 Introduction
The Eaton PXMP Meter 6” Color Touchscreen Display
(PXMP-DISP-6-TM-XV) is pre-programmed to communicate with
Eaton PXMP-MB Meters . The programming allows access to system
meter and sub-meter data through the PXMP meter base . The built-
in navigation functions are simple and convenient, allowing easy
navigation between screens . The display has been designed to adapt
to any configuration programmed into the meters by the Installer/
User via the PXMP configuration software (see MN150002EN) .
When functioning as the “System” meter, the PXMP display will
show either what is being received from a meter that is monitoring
the entire system or an internal summation of all the meters within
the system as if they were all one meter . This depends on how the
meter is set up during the configuration process .
2 Installation
For installation and connection information, please refer to
“PXMP
meter color touchscreen display quick start guide”
(Eaton Pub . TD150030EN) .
2.1 Meter sealing for regulated tenant metering applications
The PXMP meter tenant metering touchscreen display provides a
banner notifying users if their meter has not been set to either of
the available secure modes . Setting the PXMP to a secured mode is
required in regulated tenant metering applications . For more details
on permissions in each of the available secure modes offered by the
PXMP, please refer to
“Power Xpert Multi-Point Meter User Manual”
(Eaton Pub . MN150001EN) .
Once the appropriate mode is set on the PXMP meter base, the
banner will disappear and the meter can be sealed .
No action is required on the display .
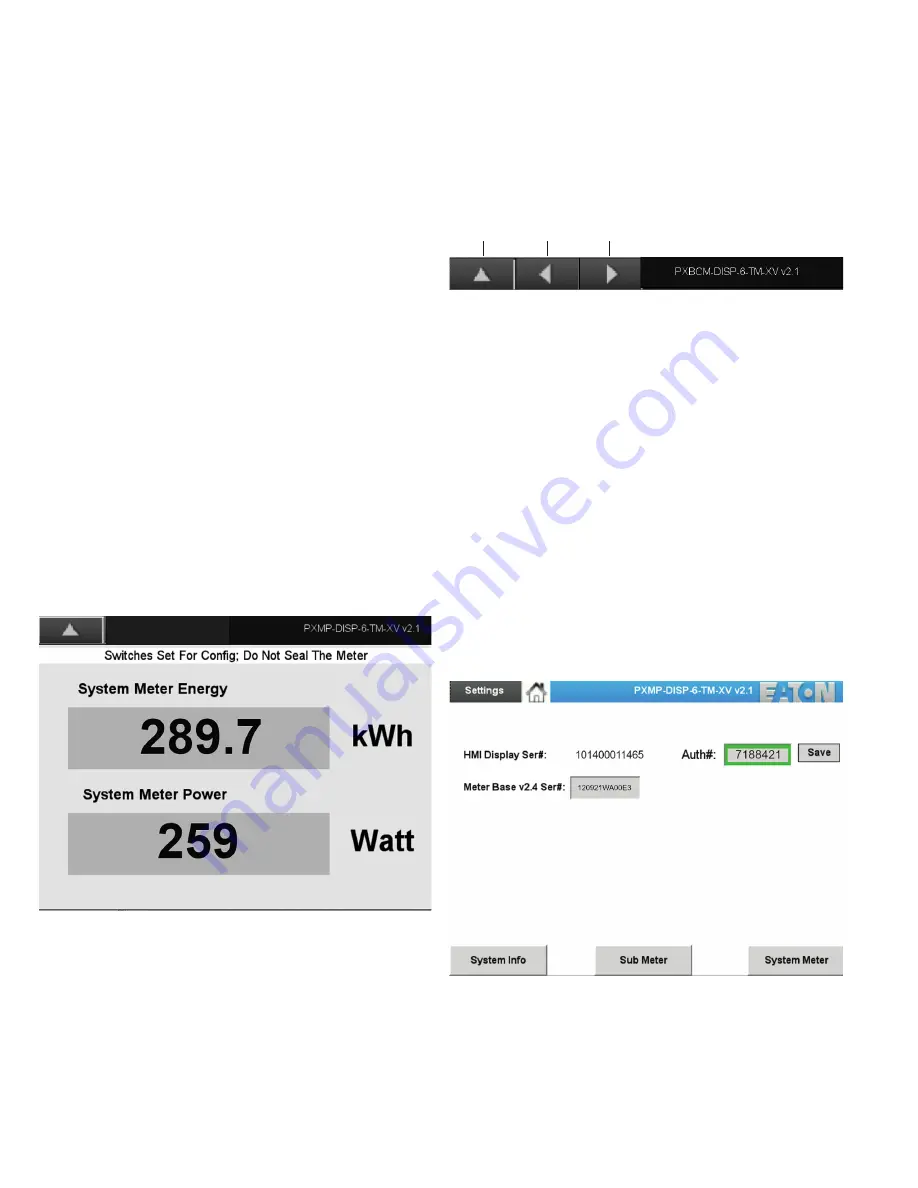
Figure 1. Example of notification banner
3 Using the touchscreen
3.1 Basic navigation
Basic navigation between the screens is accomplished by touch-
ing the name of the screen or category area; the Back, Next, or
Previous arrows; or the Home icon . Touching a screen name or
category area will take the user to the screen or category selected .
Figure 2. Location of the Back, Previous and Next arrows
Touching the Home icon, where available, will redirect the user to
the Home screen . Touching the “Back” arrow will redirect the user
to the previous category screen . Touching the “Next” arrow will take
the user to the next data screen . Touching the “Previous” arrow will
take the user to the previous data screen
3.2 Home screen
The Home screen appears when power has been applied to the
PXMP 6” color touchscreen display and boot-up is complete . The
“Auth” box displays the authentication number of the meter . The
Home screen displays major information about HMI and PXMP such
as HMI serial number, firmware version and serial number of PXMP
meter base .
Touching the System Info or Module Info button will take the user
to screens with meter base or module information, respectively . In
addition, the home screen also gives the user direct access to the
meter . These are accessed by touching the Sub Meter button at
the bottom center of the screen along with the data information of
System Meter by touching the System Meter button at the bottom
left . At the top left corner, “Settings” button navigates to the
settings page .
Figure 3. Home screen and location of Home icon
Back
Previous
Next


