Accessing the Network Module
Installing the Network Management Module – 10
•
•
2
Accessing the Network Module
2.1
Accessing the web interface through Network
2.1.1
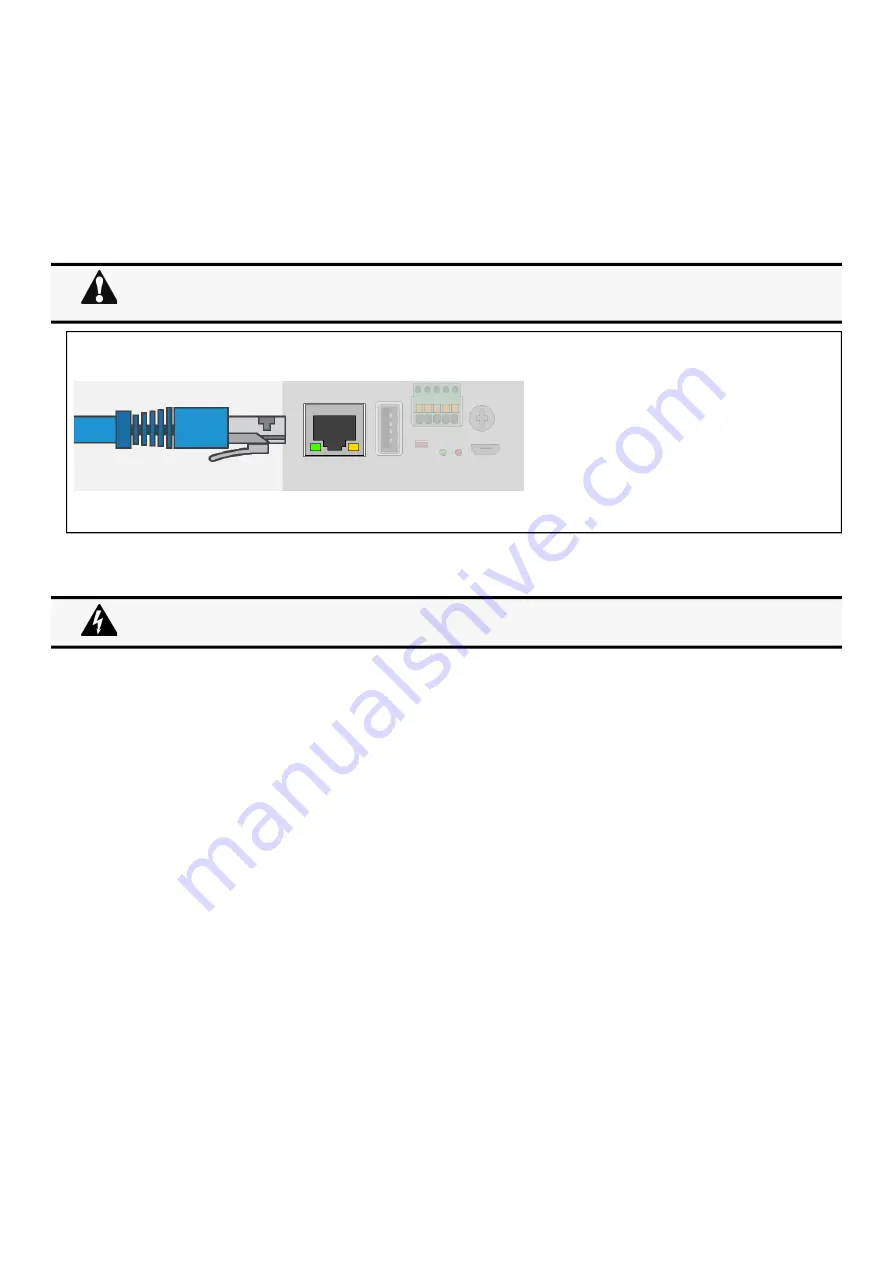
Connecting the network cable
Connect a standard
gigabit compatible shielded ethernet cable (F/UTP or F/FTP) between the network connector on the Network Module and a
network jack.
2.1.2
Accessing the web interface
STEP 1 – On a network computer, launch a supported web browser. The browser window appears.
STEP 2 – In the Address/Location field, enter https://
[IP address] with the static IP address of the Network Module.
STEP 3 – The login screen appears.
STEP 4 – Enter the user name in the User Name field. The default user name is admin.
STEP 5 – Enter the password in the Password field. The default password is admin.
STEP 6 – The password must be changed at first login.
STEP 7 – Click Login. The Network Module web interface appears.
2.2
Finding and setting the IP address
2.2.1
Your network is equipped with a BOOTP/DHCP server (default)
2.2.1.1
Read from the device LCD
If your device has an LCD, from the LCD’s menu, navigate to Identification>>>"COM card IPv4".
Note the IP address of the card.
Go to the section: Accessing the web interface through Network.
2.2.1.2
With web browser through the configuration port
For example, if your device does not have an LCD, the IP address can be discovered by accessing the web interface through RNDIS
and browsing to Settings>Network.
Security settings in the Network Module may be in their default states.
For maximum security, configure through a USB connection before connecting the network cable.
It is highly recommended that browser access to the Network Module is isolated from outside access using a
firewall or isolated network.
Содержание INDGW-X2
Страница 10: ......


