8
www.eaton.com/HaloHome
3
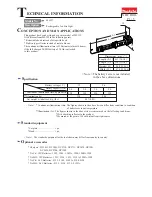
Create a user account and validate via email
•
Enter your email address as your user account name.
•
Select a password of at least 8 characters from the mobile application “register” screen.
4
Adding the floodlight to the app
Note:
This product contains a smart LED floodlight and a smart motion
sensor; each can be controlled separately and associated with separate
devices. Therefore, each needs to be claimed separately.
Note:
For this step, your motion floodlight must be installed and powered,
and your smart mobile device must be within range.
1. Press “
+
” at the top right of your screen to add the floodlight.
2. The app will search for your floodlight.
3. Once discovered, select the floodlight and press “
Done
.” It may take up
to 30 seconds for this process to complete.
4. Once complete, the floodlight will blink once to indicate it has been
claimed.
5
Adding the motion sensor to the app
1. From the Devices or Controllers screens, press “
+
” at the top right of
your screen.
2. The app will search for your motion sensor.
3. Once discovered, select the motion sensor and press “
Done
.” It may
take up to 30 seconds for this process to complete.
4. Once complete, the blue LED indicator on the bottom of the motion
sensor will blink twice and then remain on to indicate it has been claimed.
6
Associate the motion sensor to Halo Home devices
1. The Controller Settings screen will appear for your motion sensor.
Press “
Associate
” or “
Tap to select.
”
2. Select the Device or Group to be controlled by your motion sensor
and press “
Save
.”
Note:
Only one Device or Group can be selected. To control multiple
Devices, create a Group from the “Groups” screen in the main menu,
then return to the Controller Settings screen to associate the motion
sensor to that group.
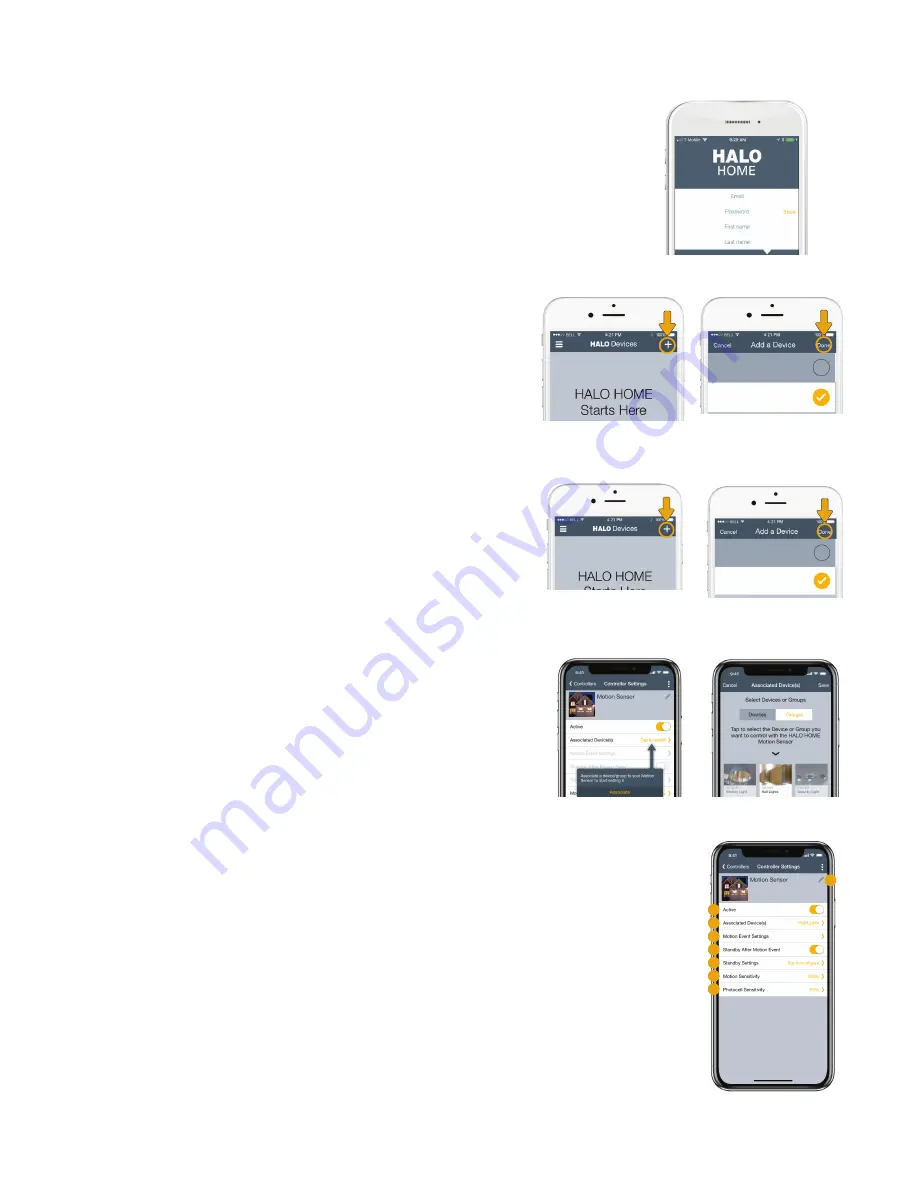
7
Adjusting the settings on your motion sensor
1. Edit the name of your motion sensor
2. Activate or deactivate your motion sensor. Turning this off deactivates the sensor, allowing you to
control
the floodlight or other associated devices manually.
3. Change which HALO Home devices are controlled by the motion sensor.
4. Define how the associated device or group reacts to a motion event, and for how long.
5. Activate or deactivate Standby: how a device reacts once the duration time has expired after a
motion event.
6. Define how the associated device or group reacts in Standby mode, and for how long.
7. Set the sensitivity level of the motion sensor.
8. Set the sensitivity level of the photocell within the motion sensor.
Note:
Be sure to press “
Save
” after making changes to the settings to ensure any changes are retained.
FLOODLIGHT
Tap to add
FLOODLIGHT
Tap to add
MOTION SENSOR
Tap to add
MOTION SENSOR
Tap to add
1
2
4
6
3
5
7
8
HALO Home Quick Start Guide - Smart LED Motion Flood