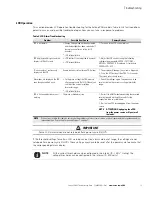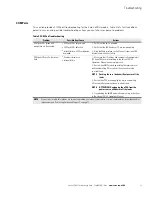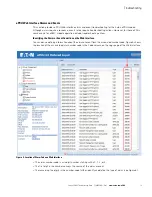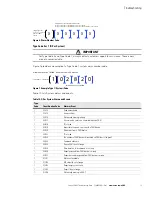
Introduction
Eaton ePDU G3 Troubleshooting Guide P-164000278—Rev 1
www.eaton.com/ePDU
2
Checking the LCD Panel for Notifications
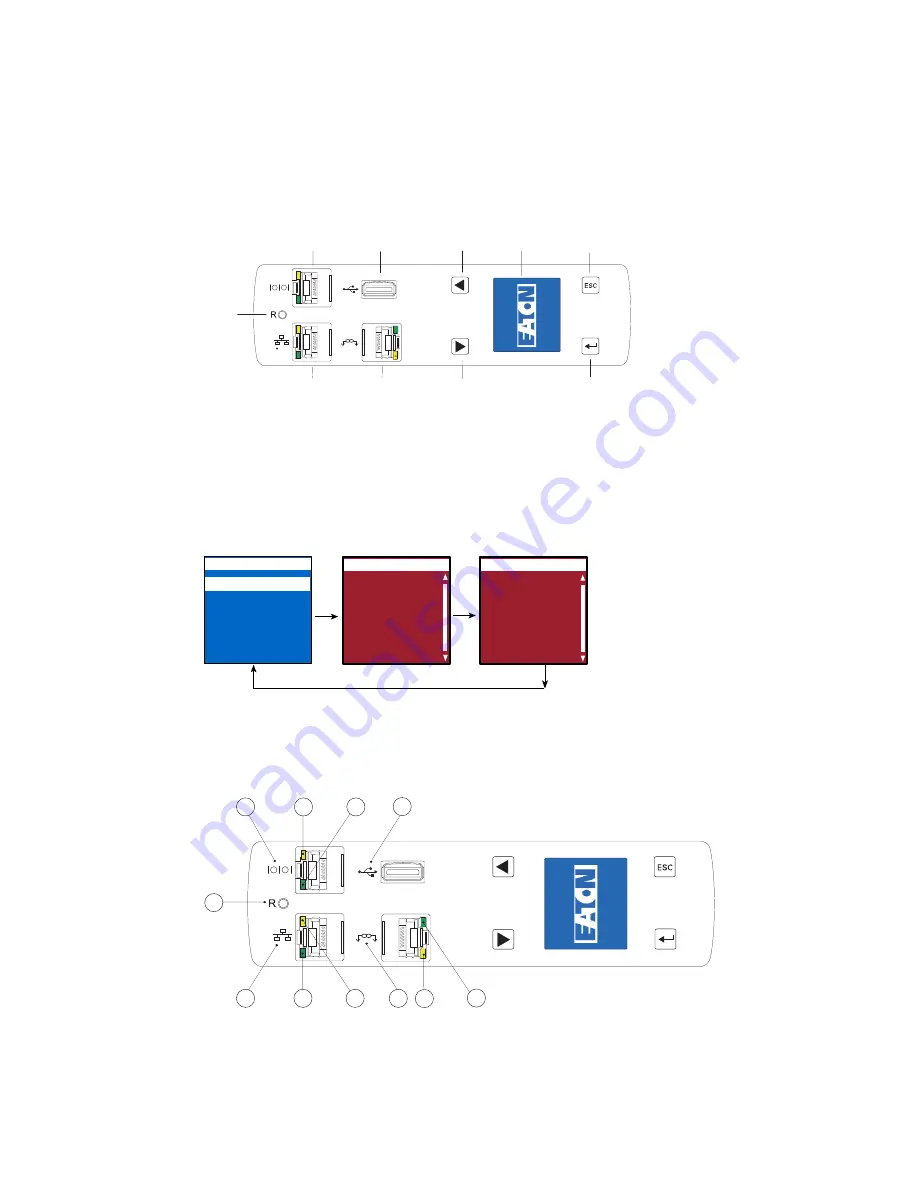
The ePDU has a four-button, graphical LCD panel. The LCD front panel is located on the top surface of the
ePDU. You can use the LCD front panel interface buttons to retrieve current ePDU alarm data or to change
ePDU operation settings to resolve problems (see Figure 1).
USB PORT (FIRMWARE UPGRADE)
SCROLL
ESCAPE
SERIAL PORT
LCD DISPLAY
SCROLL
DAISY CHAIN PORT
ENTER
ETHERNET PORT
RESET BUTTON
Figure 1. ePDU LCD Front Panel Window and Buttons
Using the LCD interface buttons, scroll up or down to highlight Active Alarms on the Main Menu. Press ENTER
to display the first active alarm screen. Scroll up or down if needed to view active alarm data. When you finish
your review, press ESC to return to the previous menu. If the backlight was blinking red to indicate an active
alarm, the backlight returns to normal (see Figure 3).
Alarms can also display in the LCD display automatically. For example, the LCD display can show active alarms
as they occur, or updates due to a change in operating state.
ESC
Enter
Down
Active Alarms
Alarms History
Meters
Settings
Control
Main Menu
Active Alarms
Active Alarms
CRITICAL
L3 over current
[12.000] 13.054A
09/05/2011
14:23:32
Active Alarms
Active Alarms
WARNING
Over temperature
[25.00] 26.12°C
09/05/2011
14:23:32
Figure 2. LCD Alarm Display
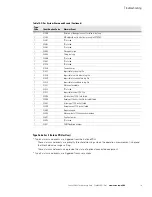
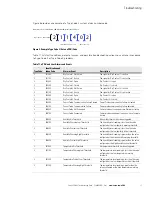
Adjacent to the LCD front panel, the LED indicators on the ports provide operating and activity status to assist
in troubleshooting (see Figure 3 and Table 1).
8
7
10
9
11
2
3
5
4
6
1
Figure 3. ePDU LCD Port LEDs


