2 Operator interface
2.5 “Device details” screen
BreakerVisu
06/16 MN01210001Z-EN
www.eaton.com
23
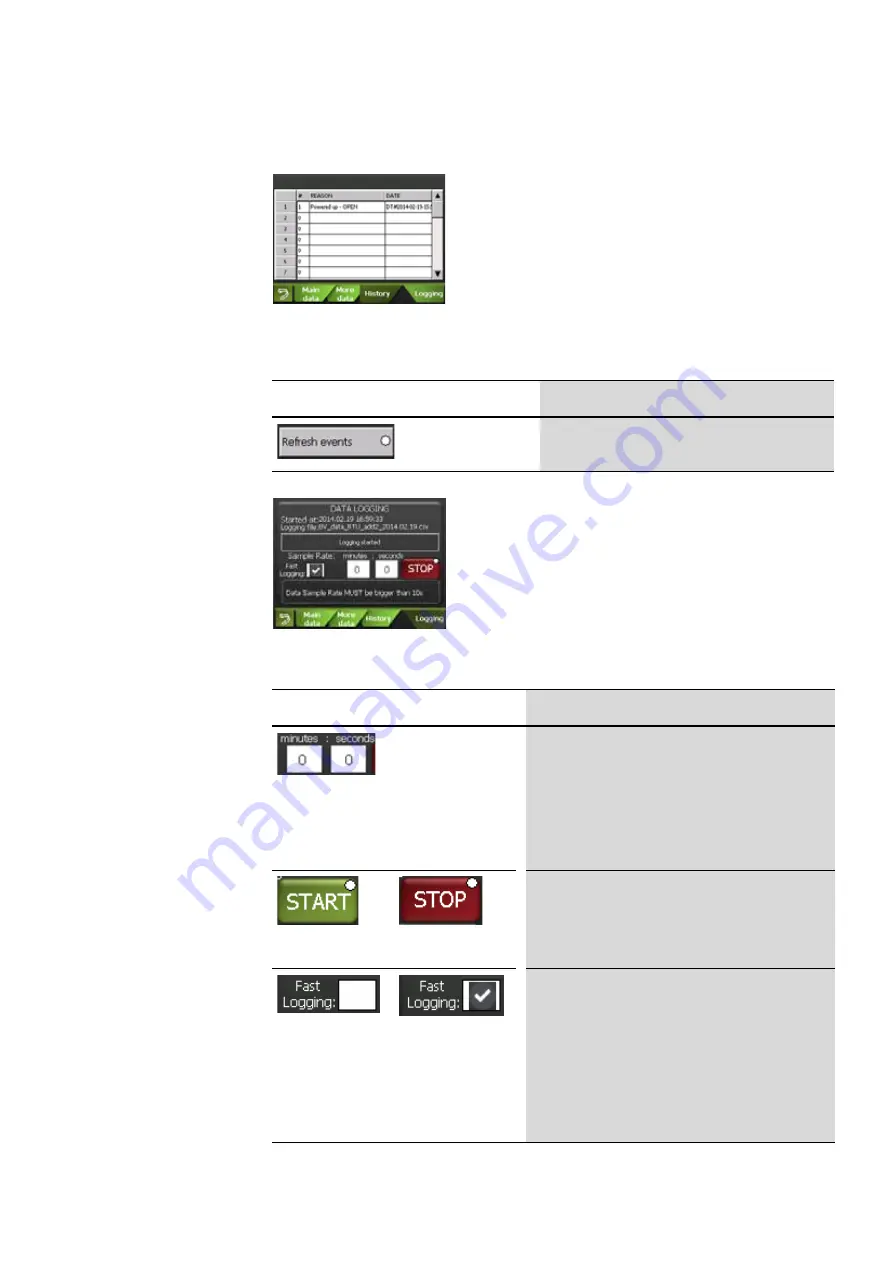
Figure 15:Device details – “History” (3.5“ variant)
Table 16: Device details – “History”
(not available for all devices) (3.5“ variant)
Figure 16:Device details – “Logging” (3.5“ variant)
Table 17: “Device details” controls (3.5“ variant)
Control
Action
Tap the
Refresh events
button to update the data in the
history sub-screen. The circle will flash while data is being
refreshed.
Control
Action
To set the data acquisition scan rate, tap on the
minutes
and
seconds
fields and enter the values you want.
The minimum scan rate is 720 min (= 12 h) and the maximum
one is 10 s.
If you need faster data acquisition, enable the
Fast Logging
option.
Additional information
Section 7.3, “Device data logging”,
Once you have set a data scan rate, you can start the data
acquisition function by tapping the
START
button. To turn it
off, tap the
STOP
button. When the data acquisition function
is running, the display will show a flashing circle next to
Data
logging status
, as well as a start date and time and a data
file name.
When the data acquisition function is not running, you can
make the system use the maximum scan rate by tapping the
Fast Logging
checkbox. Please note that this option can only
be used for two devices at the same time and that it will
overwrite the scan rate you entered for the next start/stop
measuring period.
To return to the scan rate you selected, you will first have to
turn off the measuring function (by tapping the
STOP
button)
before being able to disable the checkbox.
When the
Fast Logging
option is enabled, the scan rate will
be 2 s.
Содержание BreakerVisu NZM-XMC-MDISP35-MOD
Страница 4: ...2...


