23
Instruction Book
IB02707112E
August 2015
50/75VCPW-VSR
Breaker To Vacuum Starter Replacement Unit
EATON CORPORATION www.eaton.com
7. Install 4mm x .7 screw securing diode to latch coil bracket and
tighten to 9 lb-in. Do not over tighten, cracking of diode housing
could result.
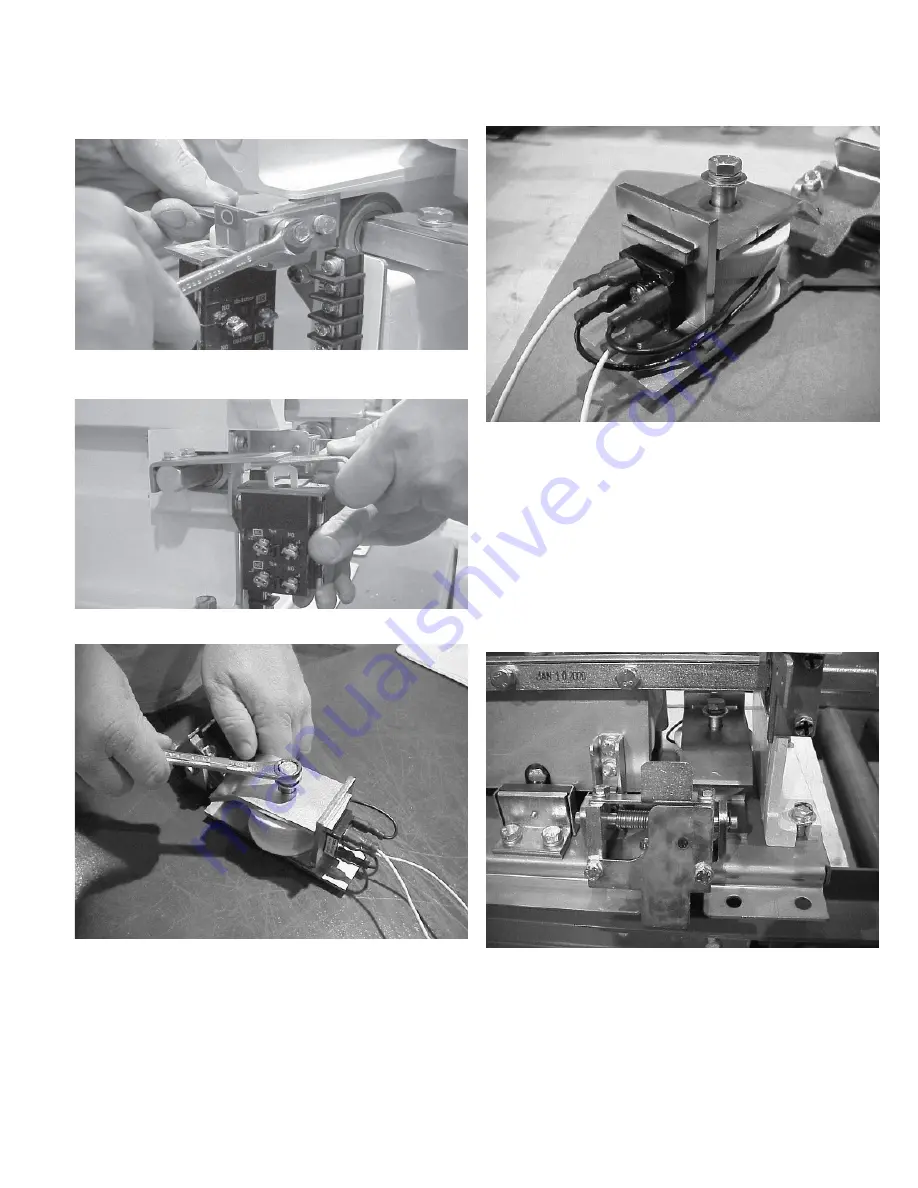
8. Reassemble all components removed in step 3, insuring steel
shim is between coil core and coil core bracket, and secure 8mm
x 1.25 bolt to latch base plate. Insure all components are correctly
aligned and the coil wires are not binding or pinched, Figure 6.15.
9. Reinstall latch assembly and adjust as described in steps 3 to 8 in
the section on Installation.
6.6.2 LATCH INSTALLATION
1. Remove the existing roller bracket from the contactor moving
armature, if one is attached.
2. Secure the new roller bracket and bearing assembly with two
6mm x 25mm bolts with lock washers and torque to 85 in-lb (9.6
N-m). Insure that the side flanges of the roller bracket are parallel
with the end of the armature plate. Note: If bolts longer than 25mm
are used, they will extend through the armature plate and prevent
the contactor from closing and sealing when the main coils are
energized.
3. Locate latch assembly into contactor, see Figure 6.16.
Figurt 6.12. RtmNvt oht TwN MNunoing Scrtws Stcuring oht
CNnoaco Asstmbly TN Btaring Rtoaintr
Figurt 6.13. Adjuso oht Gap Btowttn Plungtr and Optraoing Arm
oN .110 inchts
Figurt 6.14. CNil CNrt Rtoaining BNlo
Figurt 6.15. Alignmtno Nf Laoch CNmpNntnos
Figurt 6.16. Laoch Asstmbly Nn CNnducoNr Bast Plaot


