background image


3

Print


Insert the TF card to the printer, Click 

button, and the button light will flash, 

Please be 

patient and wait about 2 minutes

, printing starts( the Printer will choose the lastest 

gcode file to print automatically) .


4

Pause/Restore


during printing, Click 

  ,the button light stops flashing , then printing paused.


If need to continue print , Click 

  to restore, the button light flashes again , the printer goes back 

to print . 


5

 Stop Print


If   you want to stop print during printing , press button 

  for 3 seconds then release   , the 

machine will stop printing, then printing cancelled.


6

Unload Filament,Retract


If users want to change filament or keep the machine stop working for quite a long time , then need 

to unload the filament , Click 

button,the light inside will flash, 

Please be patient and 

wait about 2 minutes

, the motor inside the head will work and draw out the filament , after 

that, take out the filament from the print head.


.


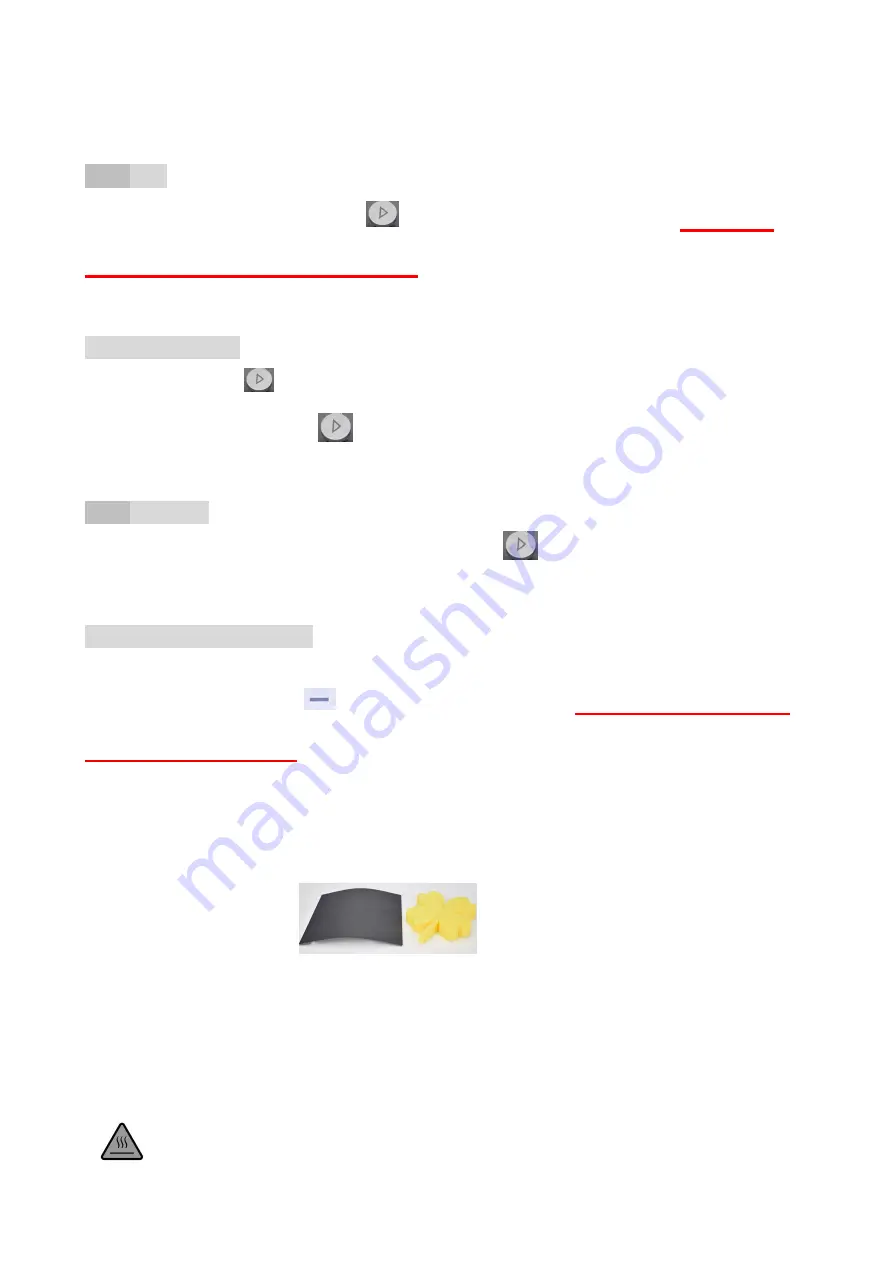
After print ,remove the platform, and easy to take off the object.


High quality filament which is preferred to be used.


Various of filament are available on the market , and quality is much different too. poor quality 

filament may cause broken or nozzle jam, Pls choose Easythreed high quality filament.


Safety Warning


Burning , keep your fingers away from the NOZZLE and BLACK INSULATOR when the printer is working 

as temperature in this area reaches over 200 Celsius degree . Always be sure to keep your hands away from 

Содержание X1

Страница 1: ...X1 USER S MANUAL Please watch operation video in Website or YouTube Channel Easythreed3D ...

Страница 2: ...er machine for beginners enjoy the happiness of creation 1 Printer Specifications 1 1 Main Part Warning Label Printer Head Y Axis Filament 250g Filament holder X Axis Print platfrom X Axis Power Socket Cable Z Axis Control Button TF Card Port USB port Control Box ...

Страница 3: ...sories box with manual 10M filament power adaptor TF card card reader screw driver Filament holder screw 2 2 Install the Printer Please read install manual or watch X1 operation video Nozzle Diameter 0 4mm Print material PLA Extrude temperature 180 230 Recommend Temperature PLA 180 Print speed 10 40MM S Layer thickness 0 05 0 3mm Building size 100X100X100mm Machine size 245X205X210mm Compatible sy...

Страница 4: ...ard when it come from factory 5 Print 1 Platform Leveling The first time to use this printer you need leveling the platform Please adjust the distance between the nozzle and the platform in 1 2 3 4 points the distance should be just the thickness of a sheet of paper Please do this leveling with the help of adults a Click the button Z axis will go home position After Z axis come to home position pl...

Страница 5: ...patient and wait about 2 minutes the machine begin to feed when there is regular silk come out of the nozzle feed succeed Then you can press button to finish feed Note Make sure the distance between the nozzle and printing bed is 3cm at least If no enough space press the button hold for 3 seconds then release Z axis will go up 1cm when the printer power on press for 3 seconds then release every ti...

Страница 6: ...ange filament or keep the machine stop working for quite a long time then need to unload the filament Click button the light inside will flash Please be patient and wait about 2 minutes the motor inside the head will work and draw out the filament after that take out the filament from the print head After print remove the platform and easy to take off the object High quality filament which is pref...

Страница 7: ...s built in stepper motor feeder then to observe if the motor is working with a little sound Otherwise check if filament feeder is connected to it s main board well A2 Check temperature Printing nozzle temperature of PLA material range s from 200 230 A3 Check if the nozzle is blocked Heat the nozzle to 230 for PLA push the filament gently if there is still no filament come out then need to disassem...

Страница 8: ...m the diameter should be 2 85 or 2 95 A2 Poor surface after removing the support for FDM technology A2 1 The support density should be as lower as possible 10 is proper it s easy to remove A2 2 Trim the model with a grinding tool rub gently with a towel and dip a little acetone make sure to ware gloves before hand and do not wipe too long to caused the appearance effected or dimension changed A3 T...

Отзывы: