


Video Resolution
0
o
or 180
o
90
o
or 270
o
1080P
1920x1080
608x1088
960P
1280x960
720x960
720P
1280x720
416x720
Notes
1.
The feature is available only for videos capturing, not still photos.
2.
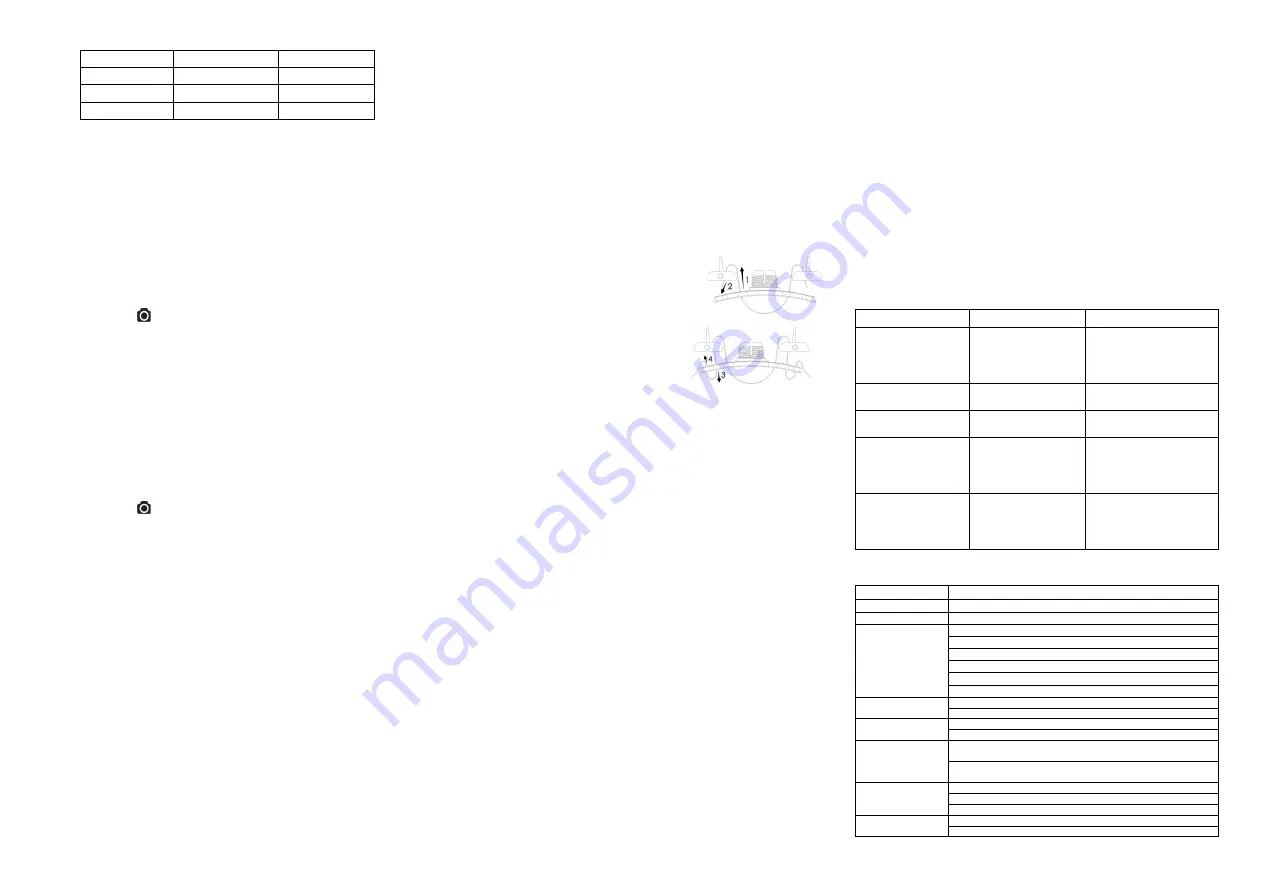
Adjust your camera orientation before you start the video recording. The rotation
feature will not be activated throughout the recording.
3.
You can disable the auto rotation function in the “General settings” with the software
5. Connecting Your Camera
5.1 Connecting Your Camera to a PC
The unit can be connected to the computer as mass storage device and transfer
photo/video files for storage.
1.
Connect your camera to a PC via the USB cable included.
2.
Press the Power
button to turn the camera on.
When the camera connected to the computer as mass storage device, you can:
1.
Open the MicroSD folder and you can browse the files saved in the camera
2.
Format the MicroSD card.
Note:
If you cannot find the Mass storage, you can unplug the cable from PC and turn the
camera on and off once and connect the PC again.
5.2 Run The Software / Change the camera settings
(For Mac OSX users only – Please download the software to your PC first:
http://www.easypix.info/download/xtasy/settings_mac.zip)
1.
Insert a MicroSD card with at least 2MB free space into your camera.
2.
Connect your camera to a PC via the USB cable included.
3.
Press the Power
button to turn the camera
4.
Open the MicroSD card folder inside file manager and you will find the file
“actionplus.exe”. (For Mac OSX users only – please save the decompressed,
downloaded software into the root directory of MicroSD card.)
5.
Click the file to open
Through the software, you can:
1. Change the photo setting – photo resolution and mode
2. Change the video setting – FHD and HD resolution
3. Change the camera general setting – TV type, language, auto power off, auto rotation,
set date and time.
Note
:
If you cannot find
actionplus.exe at your MicroSD folder, you can unplug the cable
from PC and turn the camera on and off once and connect the PC again.
5.3 Connecting Your Camera to a TV/HDTV
You can connect your camera to a TV or HDTV via the HDMI cable (included). Once you
are connected you can:
1. Take photos or videos by using your TV as a viewfinder
2. Playback any photo or video files saved in the camera
3. Delete any files saved in the camera
4. Format the MicroSD Card
6. Mounting Your Camera
Series versatile mount system allows you to attach the camera to any type
of helmet (bike, motorcycle, ski, skydive etc.), pole, board (surf, skate, ski etc) and
handlebar (bike and motorcycle).
6.1 Secure Strap
1.
Loop one end of the secure strap through the strap hole of the camera. You may use
a pin to help thread it thru the hole.
2.
Attach other half to the mount or other secure place
3.
Clip both ends together when camera is mounted.
6.2 Fix The CamLocker
1.
Fit the screw of the CamLocker to the tripod socket of the camera.
2.
Screw the CamLocker until it is tightened on the camera.
6.3 Installing your Helmet Mount with Strap
1.
Choose the suitable strap to mount on different types
of helmets. For example, use the short mount strap for
bike helmets and the medium mount strap for
motorcycle helmets.
2.
Remove the 2 strap clips from the strap.
3.
There are three vents at each side of the Helmet
mount. Loop the strap through the inner vent
(closest to the center) from the bottom. (Step 1)
4.
Loop the strap through the strap clip from the top.
(Step 2)
5.
Loop the strap through middle vent from the top. (Step 3)
6.
Loop the strap through the outer vent from the bottom (Step 4)
7.
Tighten the strap and repeat Step 1 – 4 on the other side.
6.4 Mounting on your Bike Helmet
1.
Choose the Helmet Mount with the suitable length of strap.
2.
Adhere the single sided adhesive mount to the base of the helmet mount. Use the
double-sided adhesive mount to permanently secure the mount to the helmet.
3.
Loosen and detach the ball joint nut from the helmet mount.
4.
Install the CamLocker Socket – Ball Joint to the helmet mount and tighten the nut.
5.
Loop the strap of the helmet mount through the vents of the bike helmet and back
through the strap clip.
6.
Fasten the strap.
7.
Repeat on the opposite end of the strap until the helmet mount is firmly attached to
the helmet.
8.
Attach the CamLocker and camera into the CamLocker socket. Ensure that the
CamLocker nut is tightened securely.
9.
The ball joint system allows you to change the angle of the camera. Simply loosen
the nut, adjust the camera angle and re-tighten the nut.
6.5 Mounting on your Motorcycle Helmet
1.
Adhere the helmet mount to the helmet by applying a double-sided 3M adhesive
mount. By utilizing a combination of the helmet mount and fitting piece, it will provide
additional security to the mount system.
2.
Select the Helmet Mount with suitable length of strap.
3.
Loosen and detach the ball joint nut from the helmet mount.
4.
Install the CamLocker Socket – Ball Joint (L) to the helmet mount and tighten the nut.
5.
Adhere the double-sided adhesive mount to the base of the helmet mount and fitting
piece.
6.
Attach the helmet mount at one side of the helmet.
7.
Loop the strap to another side of helmet, through the vent of fitting piece and back to
the original side of the helmet.
8.
Fasten the strap with strap clip.
9.
Repeat on the opposite end of the strap until the helmet mount is firmly attached to
the helmet.
10. Attach the CamLocker and camera to the CamLocker socket. Assure that the
CamLocker nut is tightened securely.
11. The ball joint system allows you to change the angle of the camera. Simply loosen
the nut, adjust the camera angle and re-tighten the nut.
6.6 Mounting on the Handlebar or Pole
1.
Loosen both bike mount screws.
2.
Attach the bike mount to the handlebar or pole and tighten the screws until the mount
is firmly secured.
3.
Loosen and detach the ball joint nut from the bike mount.
4.
Insert the ball joint into the CamLocker Socket and tighten the nut.
5.
Attach the CamLocker and camera into the CamLocker socket. Assure that the
CamLocker nut is tightened securely.
6.
The ball joint system allows you to change the angle of the camera. Simply loosen
the nut, adjust the camera angle and re-tighten the nut.
7. Troubleshooting
Problems
Causes
Solutions
1. LED flashes and camera
turns off
2. Cannot turn on the Drill
B camera
Battery is depleted
Recharge the camera
Red LED flashes during
recording
Low battery
Recharge the camera
Cannot take photos or
video (Green LED flashes) Memory full
Replace with a memory card
with space available for contents
Cannot take photos or
video (Green and Red LED
flashes alternatively)
1. MicroSD card is not
inserted
2. MicroSD card has not
been formatted properly.
1. Insert a SD card
2. Format the MicroSD card at
PC
Cannot find removable disk
after connecting the
camera to the computer
Connection failure.
1. Make sure all cable
connections are secured and
restart the computer if
necessary.
2. Try a different USB port.
8. Specification
Sensor
5 Mega pixel CMOS sensor
Lens
170º ultra wide angle field of view
Focus range
0.5m -‐ ∞
Video
1080p: 1920x1080 pixels (16:9), 30 fps
960P*: 1280x960 pixels (4:3), 30 fps
720p: 1280x720 pixels (16:9), 60 fps
720p *: 1280x720 pixels (16:9), 30 fps
Format: H.264 compression, saved as MPEG4 (.mov) file**
Dual Video files for easy sharing
Photo
Resolution: 5 Mega Pixel in JPEG format
Capture Modes: Single, Burst-shot*, Interval shooting*
Audio
Built-in high quality microphone
ADPCM Compression, Automatic Gain Control
Storage
MicroSD/MicroSDHC with minimum Class 6 up to 32GB (not
included)
Average Recording Times: about 4 hours (using 32GB mSD card
in 1080p30/720p60)
Connection
USB2.0 (for data connection and battery charging)
HDMI
AV / Composite
Power
Build-in 1200 mAH Rechargeable Li-Polymer Battery
Battery Life: Approx. 2.5 hrs


