“Creating Childhood Memories”
R
Step-by-Step Assembly Instructions
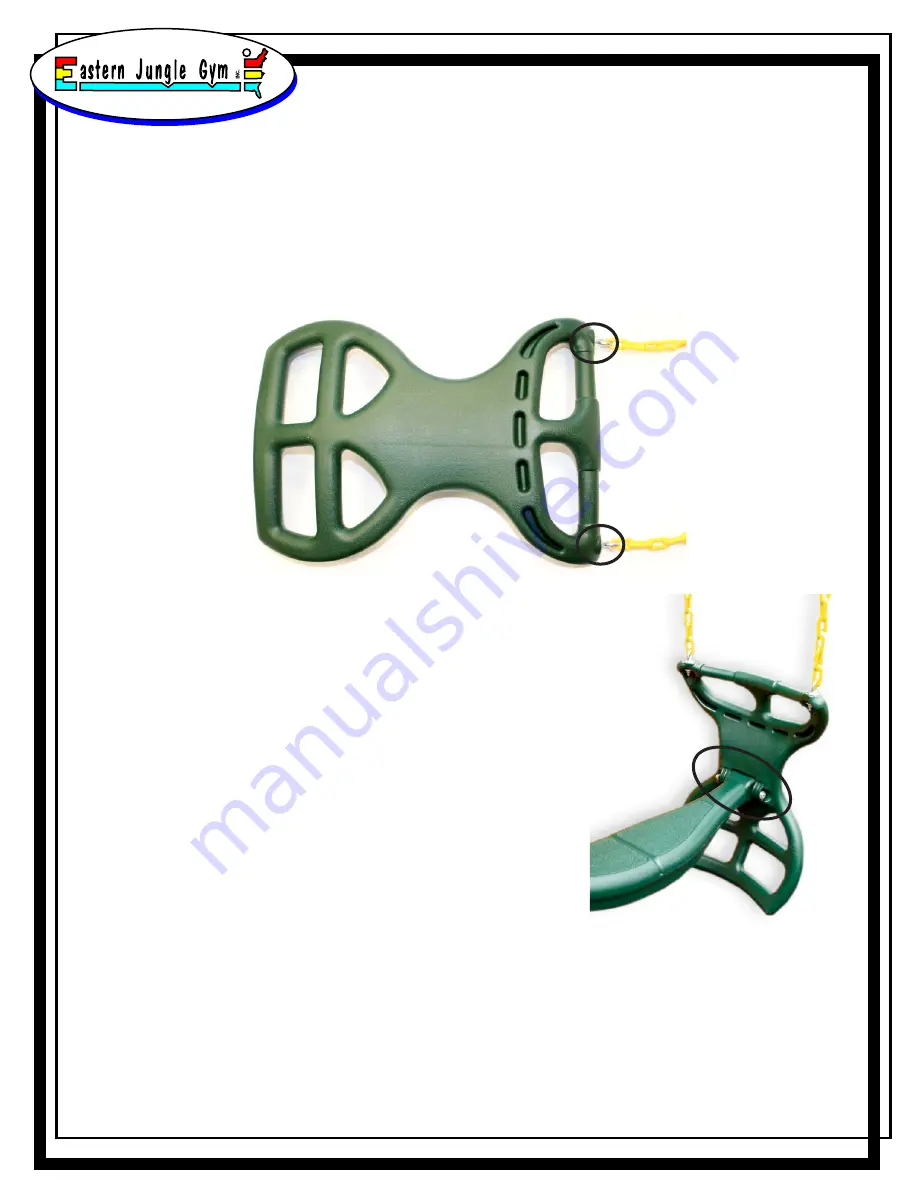
1. Remove all parts from the box and place on the ground. Inspect and
tighten the bolts that connect the swing chains (C) to the handles (A), 4 in
total.
A
C
2. Open the package containing the assembly
hardware. With the flat side of the seat (B) facing
up, line up the holes at the end of the seat to the
holes on the inside of one handle (A). Place a
washer on one of the bolts. Insert the bolt with
the washer through the holes in the handle and
seat. Add a washer on the threaded end,
followed by a lock nut. Tighten the nut.
3. Repeat
Step 2
on the other side of the glider
using the final handle and remaining hardware.
B
A
4.
Your Horse Glider Swing is now complete! Please make sure that
all nuts and bolts are tightened before use.


