54
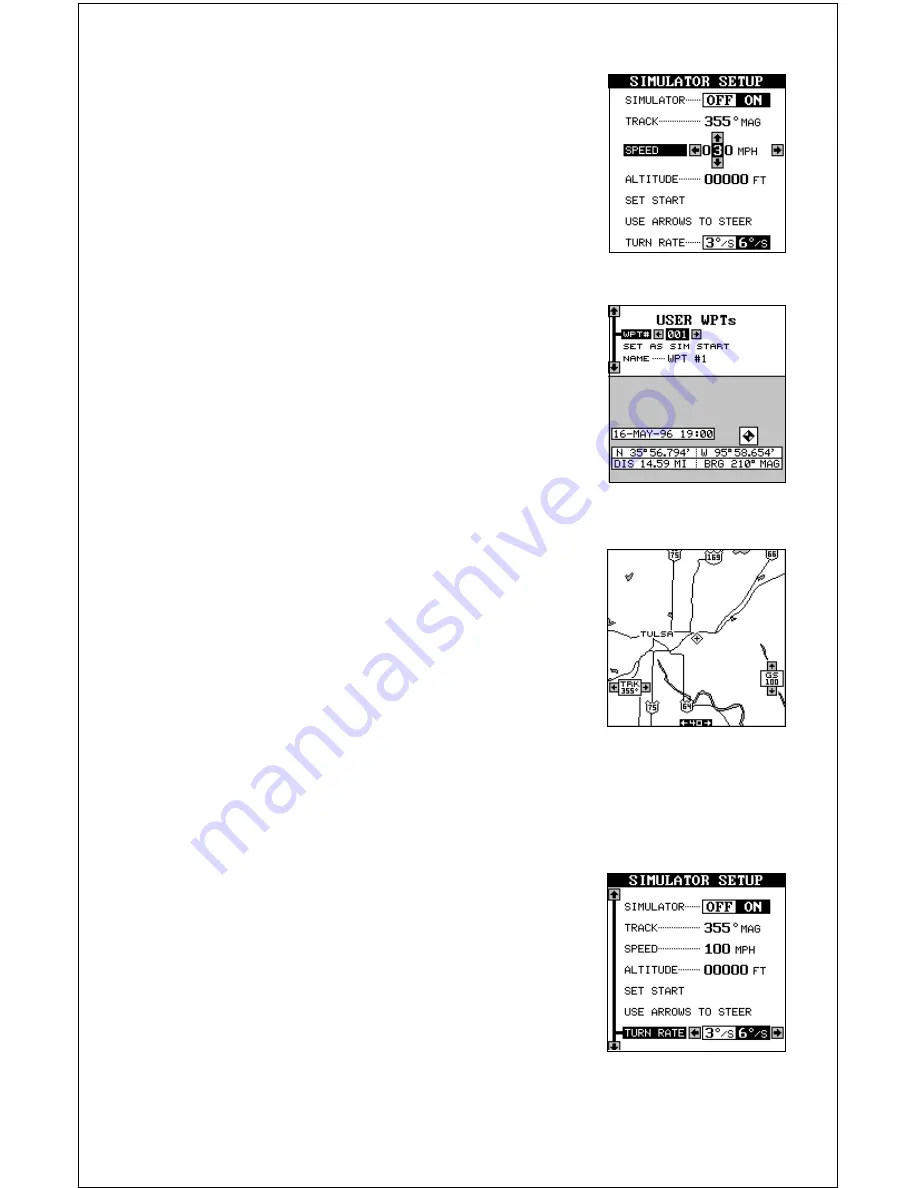
On the example at right, the speed is being
changed from 100 m.p.h. to 30 m.p.h.. When the
numbers are correct, press the EXIT key.
Starting Position
Normally, the starting position for the simulator is
your present position. If you want to change the
starting position, highlight the “SET START” label,
then press the right arrow key. The screen shown
below right appears.
You can select any waypoint as the simulator’s
starting point. Select the starting point by pressing
the right arrow key on the “WPT#” label until the
desired starting waypoint number appears. Now
highlight the “SET AS SIM START” label and press
the right arrow key. The AccuMap 12 returns to the
Simulator Setup menu.
Use Arrow Keys to Steer
This option lets you change both the course and
speed on the screen as the simulator is running.
To do this, highlight the “User Arrow Keys to Steer”
label, then press the right arrow key. The screen
shown at right appears. Use the up and down ar-
row keys to increase or decrease the speed. Use
the right and left arrow keys to change the track.
Press the EXIT key to erase these menus.
If you hold the left or right arrow keys down, the track changes at 6° per
second. You can change this to 3° per second as shown below by high-
lighting the “Turn Rate” label on the simulator setup screen, then pressing
the left arrow key.
When you’re finished changing the track and
speed, press the EXIT key to erase the menus.
To turn the simulator off, press the MENU key, then
highlight the “Simulator Setup” label. Finally, press
the left arrow key.
Note: Your plot trail will be erased when you turn
the simulator on or off.
Содержание AccuMap 12
Страница 1: ...INSTALLATION AND OPERATION INSTRUCTIONS AccuMap 12 TM ...
Страница 60: ...56 WINDOW BOXES These boxes are used on Map 3 and Nav 1 only 1 2 3 4 5 6 7 8 9 10 11 12 ...
Страница 61: ...57 13 14 15 16 ...
Страница 62: ...58 WINDOW GROUPS This is a listing of window groups A through T A B C D E F G H I J K L ...
Страница 63: ...59 M N O P Q R S T ...


