4
water ingress. The CAT5 cable can be extended indoors using a stan-
dard RJ45 coupler. The Ethernet spec allows for a maximum cable
length of 100 meters or about 328 feet.
STEP 6:
Aim the antennas and tighten the brackets securely.
TECH TIP:
Because of the specially designed wide beamwidth an-
tenna, pointing is not critical and simply pointing in the general di-
rection of the receiving antenna will yield great results.
STEP 7:
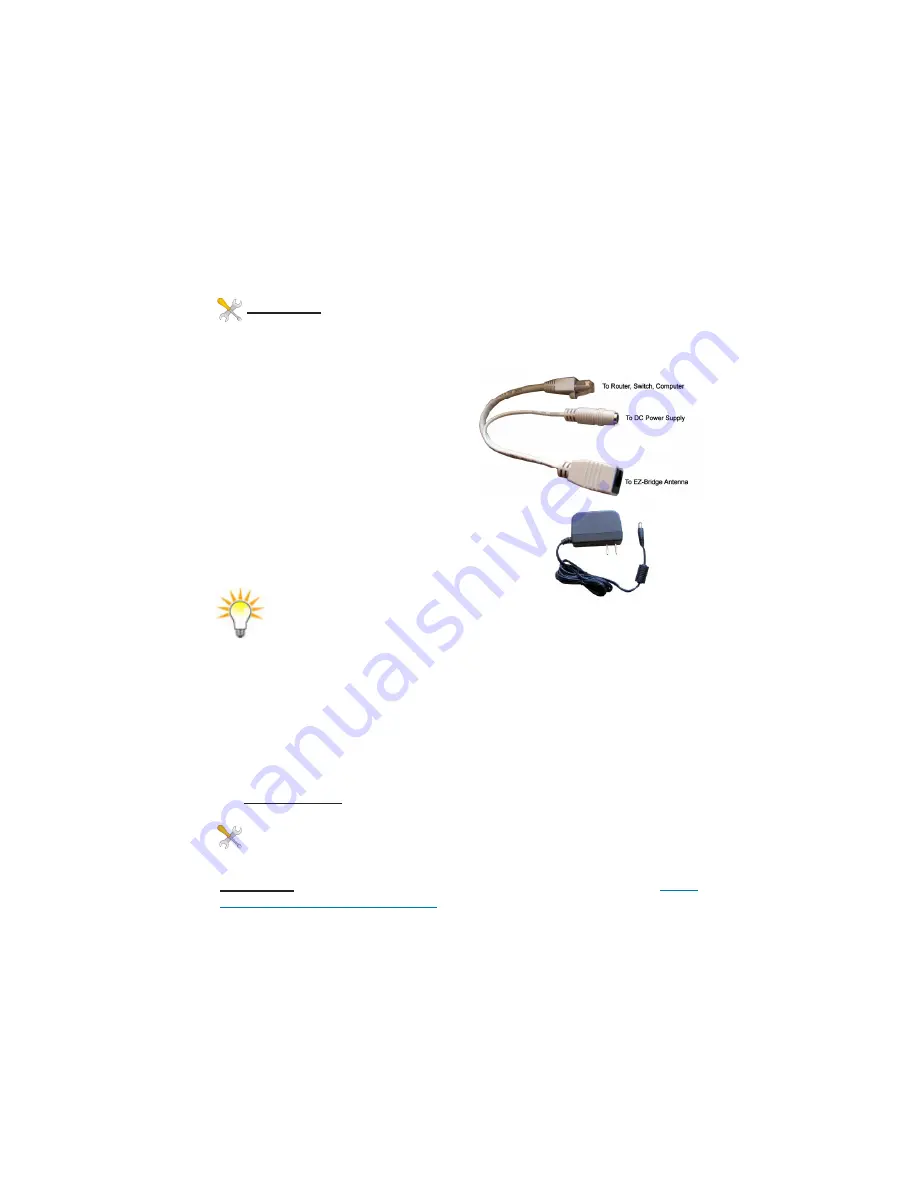
Install the RJ45 connector
on the POE Inserter to the router,
switch or computer. Attach the CAT5
cable from the antenna to the RJ45
output port of the POE Inserter. Insert
poer supply DC plug to the POE In-
serter DC Jack. Plug in the power
supply to an surge protected AC
power source to power up the EZ-Bridge™.
Software Settings
We strongly recommend that you create a work-
ing plug and play link before making ANY
changes to the software settings
1. There is an HTML management system built into every EZ-Bridge™
unit which is accessed thru a standard browser. The unit can communi-
cate thru the CAT5 ethernet cable connection or thru the wireless con-
nection, so you can manage both sides of a link from a single location.
2.
IP ADDRESS:
Default IP addresses for the EZ-Bridge™ are
192.168.1.139 and 192.168.1.239. To access the EZ-Bridge™ your
computer IP address must be on the same subnet ie;
192.168.1.xxx.
TECH TIP
: Download the EZ-Bridge™ Discovery Tool from
http://
www.e-zy.net/outdoor/EZ-Bridge
. This tool will assist you in finding the
EZ-Bridge™ on the network and allow you to change the EZ-Bridge IP
address or set it as a DHCP client. Just select the unit, click on IP DE-
TAILS, make selections and enter default user name and password to
save changes to the device.


