5
E-flite RV-9 450 Assembly Manual
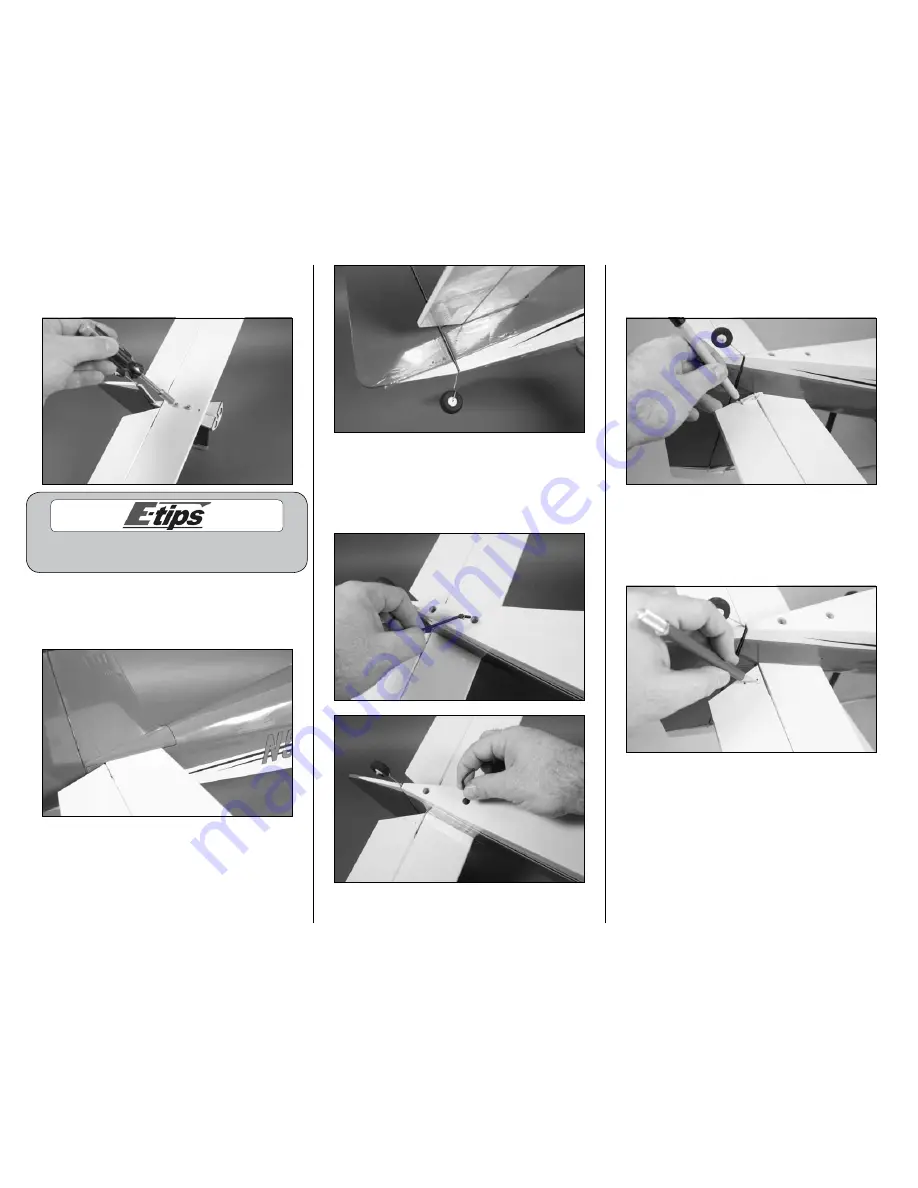
3. Use two 4-40 lock nuts and two #4 washers to
secure the stabilizer to the vertical fin. Use a 1/4-
inch nut driver to tighten the nuts.
Make sure not to over-tighten the
nuts, damaging the stabilizer.
4. Fit the tail assembly to the fuselage. Make sure
to slide the tail post of the vertical fin into the slot at
the aft end of the fuselage. The assembly should fit
tightly in against the fuselage as shown.
5. Use two 4-40 x 1/2-inch socket head bolts and
two #4 washers to secure the tail assembly to the
fuselage. Make sure to use threadlock on both
screws before tightening them with a 3/32-inch
ball driver or hex wrench.
6. Insert the control horn into the pre-drilled holes in
the bottom of the elevator. Use a felt-tipped pen to
trace the outline of the control horn onto the elevator.
7. Remove the control horn. Use a hobby knife
with a new #11 blade to remove the covering from
inside the outline of the control horn drawn in the
previous step. Use care not to cut into the elevator
and damage the underlying wood.


