

Installing your Modem
Step 1:
Turn off your computer.
Step 2:
Plug one end of the Ethernet cable into the socket marked “LAN1” on the back of the modem
(See Figure1). The other end of the cable is plugged into the Ethernet socket on the back of your
computer.
Step 3:
Plug one end of the Phone Cable into the socket marked (DSL) on the back of the modem
(See Figure1). The other end of the cable is plugged into the wall socket.
Step 4:
Plug the power adaptor into the “Power” socket on the back of the modem (See Figure1). Plug the
other end of the power adaptor into the wall socket.
Step 5:
Turn on the power at the wall socket.Turn on the modem using the power switch. Turn on your
computer.
Step 6:
Congratulations - You are now connected and ready to use the internet!
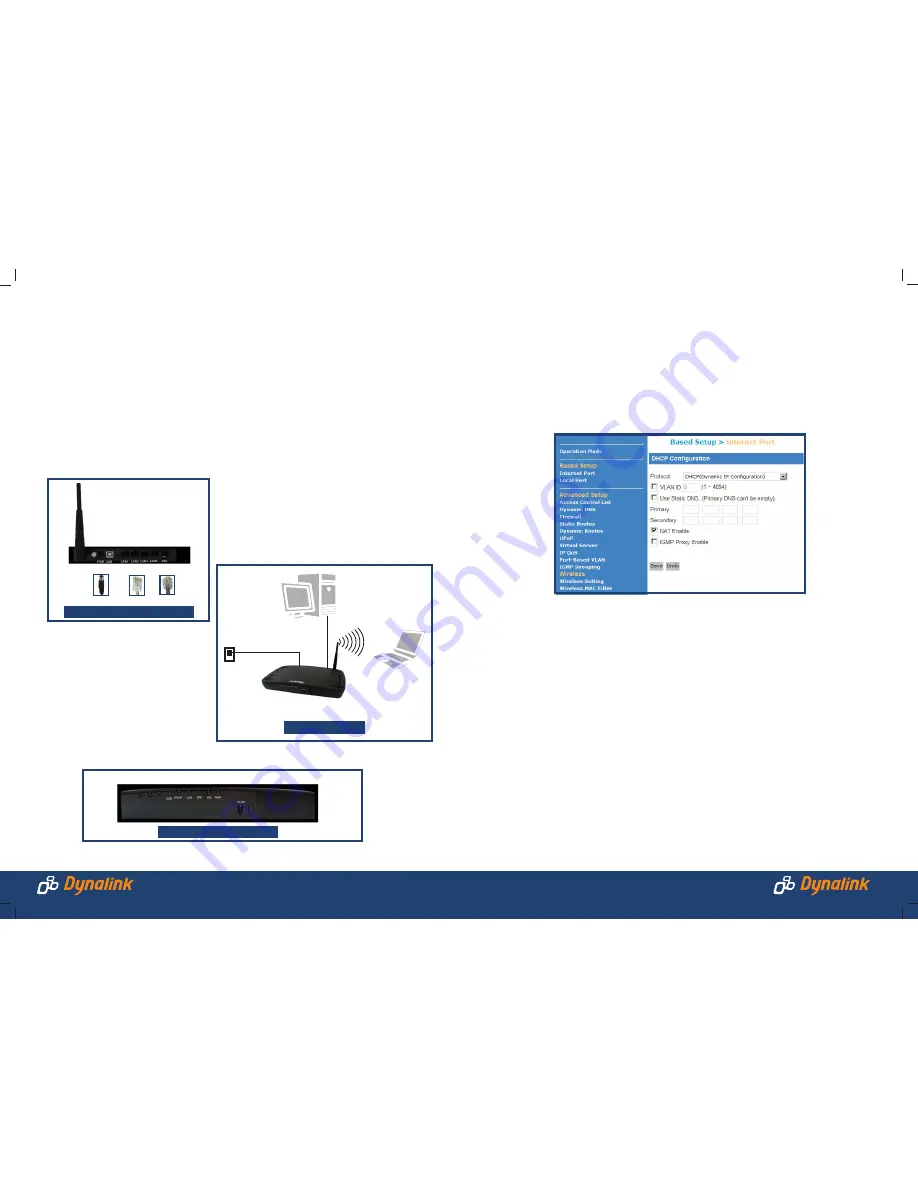
Phone cable
Ethernet
Cable
Computer
Laptop
VDSL2 Wireless Modem Router
Figure 2: Final Setup Digram
DSL
Ethernet
Power
Figure 1: View of the back of the modem
Figure 3: View of the front of the modem
Setting up Wireless
This modem is sent with the wireless functionality turned off for security reasons.
You will need to enable this by following the instructions. There is a degree of risk using wireless modems if they
are NOT configured securely. You are responsible for the security of your wireless connection.
Setup Procedure
1. Ensure the Ethernet cable is plugged into the socket marked “LAN1” on the back of the modem and the other
end is plugged into the Ethernet socket on the back of your computer. Start your web browser. Enter the
default address http://192.168.1.1. User name and Password are both “admin”. You should see the screen as
shown:
2. Click on Wireless Setting in the left menu and then place a tick in the box that says
‘Enable Wireless’.
3. Select an SSID of your choice. This is a descripition given to an access point to identify it and is periodcally
broadcast to advertise its presence. You may change this description at any time.
4. Select a desired channel. If there are other access points nearby, you may need to choose an alternative
channel to avoid interference. Click Save
5. Set up the wireless network card according to the suppliers instructions.
Wireless Security
To enable wireless security:
1. Go to Wireless Setting and select an option from the dropdown box next to Security Mode. Available options
are: WEP, WPA, WPA2, WPA+WPA2 . The best security is provided by WPA+WPA2. Whichever security protection
method is selected, the wireless network card must also support the same method in order to connect.
2. Enter a password in the WPA key field
3. Enter the same password into your computer when connecting wirelessly