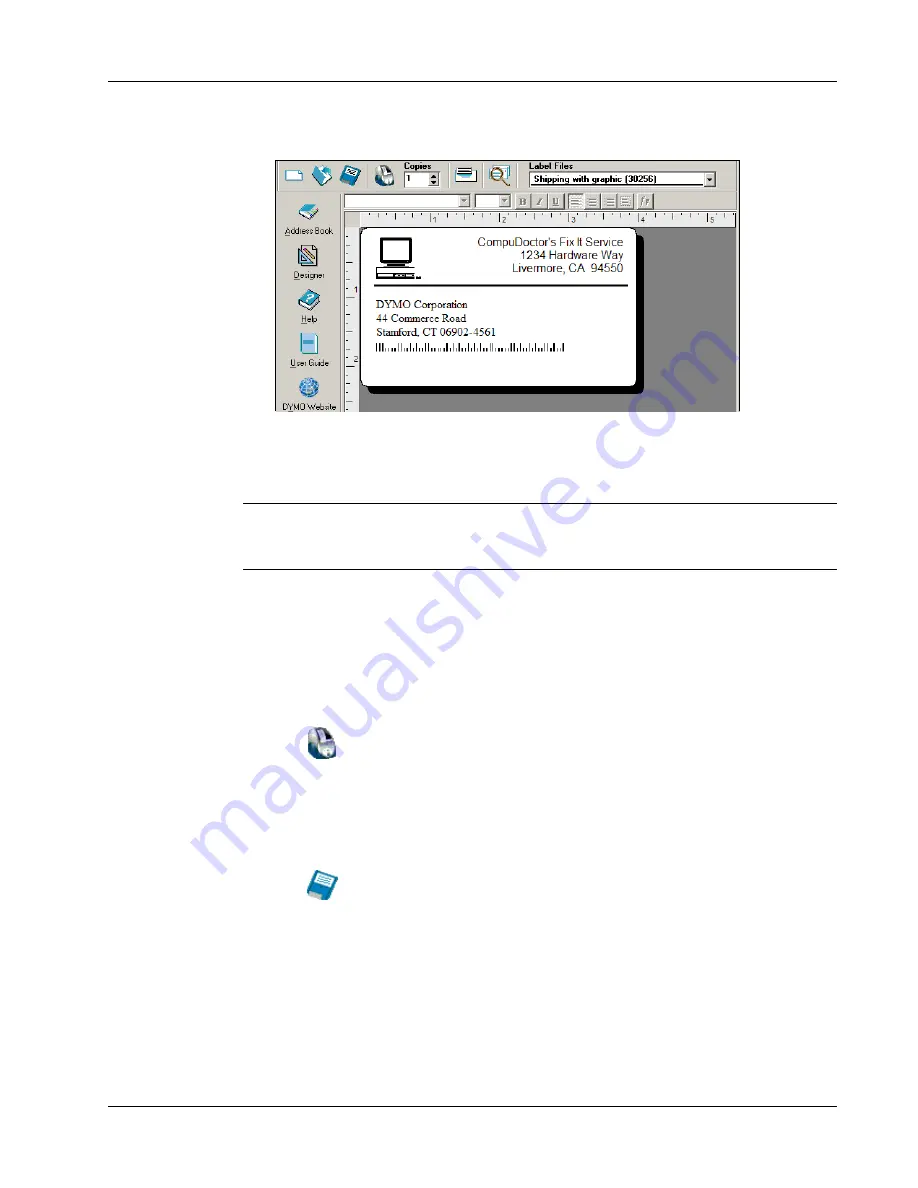
Creating a New Label
9
The recipient address appears in the new font and style.
Printing the Label
Now that you have customized the label, you are ready to print.
NOTE
You can only print this shipping label on EL60, Turbo, 320, 330, and 330 Turbo printers. If
you have an EL40, 300, 310, or 315 printer, review this section even though you will not be able to
print the label.
Before you print the label, make sure:
•
The LabelWriter printer is connected to your computer and turned on.
•
You have properly loaded shipping labels in the printer. If necessary, see the
Quick Start Guide
for information on how to set up your printer and load the labels.
To print the label
1
Enter the number of copies of this label to print in the
Copies
field on the Main toolbar.
2
Click
on the Main toolbar.
Saving the Label
Now that you have created your shipping label, you can save it as a label file. Saved labels will
automatically appear in the
Label Files
drop-down list.
To save the label
1
Click
on the Main toolbar. The
Save File
dialog box appears.
2
Enter
DYMOShip
as the new name for the file and click
Save
.
Notice that your new label file, DYMOShip, is added to the top of the
Label Files
drop-down list
as the most recently used label and also alphabetically in the list of labels below.
To use a label file you created, choose it from the
Label Files
drop-down list.
Содержание LabelWriter DUO
Страница 1: ...DYMO Label Software User Guide ...


