Dvico TViX R-3310 Скачать руководство пользователя страница 26


26

  - SLEEP ON will blink for 3 minutes before turning off 

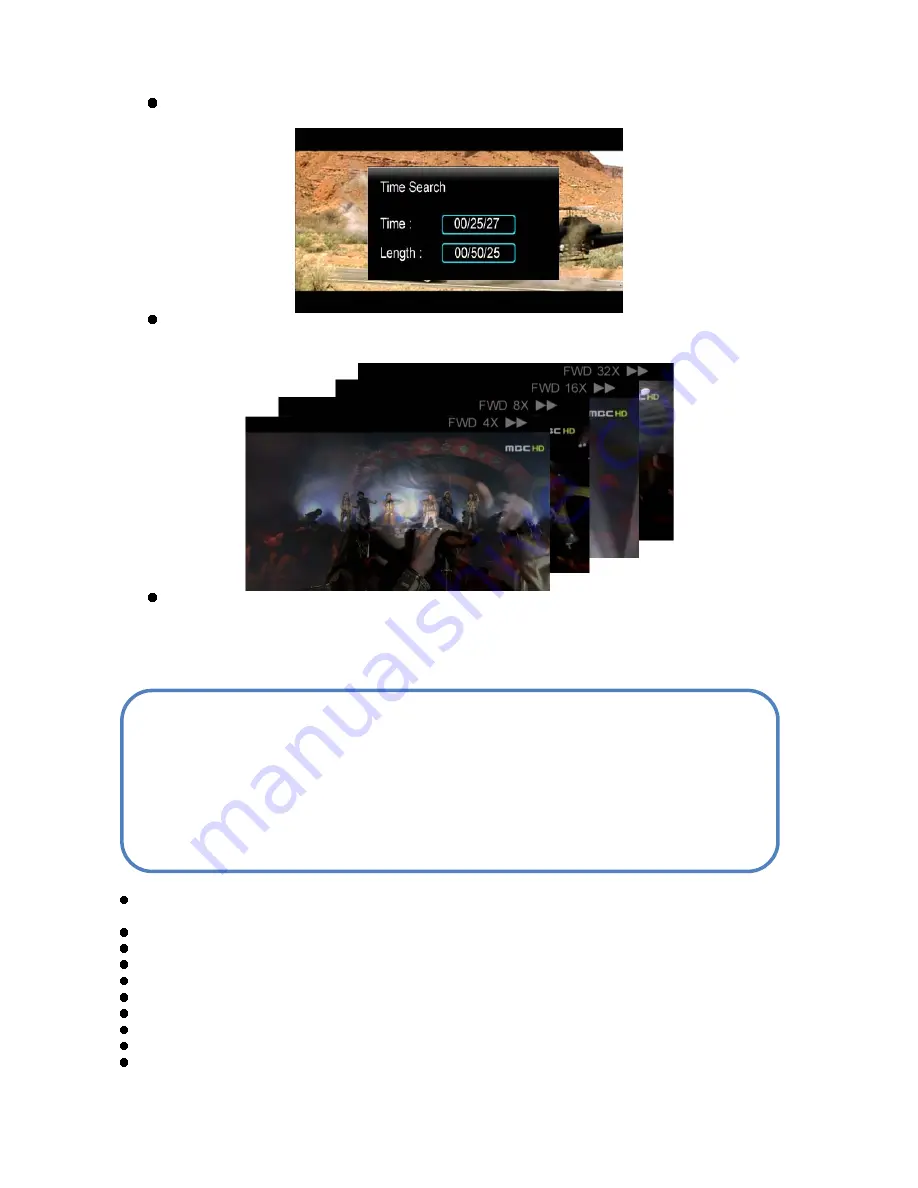
  The present playing time will be displayed with the GOTO function. 


 FF/REW 

Button 


AVI : 2X

Æ

4X

Æ

 8X 

Æ

16X 

Æ

 32X. 


DVD Jukebox : 2X 

Æ

 4X 

Æ

 8X 

Æ

16X 

Æ

 32X 

Æ

 64X. 


  STEP / SLOW Function 

With Pause mode - Right button : Slow Motion playback. 
                  UP/Down Button : 15 seconds skip or 15 seconds backward 
                                   

* Press the VIDEO button and you can filter video files among those stored in the TViX. 


< DVD Jukebox Key > 

  OK Button        - When a movie is playing it operates as a play button. In the menu screen it operates as a 

select button. 

  PAGE-DOWN  - Go to the next chapter. 
  PAGE-UP 

- Go to the previous chapter. 

  AUDIO Button  - You can change the audio. (International dubbing, DOLBY, 2CH, 5.1CH, DTS etc.) 
  SUBTITLE 

- Shows the subtitle menu. 

  MENU Button  - Shows the DVD menu screen. 
  TITLE Button  - Shows the DVD title menu. 
  ANGLE Button - If the DVD title has an angle function, you can change the angle. 
  GOTO Button  - You can choose the time, chapter and title. After choosing you can play directly. 
   OK  - Play the chapter of the number directly. 

** The operation of “PICTURE” and “VOLUME UP/DOWN” is the same for Video operation. 

TIPS 

* Improved to save up to eight bookmarks on eight individual files. (It cannot save eight bookmarks 
on a single file.) 
* Recognizes AVI, MPG, VOB, CAT, M2P video files only. 
* A video file where the folder is setup with a password cannot be saved. 
* When replaying the same file, only the last play position will be saved (thus, bookmarked). 
* Among the bookmark list, a file deleted from the hard disk will be automatically deleted from the 
bookmark list as well. 
* Cannot save the bookmark list when in USB HOST or LAN mode. 

Содержание TViX R-3310

Страница 1: ...ed to provide reasonable protection against harmful interference in a communications However there is no guarantee that interference will not occur in particular installation If this equipment does ca...

Страница 2: ...easily accessible Do not expose TViX to oil smoke water humidity and dust Do not touch power plug with wet hands or do not use defective power cable loose outlet It may cause electric shock or fire B...

Страница 3: ...for customized best performance of the TViX Using other cables or accessories may not provide best performance If you want to unplug the device press the return button to Unplug or Eject Hardware Wind...

Страница 4: ...Connection 9 3 2 Audio Connection 11 3 3 HDD Installation Exchange 12 4 TViX Setup Menu 14 4 1 Audio Video Setting 14 4 2 MISC Setting 16 4 3 Network Setting 17 4 4 HDTV Setting 18 5 Easy Usage of TV...

Страница 5: ...The TVIX R3300 series also functions as an ultimate digital personal video recorder or archiving machine with OPTIONAL DIGITAL TUNERs allowing you to capture the digital TV signals and store them to p...

Страница 6: ...nnecting it to the System to save video audio image files data program backups etc USB 2 0 enables TViX to become as an external storage device which supports speed up to 480Mbit s It supports Plug Pl...

Страница 7: ...ptional DTV Tuner Port One analog multi AV input port for analog PVR functions composite SVHS analog audio Features PVR with optional input cable z Recording the external analog video inputs directly...

Страница 8: ...audio Amplifier using the A V cable There is a detail instruction for tuner box on the quick guide of optional tuner box package 2 3 Package Contents TViX main unit Power cable A V cable USB Cable Ma...

Страница 9: ...e cable TV Output Connection to HDMI Output Connect the TViX Kit HD and your TV Using the Composite yellow video cable Turn on the TViX kit and the TV Select Video input mode as composite on your TV d...

Страница 10: ...e TViX kit and your TV By using the component cables Turn on the TViX Kit and the TV Select video input mode as Component on your TV display by changing setup menu in this case the Component input mod...

Страница 11: ...amplifier with an optical coaxial input you can enjoy 5 1 CH high quality sound through the coaxial or optical cables The illustration in Below shows where to connect the coaxial cable Optical cable c...

Страница 12: ...is very easy Just follow the instructions below Use a Screwdriver and Tighten the Bolts by attaching the guide board to the Hard disk Open the lid of the TViX by sliding as shown in below pictures Co...

Страница 13: ...13 Close the lid of TViX To change the hard disk pull the hdd s guide board while pressing the lock button...

Страница 14: ...h audio codec used If you set Audio to Digital you can set DTS and WMA to digital or analog Please set this according to the audio format your receiver supports Digital Select this when you connect th...

Страница 15: ...multimedia file to the TV screen with the original image Video Output Select this when you connect the video through a component YPbPr or HDMI cable With HDMI setting you can select the output resolu...

Страница 16: ...SD display We recommend the Normal mode Safety Lock Default password assigned is 1111 When safety Lock is enabled Subtitle Outline Change the color of the subtitle and its outline Screen Saver If ther...

Страница 17: ...NTFS file system FAT32 file system does not contain enough information to create a lasting file name so TViX doesn t load the file after changing the file name For the detail instruction you can downl...

Страница 18: ...dio TV Input Select your input This model supports free to air ATSC digital and analog TV Start Scanning Press this menu if you want to scan the channel Timeshift Auto start Timeshift Duration Quality...

Страница 19: ...on the power of the TViX Double click the icon My Computer on your monitor and you will see a newly created drive TViX as shown in picture A The name of the drive can be changed For easy usage double...

Страница 20: ...ht arrow button If you want to change the partition of the HDD press the Jump Repeat button After selecting the icon press the OK button You will see 2 files in the Video folder Using the up down butt...

Страница 21: ...udio menu on screen A and press the OK button You will see the audio file content that you have just copied Select the audio file content using the up down button Then by pressing the OK button on the...

Страница 22: ...you just copied Select the image files using the up down button By pressing the OK button you can easily play the image file content If you want to play the next image press the NEXT button If you con...

Страница 23: ...l button Subtitle button Shuffle button Change Volume Mute button 1 2 3 4 used to change the partition partition 1 partition 2 partition 3 partition 4 6 7 8 9 used to change the Drive Local Network Us...

Страница 24: ...ve more than one partition When you press the JUMP REPEAT button on the remote control you can select another input source TV OUT button DVD Menu button DVD Title button Scroll button Subtitle button...

Страница 25: ...ile you want You can change the subtitle sync using CH ZOOM Button First Press Zoom you can change the size by pressing the arrow buttons Second Press Full screen Third Press PAN SCAN full screen Curr...

Страница 26: ...s the subtitle menu MENU Button Shows the DVD menu screen TITLE Button Shows the DVD title menu ANGLE Button If the DVD title has an angle function you can change the angle GOTO Button You can choose...

Страница 27: ...ou will get the screen with song information Pressing the info button again will take you back to the file list where you can choose another song to hear If there is no Tag information it displays bas...

Страница 28: ...lrc If the file name of a music file and lrc file are the same the lyrics will be displayed automatically Supports ID3 TAG ID3V1 when playing music files Press the INFO button to view the ID3 TAG ID3...

Страница 29: ...OTE You can set the slideshow time interval at the SETUP menu You can change the size of the picture with the ZOOM and SCROLL button Scroll button Change Volume Mute button Information button Zoom but...

Страница 30: ...browsing by icon mode Make a empty file named as icon tvix on the folder that you want to browse by icon The file name for the file used for the icon files is case sensitive it must be the exact same...

Страница 31: ...ding the Firmware Download the latest firmware from http www tvix co kr to your PC Connect the TViX to your PC with a USB and then turn it on Your system will recognize the TViX as an external hard dr...

Страница 32: ...your PC with a USB and then turn it on Make a tvixfw folder in your primary partition Copy the latest firmware file into the tvixfw folder of the TVIX hard drive Press the SETUP button on the top pane...

Отзывы: