21
VAPOR-LOGIC
®
VERSION 6 INSTALLATION AND OPERATION MANUAL
WEB INTERFACE COMMUNICATION
Utilizing the Vapor-logic Web interface is optional . The humidifier can be
operated using the touchscreen display and/or the Web interface . When
using the Web interface, the humidifier can be accessed by a computer either
directly or through a network . Each Vapor-logic controller ships with the static
IP address of
192 .168 .1 .195
. This allows users to locate the Web interface
upon start-up . After initial start-up, the IP address can remain as is, be re-
assigned as another static address, or configured to Auto Obtain Address,
and find an IP address on the network using DHCP . See the steps below for
information about connecting to the humidifier using the Web interface .
CONNECTING WEB INTERFACE DIRECTLY TO A COMPUTER NOT ON A NETWORK
1 .
Connect the Ethernet cable .
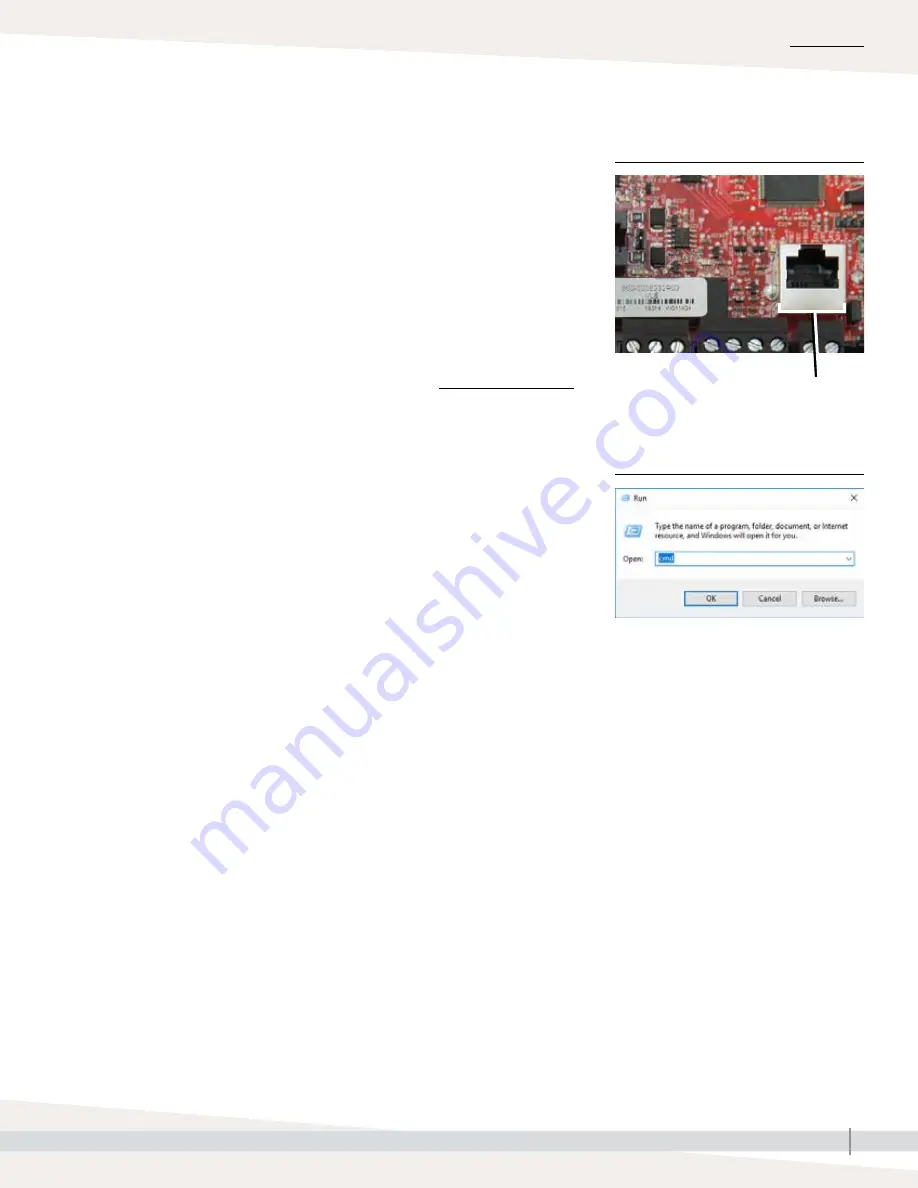
Insert one end of an RJ45 Ethernet cable into the Vapor-logic board at
P9 (labeled Ethernet; see Figure 21-1) until you hear a click sound . Insert
the other end of the cable into a computer . Since the Ethernet port on the
Vapor-logic board is auto-sensing, either a straight-through or crossover
cable will work .
2 .
Check the current IP address of your computer .
Connecting a computer to the humidifier requires that the computer being
used has the same network address range as Vapor-logic . In order to
validate this, check the IP address of the computer being used by going to
the computer’s Start menu and pull up a search window . In the search box
type
cmd
.
Terminal P9:
Ethernet
Vapor-logic default IP address
192 .168 .1 .195
INSTALLATION
Step 1 – Field wiring: Communication connections
FIGURE 21-1: TERMINAL P9
FIGURE 21-2:
CHECKING YOUR IP ADDRESS


