7
DRAWMER
1968 O
PERATOR’S
M
ANUA
L
Initially, set the Attack selector to 3 (a Medium position) and set Release to
6 (Programme Dependent).
Set the Mode switch to Normal and the Meter switch to GR.
With programme material playing, adjust the Threshold control until the desired
amount of gain reduction registers on the meters.
Use the Output Gain control to restore any level lost due to compression.
If necessary, change the Attack and Release settings to suit the material.
THE QUICK SETUP PROCEDURE
Use the following procedure to setup the compressor.
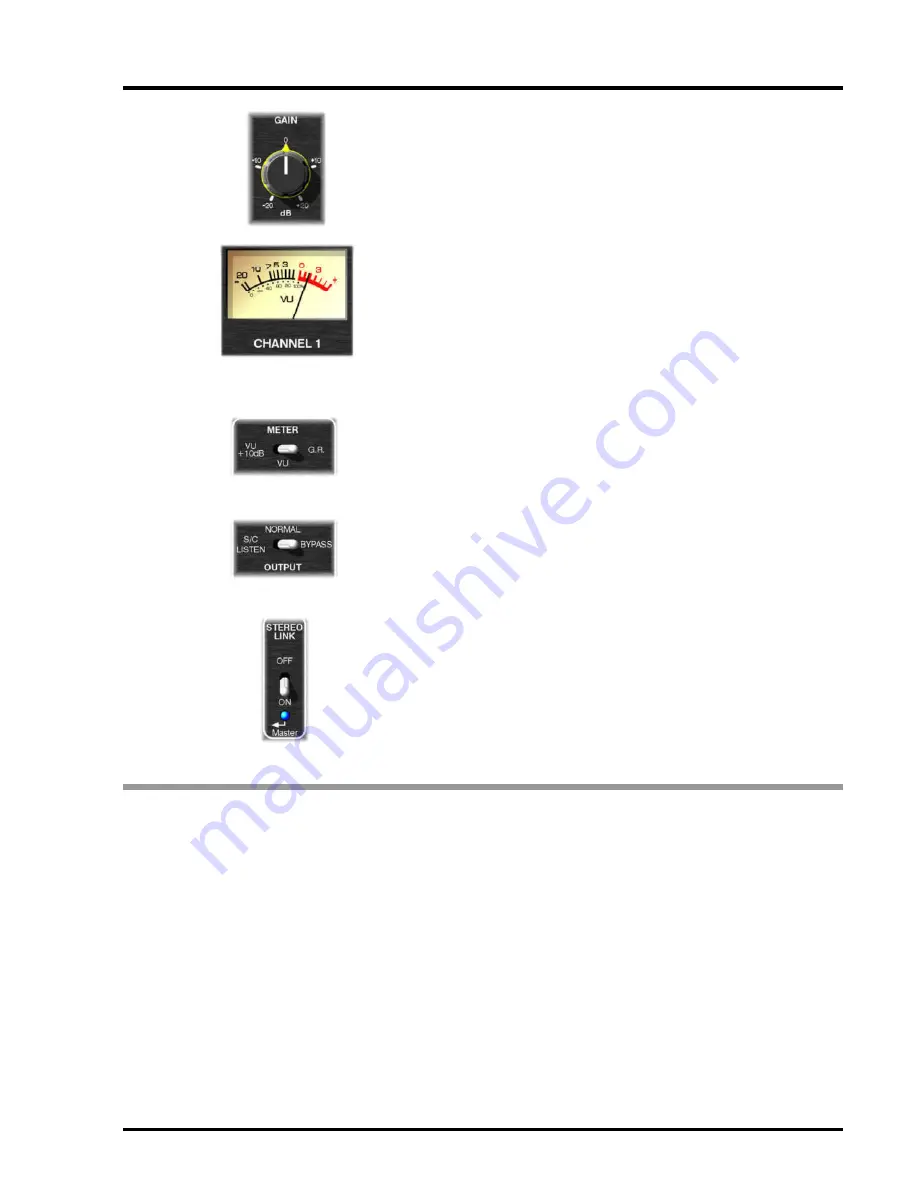
Output:
(Gain)
The Output level may be amplified, or attenuated by up to 20dB to compensate
for level changes caused by compression.
VU Meter
A moving coil VU meter monitors either the level of the output signal or the
amount of gain reduction taking place. Because the meter has VU characteristics,
it closely reflects what is actually being heard, though will not respond quickly
enough to register short signal peaks.
VU +10dB/VU / GR
A three-position switch adjusts the meters to show either normal output level,
gain reduction or VU +10dB mode, which re-scales the meter for users working
at ‘hot’ output levels. In other words, with the switch at VU +10dB - when the VU
meter reads 0dB the actual level is +10dB.
Side Chain/Norm/Bypass
S/C Listen
routes the side-chain signal directly to the output allowing the effects
of any additional side-chain processing, such as equalisation, to be monitored.
Norm
al mode, the signal is passed through the compressor.
Bypass
takes the compressor and the vacuum tubes out of circuit path; the
output signal is taken from the channel input point.
Stereo Link
This makes Channel 1 controls the stereo master and disables the compressor
stage of channel 2 when the unit is used for processing a stereo signal. Since
the same gain reduction is applied to both audio channels no image shifting can
occur.
•
•
•
•
•


