3
Tips for Shooting Eyecam Extreme Video
When you shoot video remember the range of the video camera transmitter is limited to about 1000-
2500 feet, but you should not be that far apart because the signal strength decreases with distance. Metal
objects and other transmitters or noisy electrical circuits and motors may also interfere with the signal.
The receiver works best if it is above the ground as much as possible and in direct line of sight with the
transmitter.
When we shot our videos we had a pilot /driver and a director/helper aiming the receiver and coaching
the pilot about which shots looked the best. The lens on the video camera has a fixed focal length, which
means if you want a close up of an object you have to move in close to it or move back for a wide shot.
The director/helper can be most useful by telling the pilot/driver if the target is in the shot and what to do
to make the shot better. After awhile the pilot can get a feel for positioning themself for a shot but it takes
practice. The camcorder we used had an LCD screen so we were able to do the establishing shots of the
Draganflyer V Ti from the pilot's point of view and then connect the video receiver from the onboard
camera to the camcorder without using a separate monitor. This arrangement is convenient and mobile.
Don't try to get all your shots on one flight. Better to get one good shot per flight than lots of ‘less
than perfect’ ones. Radical moves look good from the observer's perspective but from the onboard camera
they mostly make the audience disoriented.
Tips for Shooting Video
continued
Mounting The Eyecam Extreme
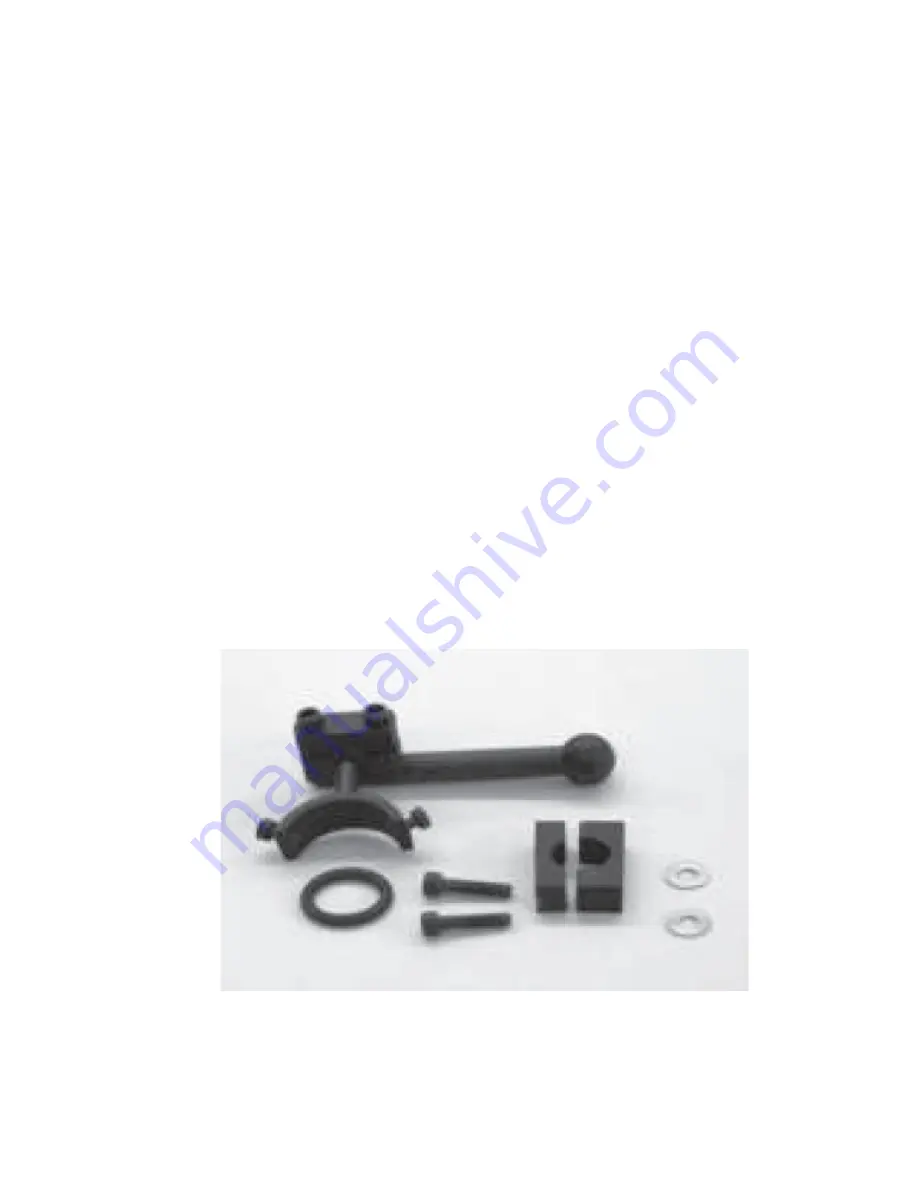
The Eyecam Extreme can be used in many applications. We have supplied you with an articulating
camera mount that we have found useful in many different applications. The mount is easily attached by 2
Allen head bolts as seen below.


