


doerr-outdoor.de
12
11
|
OPTIONAL ACCESSORIES
11.1 Optional mounting accessories
Our optional accessories such as the
patented DÖRR holding fixture
in combination with the DÖRR universal adapter
are designed for
fast and easy mounting of the camera at a tree, wall or other objects.
The camera clicks into the holding fixture and is firmly held in pla-
ce. The camera can be removed easily for a quick change of place of
action. The ball head ensure a flexible direction of the camera. The
fixture is rotatable by 360° and swivels up to 30° in all directions:
DÖRR Holding Fixture Multi for SnapShot
DÖRR UNI-1 Universal Adapter for Holding Fixture
11.2 Optional anti-theft devices
Pull a
padlock
(available as accessory) through the eyelet (07) to lock
the camera housing:
DÖRR Combination Lock 3-digits small
DÖRR Combination Lock 3-digits medium
Use our
DÖRR cable lock
(available as accessory) and pull it through
the eyelet for cable lock (18) on the backside of the camera to secure
it against theft:
DÖRR Universal Cable Lock 1,80 m
For a very high level of security, lock the camera in our
weatherproof
and rust-free DÖRR metal housing „Made in Germany“
, which op-
timally protects your camera against theft, vandalism and extreme
weather conditions:
DÖRR Metal Housing GH-M for SnapShot Mini
Visit our web shop
www.doerr-outdoor.de
for a great variety of sur-
veillance camera accessories and get more information on our wide
assortment of
hunting and outdoor items!
12
|
PLAY & DELETE FILES
12.1 View photos
Slide the Switch (09) to position
SETUP
.
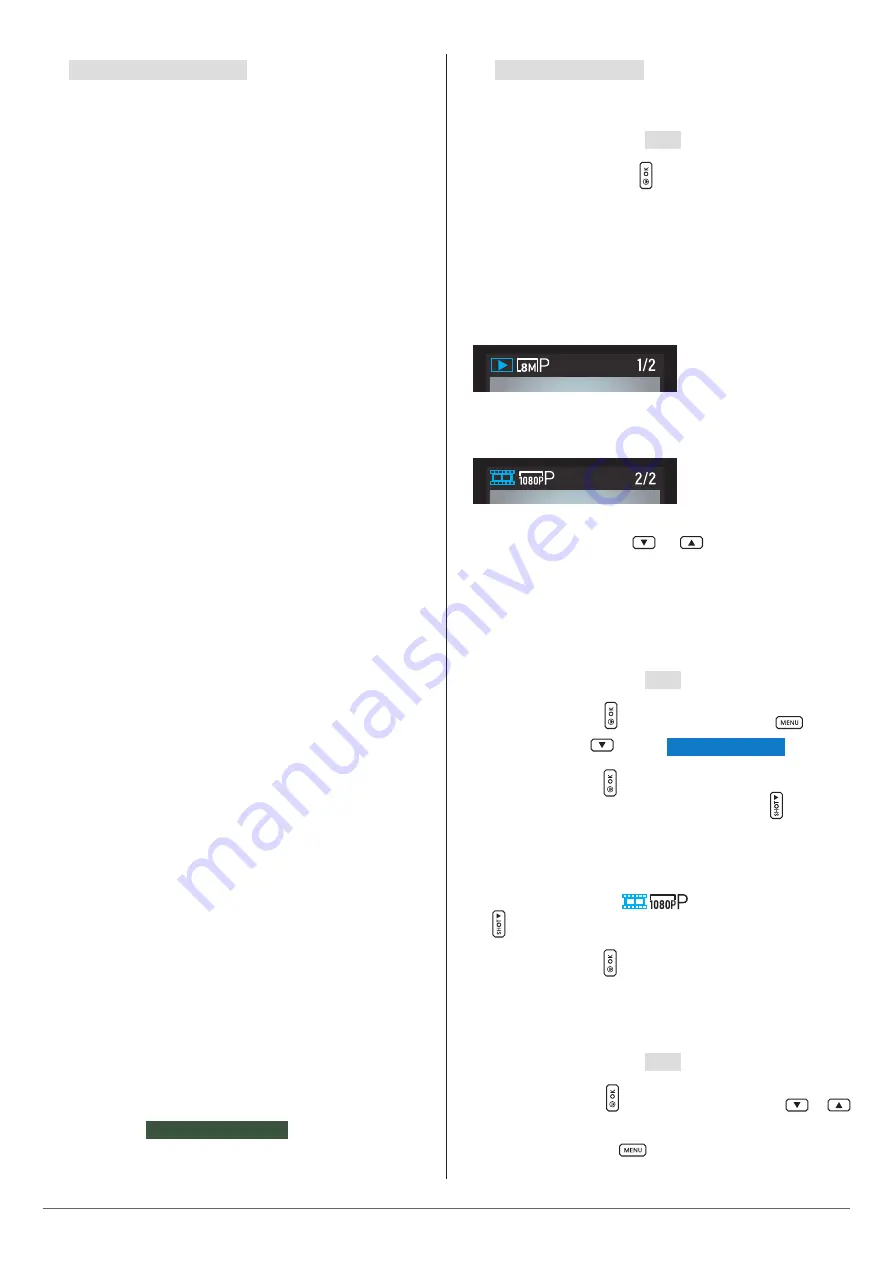
Press OK/playback button (12) . The camera display shows the la-
test recorded image. You can see whether the recording is a
photo or
a video, the resolution with which the photo or video was taken
and the number of recordings made
at the top left of the LCD display
(08):
Photo:
Video:
Use navigation buttons (11)
or
to browse through your
gallery.
12.2 Slideshow
Alternatively, you can play your recordings as a slide show:
Slide the Switch (09) to position
SETUP
.
Press the OK button (12) . Press the menu button (10)
. Use the
navigation button (11)
to select
Activate slide show
.
Press the OK button (12) to start the slide show.
To end the slide show, press the navigation button (11) .
12.3 Play videos
If the recording is a video
, press the navigation button
(11) to play the video on the LCD screen.
Press the OK button (12) to return to the start screen.
12.4 Delete files
Slide the Switch (09) to position
SETUP
.
Press the OK button (12) . Use the navigation keys (11)
or
to select the file to be deleted.
Press the menu button (10)
.