4. The
Triggering Source
field defines if the sampling will be triggered manually (by clicking Live or Record) or will
be triggered by one of the input channel.
5. The
Saving Options
button opens an external window that allows you to configure the saving path and filename
of the channels signal file.
6. The
Target File
field indicates the saving path and filename of the channels signal file.
2.2.2 Configuration Tab
1
2
3
4
Figure 2.13:
Configuration Tab
The different buttons of the
Configuration Tab
are shown in Figure
and their functions are explained below.
1. The
Add Channel
button opens the
Channels configuration
window to setup the channels. This window is
detailed in section
2. The
Clear Configuration
button resets the acquisition view and all other parameters set. Any configurations
already set will be lost.
3. The
Save Configuration
button is used to save the OTPG configuration in a
.doric
format.
4. The
Load Configuration
button allows an OTPG configuration in
.doric
format to be loaded. Recorded data
files also contains the configuration used during the experiment and this configuration can be loaded using this
button.
2.2.3 View Tab
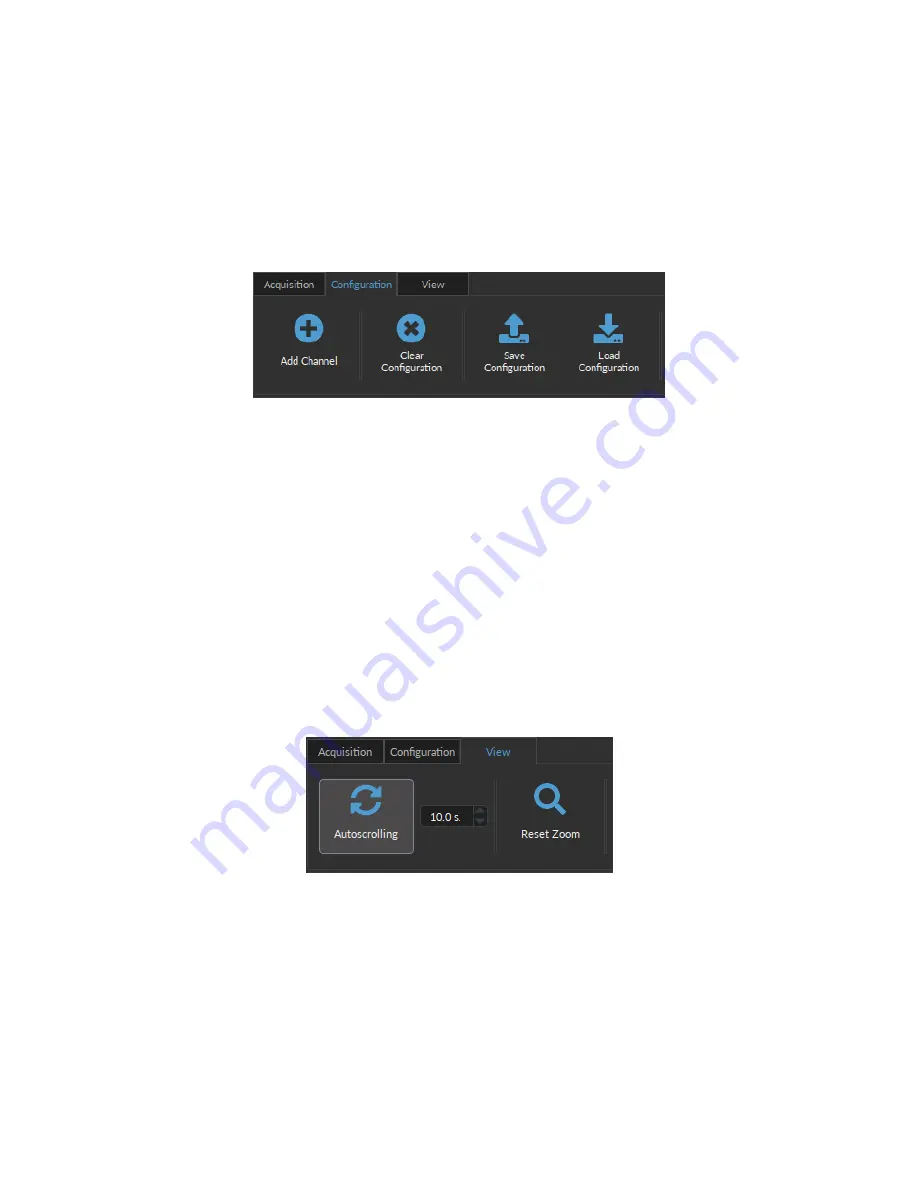
1
2
Figure 2.14:
View Tab
The different buttons and fields of the
View Tab
are shown in Figure
1. The
Autoscrolling
button, when clicked, makes the graphs scroll as new data appears. The duration (in seconds)
kept on display is controlled by the field beside the button.
2. The
Reset Zoom
button resets the horizontal axis of all graphs displayed in the
Acquisition View
to the duration
chosen in the
Autoscrolling
field.
Chapter 2. Operations Guide
12


