10
10
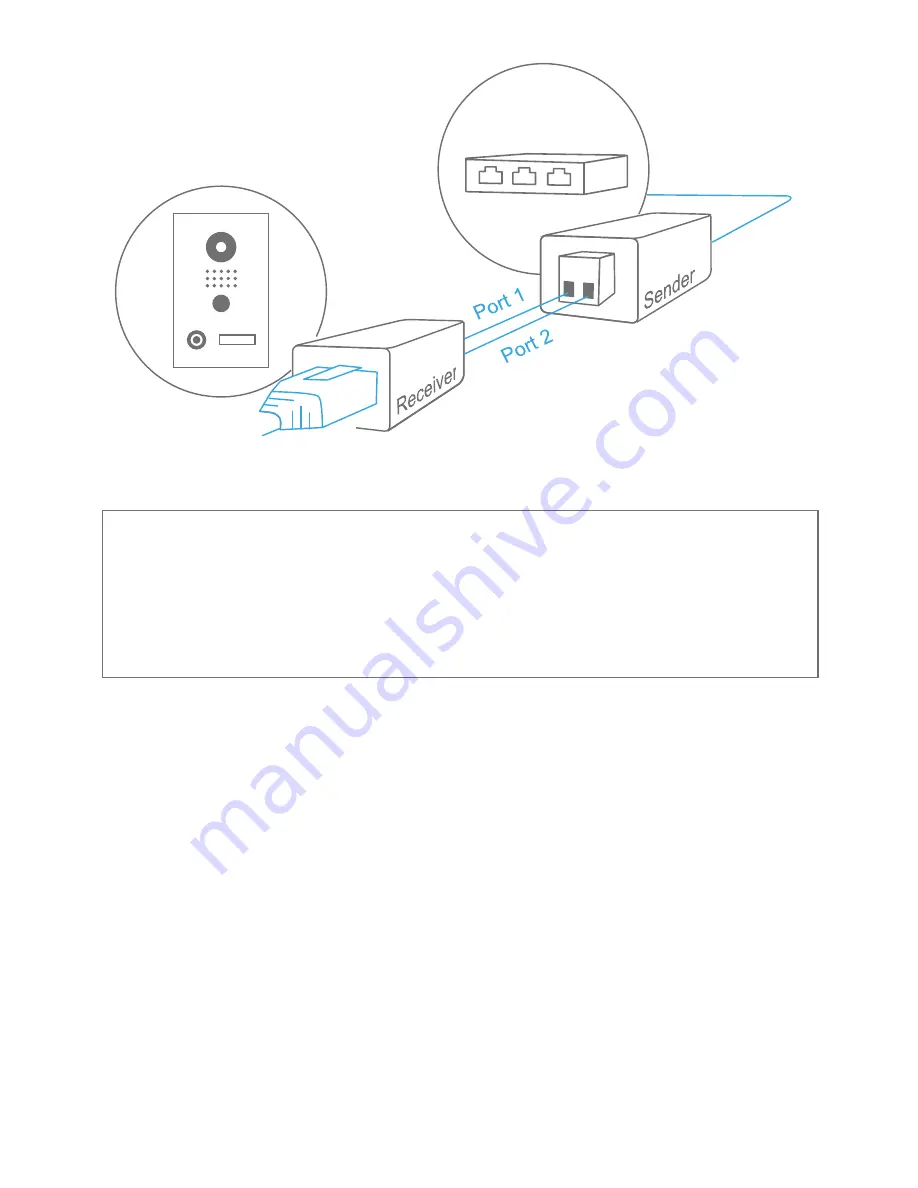
STEP 3: SENDER INSTALLATION
Place the Sender at he end of your network cable (coming from your Internet
Router followed by a PoE-Switch / PoE-Injector) and your 2-wire cable begins.
Connect the network cable to the RJ45 jack of the Sender and the 2-wire
cable to the Port ″1″ and ″2″ of the Sender. Please take care of the polarity of
the 2-wire cable (″1″ and ″2″).
A PoE-Switch (e.g. D-Link DGS-1008P) or PoE-Injector (e.g. DoorBird Gigabit
PoE Injector) in accordance with the PoE standard IEEE 802.3af Mode A
(network cable wires 1, 2, 3 and 6) must be used to power the Sender. You can
find further information about PoE here:
http://www.doorbird.com/poe
A Cat.5 network cable with RJ45 plug or better must be used to connect to
the ″LAN/PoE″ jack of the Sender.
Caution: When using unshielded wires as 2-wire cable (e.g. simple bell-
wire) between the Sender and Receiver please make sure that no other
electricity-carrying wires are close to the 2-wire cable at any time.
Electricity creates a magnetic field which disturbs the transmission of
the Sender and Receiver seriously and leads to instable transmission
of power (PoE) and network data.
The 2-wire cable between the Sender
and Receiver are limited to maximum
length of 80 meters/262 feet.
PoE +
Ethernet data
PoE +
Ethernet data
Содержание A1071 Series
Страница 27: ...27 DEUTSCH Space for notes Platz f r Notizen...
Страница 28: ...www doorbird com...


