background image

17

Preparation

After all necessary connections have been made, press POWER to turn on the player and then press the 
MODE button to select DVD. The following discs can be read by the player : DVD /CD / MP3 /JPEG.

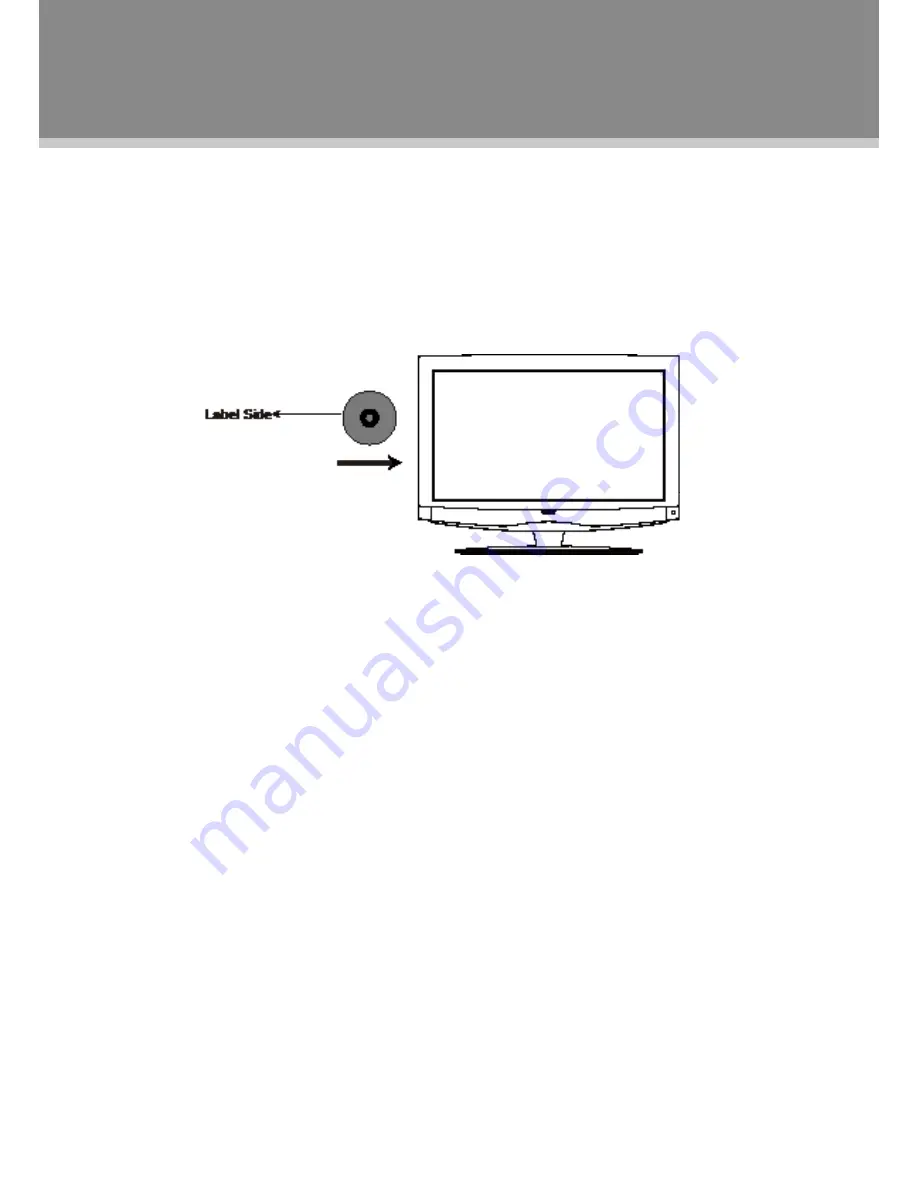
Disc Loading

1.  Put the disc slightly into the disc tray.
2.  The disc will be taken automatically into the tray.  

Warning

:  Do not play poor quality discs that may damage the player's lens.

DVD Playback


MENU


Normally a DVD disc consists of several titles and chapters. Once disc data is recognized by the   


player, a root menu will be displayed on the screen . Press the direction buttons to select the  


desired title/chapter from the menu and press OK to play. During playback, press DISC MENU to   


return to the root menu. Some discs start playback automatically.


SUBTITLE


Press the SUBTITLE button to select subtitle languages for multi-subtitle discs.


ANGLE


Press the ANGLE button to select the available viewing angle. Some discs are recorded from various  


camera positions, which lets you enjoy the same scene from different perspectives. In this case,     


you'll usually find a marking on the DVD sleeve.


VOLUME


During playback, press the VOL+ button to increase the volume and press the VOL- button to  


decrease the volume.

DVD Operation

Содержание CB12 - CX Portable Radio

Страница 1: ...ude to constitute a risk of electric shock The exclamation point within an equilateral triangle is intended to alert the user to the presence of important operation and servicing instructions in the l...

Страница 2: ...ntial installation This equipment generates uses and can radiate radio frequency energy and if not installed and used in accordance with the instructions may cause harmful interference to radio commun...

Страница 3: ...AC power cord 1111 Do not pull the AC power cord Do not handle the AC power cord with a wet hand 1111 Do not touch the power cord and antenna cable during lightning 1111 Remove the plug from the wall...

Страница 4: ...and headphones can cause hearing loss To avoid damaging your ears adjust the Volume to the lowest level before playback and turn up to the desired level when playback has started Legal and Trademark N...

Страница 5: ...Instructions Main Feature 1 Package Contents 2 Unit View 3 Remote Control 4 Cable Connections 7 TV Function 11 AV Function 15 PC Function 16 DVD Operation 17 Playback Function 19 DVD Setup 21 Troubles...

Страница 6: ...Main Features NOTICE The LCD panel used in this unit contains millions of thin film transistors that have been manufactured using a high technology process to deliver a crisp clear and detailed pictu...

Страница 7: ...2 Please make sure the following items are included with your product If any item is missing contact your dealer a Main Unit b Power Cord RCA Cable c Remote Control Unit Package Contents a b c...

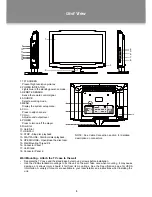
Страница 8: ...nstructions when installing the unit 1 TFT SCREEN Present high resolution pictures 2 POWER INDICATOR Lights blue in the standby power on mode 3 REMOTE SENSOR Sense the remote control signal 4 SOURCE S...

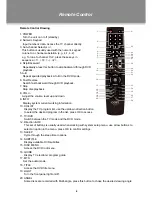
Страница 9: ...splay the TV program list use the up down direction button to select the desired program in the list press OK to access 11 TV DVD Switch between the TV mode and the DVD mode 12 Direction OK This set o...

Страница 10: ...h DVD playback 26 Play Pause Press this button to start hold DVD playback 27 SOURCE Display the working mode menu use the up down direction button to select a desired working mode press OK to enter 28...

Страница 11: ...a long period of time Warnings The battery used in this device may present a fire or chemical burn if mistreated Do not recharge disassemble incinerate or heat the battery 212 F Keep batteries away fr...

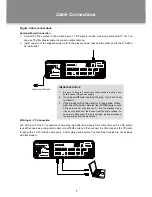
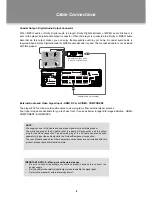
Страница 12: ...jack and the PC Audio In jack with a 15 Pin D Sub cable and a 3 5mm stereo audio cable The mentioned cables are not included with this product Cable Connections Wall Outlet 100 240V AC 100V 240V 50Hz...

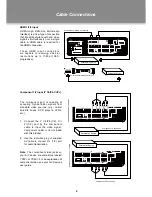
Страница 13: ...o image definition HDMI COMPONENT S VIDEO RCA Cable Connections AC 100V 240V 50Hz 60Hz Amplifier equipped with a Dolby Pro Logic Surround Ampli er equipped with a DolbyPro Logic Surround Coaxial cable...

Страница 14: ...2 port for audio transmission Note The component video jacks on your A V device are sometimes labeled YPbPr or YCbCr For an explanation of component video see your A V device s user guide HDMI High De...

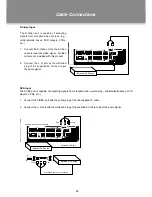
Страница 15: ...1 cable to input the video signal S Video cable is not included with this product Connect the L R port by the white red 222 plug of the supplied AV cable to input the audio signal AC 100V 240V 50Hz 60...

Страница 16: ...ut channels 444 directly For an initial use you need to scan channels under the Channel Menu See the Channel Menu section for details System Setup Menu Most of advanced functions and features are perf...

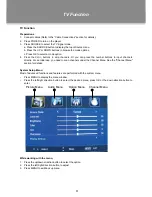
Страница 17: ...N Picture Mode Setup the picture mode Custom Vivid Standard Sports Theater Energy Saving Contrast Adjust the display contrast Brightness Adjust the display brightness Color Adjust the display color Ti...

Страница 18: ...Reset RRT Restore RRT to the default Time Press the right direction button to access Time options Sleep Timer The unit will shut down automatically on the Sleep Time The available option is 5 10 15 30...

Страница 19: ...right direction button to access the Show Hide menu In the Show Hide menu press the up down direciton button to select the channel press OK to hide the channel press OK again to release Press the left...

Страница 20: ...tton to display the system menu Press the left right direction button to select the desired sub menu press OK or the down direction button to enter While working with the menu Press the up down direct...

Страница 21: ...rection buttons to select the desired item 111 Press the left right direction button to adjust 222 Press MENU to exit back up the menu 333 NOTE Please see the TV section for menu descriptions PC Funct...

Страница 22: ...a root menu will be displayed on the screen Press the direction buttons to select the desired title chapter from the menu and press OK to play During playback press DISC MENU to return to the root men...

Страница 23: ...on buttons to select the target file and press OK to access Picture Rotation There are four kinds of rotational modes Inversion Enantiomorphism rotate left and rotate right Press direction buttons to...

Страница 24: ...e to set the starting point A 222 press it twice to set the ending point B the player would start playing section A B To cancel press A B NOTE Some discs do not support the repeat function Search Func...

Страница 25: ...Zoom Function Repeatedly press the ZOOM button to achieve the following zoom effect NOTE There is no zoom function for MP3 or CD discs Programming Chapters Tracks You can store up to 16 programs Press...

Страница 26: ...splay from becoming damaged If the Screen Saver is set ON the screen saver picture appears when you leave the player in the stop mode for about a few minutes Press any button on the unit remote to exi...

Страница 27: ...SD Language Setup the OSD language English Audio Lang Setup the audio language English Subtitle Lang Setup the subtitle language When OFF is English selected the subtitle will not be displayed Menu La...

Страница 28: ...ly Reset the color system of the unit Check if the system has been properly connected Check if the AV video signal input cable is connected properly Check if the system has been properly connected If...

Страница 29: ...0 4215 H x 0 4215 V ATSC NTSC 75 100 240V 50 60Hz On Working 110W Max Speaker 2x 8 10W 0 c 40 c Active Area Resolution Display Color Pixel Pitch TV System Antenna Impedance Power Consumption Operatin...

Страница 30: ...TFT LCD Widescreen Television Instruction Manual Please read this manual carefully before connection and use TFDVD2695 3295...

Отзывы: