3. Install the smart device to collar
Option1
:
There is one sheet of installation link in package which can guide your proceed the
installation operation.
Option2
:
Follow the steps of this manual to proceed the installation operation.
Step1: Install the smart hardware to collar
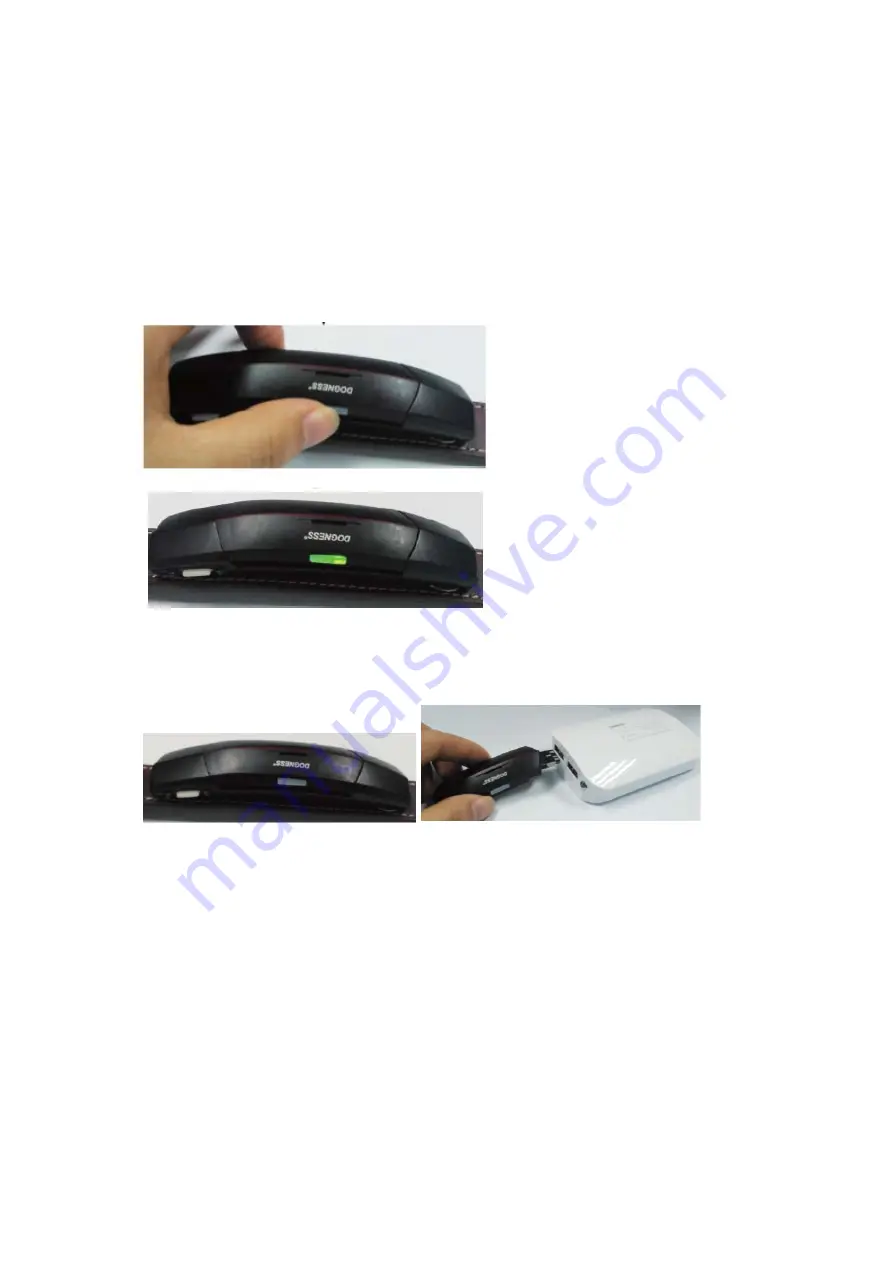
Firstly, we take up the smart hardware, long press the power switch for 3 seconds, then we can
hear the warning tone and see the red and green light flash which indicates the hardware has
worked.
picture1
picture2
※
Reminders: If the hardware can’t be turned on successfully, please check the hardware
whether out of power, if there is no electricity please charge the hardware into any standard USB
interface for about 10 minutes, then we can proceed the turn on operation.
picture3
picture4
Step2:
Put the hardware on the plastic base
Next, let’s put the hardware on the plastic base which positioning on the surface of the collar,
press the power switch for test, if all led lights of the collar are turned on, indicates that the
hardware successfully be fixed and the smart collar begin to work. Then we can adjust the collar
length according to the neck of your dog.


