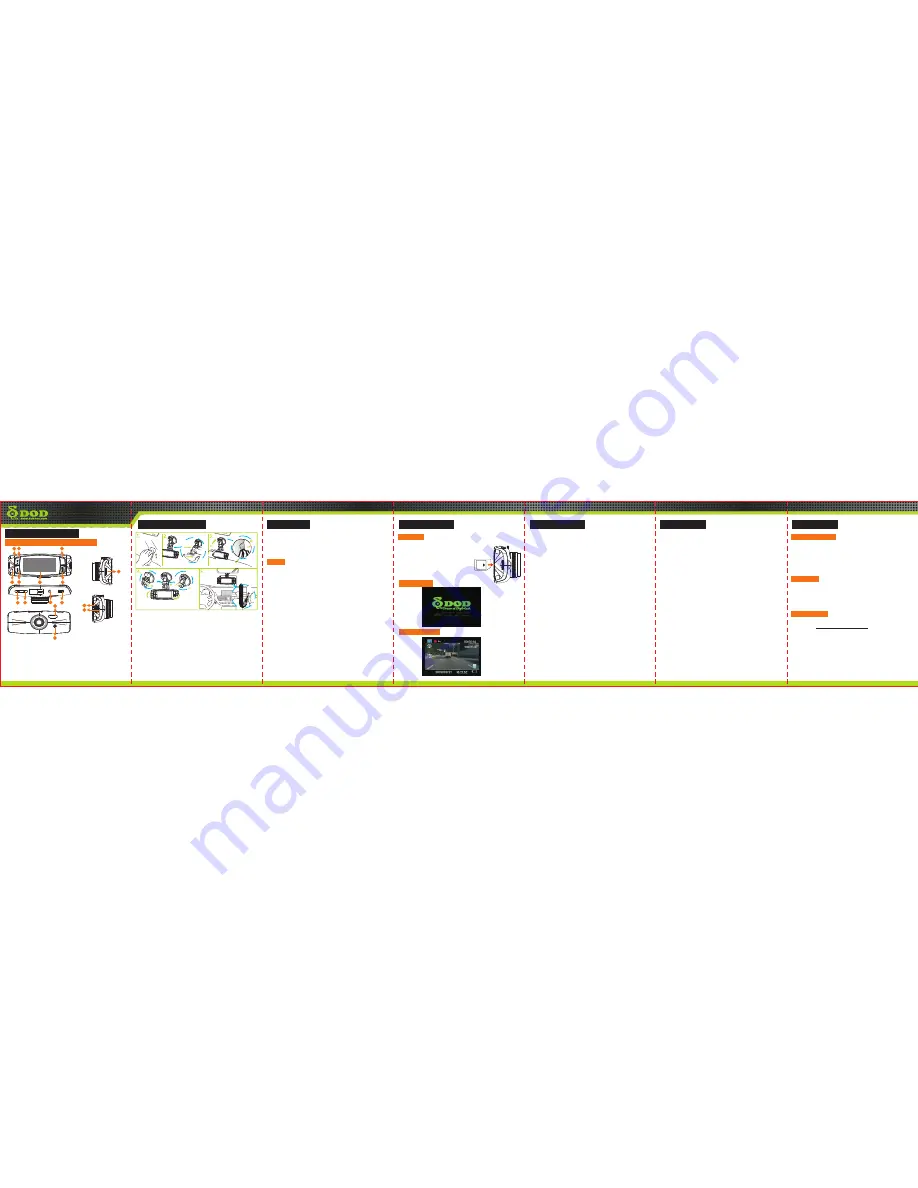
Hardware
Installation
Guide
Installation
and
Fixation
Software
Operation
SD
1.Please
insert
the
memory
card
into
the
SD
Card
Slot
with
the
specified
direction
,
and
then
use
the
bracket
to
install
the
device
inside
the
car
.
2.When
using
the
bracket
,
please
choose
the
position
carefully
.
Do
not
place
the
device
in
the
position
that
blocks
the
driver
'
s
sight
or
affects
thel
work
of
the
airbags
.
3.If
there
is
any
splotch
,
fingerprints
or
other
kinds
of
smudginess
on
the
windshield
,
please
wipe
clean
it
before
installing
.
1.Insert
the
memory
card
2.Connect the car charger into the vehicle
cigarette lighter and the device
3.Start
the
vehicle
.
4.The device be turned on, and start
recording automatically.
Please
connect
the
vehicle
cigarette
lighter
and
start
the
engine
,
the
device
will
be
switched
on
immediately
.
When the engine stoppedor the vehicle power supply be removed,
the device will shutdown automatically.
Notes
1.For
the
users
whose
vehicle
cigarette
lighter
keeps
power
supplying
after
the
engine
stopped
,
please
unplug
the
car
charger
before
leaving
the
vehicle
.
2.Please use Class 6 or above Micro SD card
DOD
Opening
System
Settings
Recording
Settings
Video
Playback
Video
-
Play
Operation
1.After
stopped
recording
,
press
MODE
to
enter
the
video
-
play
mode
.
2.Press
UP
or
Down
to
select
the
desired
video
to
play
.
3.Press
CONFIRM
to
start
playing
video
.
4.
Press
CONFIRM
again
to
pause
the
video
.
Delete
Video
1.After
stopped
recording
,
press
MODE
to
enter
the
video
-
play
mode
.
2.Press
UP
or
Down
to
select
the
desired
video
to
delete
.
3.Press
MENU
,
enter
the
menu
to
delete
the
video
or
delete
all
.
Play
on
Computer
It
is
recommended
to
play
the
video
by
free
software
VLC
PLAYER
.
Please
go
to
http://www.videolan.org/vlc/
to
download
and
install
VLC
Player
.
Recommended
PC
requirements
for
1080P 30fps
video
playing
:
1.intel Core 2 Duo 2.0GHz or
above CPU
2.2G
or
above
DDRII
RAM
3.Graphic
card
supports
DirectX
10
or
above
8
9
10
11
12
16
3
.
UP/Zoom in
5
.
MENU/SOS Emergency File Lock
4
.
DOWN/Zoom out
7
.
2
.
7
-
Inch
TFT
Display
Screen
6
.
MODE Switch
8
.
Micro
-
SD
Card
Slot
9
.
Video
Recording
/
Camera
/
Confirm
10
.
Power
switch
11
.
AV
Output
Port
15
.
HDMI
Output
Jack
14
.
Speaker
13
.
LED
lamp
16
.
Reset
key
2
.
Microphone
1
.
Indicator
15
13
14
M
E
N
U
3
5
1
4
6
7
12
.
USB/Vehicle Charger Power
SupplyJack
2
After
stopped
recording
,
press
MENU
to
enter
the
recording
settings
.
Resolution
:
Set
the
recording
resolution
.
Record
Cycle
:
Set
the
video length in recording cycle mode, or
toggle off record cycle function.
WDR
:
Toggle
on
or
off
the
WDR
function
.
EV
:
Set
the
exposure
value
.
Motion
Detection
:
Toggle
on
or
off
the
motion
detection
recording
function
.
Sound
Recording
:
Toggle
on
or
off
the
sound
recording
function
.
Date
Stamp
:
Toggle
on
or
off
the
data
stamp
function
.
G
-
sensor
:
Set
the
sensitivity
level
of
the
G
-
sensor
file
protection
.
After
stopped
recording
,
press
MENU
twice
to
enter
the
system
setup
.
Date
/
Time
:
Set
the
system
time
.
Auto
Power
Off
:
Set
the
automatic
shutdown
time
after
the
power
disconnected
or
keep
the
device
working
until
the
battery
run
out
.
LCD
Off
:
Set
the
screen
automatic
off
time
,
or
set
it
as
always
on
.
Beep
:
Switch
on
or
off
the
system
beep
indicator
.
Language
:
Support
multiple
languages;
you
can
choose
the
language
according
to
your
preferences
.
TV
Mode
:
You
can
toggle
between
NTSC
and
PAL
when
in
video
output
mode
.
Frequency
:
Support
50Hz
and
60Hz
.
Format
:
Format
the
memory
card;
please
backup
your
data
before
formatting
.
Default
Setting
:
Reset
all
the
settings
to
the
default
state
.
Version
:
Check
the
system
version
number
.
Power
On
/
Off
Product
Structure
(
Including
Hotkey
)
Switch
On
Recording
image
LS300W
MENU
MENU
MENU


