


56
Using Border Print
Cha
p
te
r 6
O
per
at
ion
• Up to 99 prints can be made of one image.
• The number of prints in a single order cannot be
increased beyond the limit on the maximum number
of prints that was set by the administrator. To add
further prints, it is necessary to either reduce the
number of prints already specified, or else divide the
order into multiple orders.
• If the [Odd/Even Message] setting is enabled in Cut
mode and the number of prints is odd, a message will
appear. Be sure to check the number of prints.
• When using border print, a layout settings screen
(crop and rotate) will appear immediately after
touching an image that you want to print. Touch
[OK] or [Cancel] to return to the image selection
screen, and the button menu popup display will
appear.
For details on the layout settings screen, see
“Specifying the Layout (Crop and Rotate)” on
page 61
.
3
Once all of the desired images have been selected and
the print quantities have been specified, touch the
[OK] button.
If the unit is in Event mode, printing begins.
If the unit is in Full mode or Quick Print mode, the
order confirmation screen appears.
For details on how to proceed, see
Printing the Order” on page 59
.
Using Border Print
J
Expansion CompactFlash card required
J
Applicable modes: Full mode, Event mode
This function lets you print images with a border or text.
Only one type of border can be selected per order. The
selected border is printed on all of the images printed in
that order.
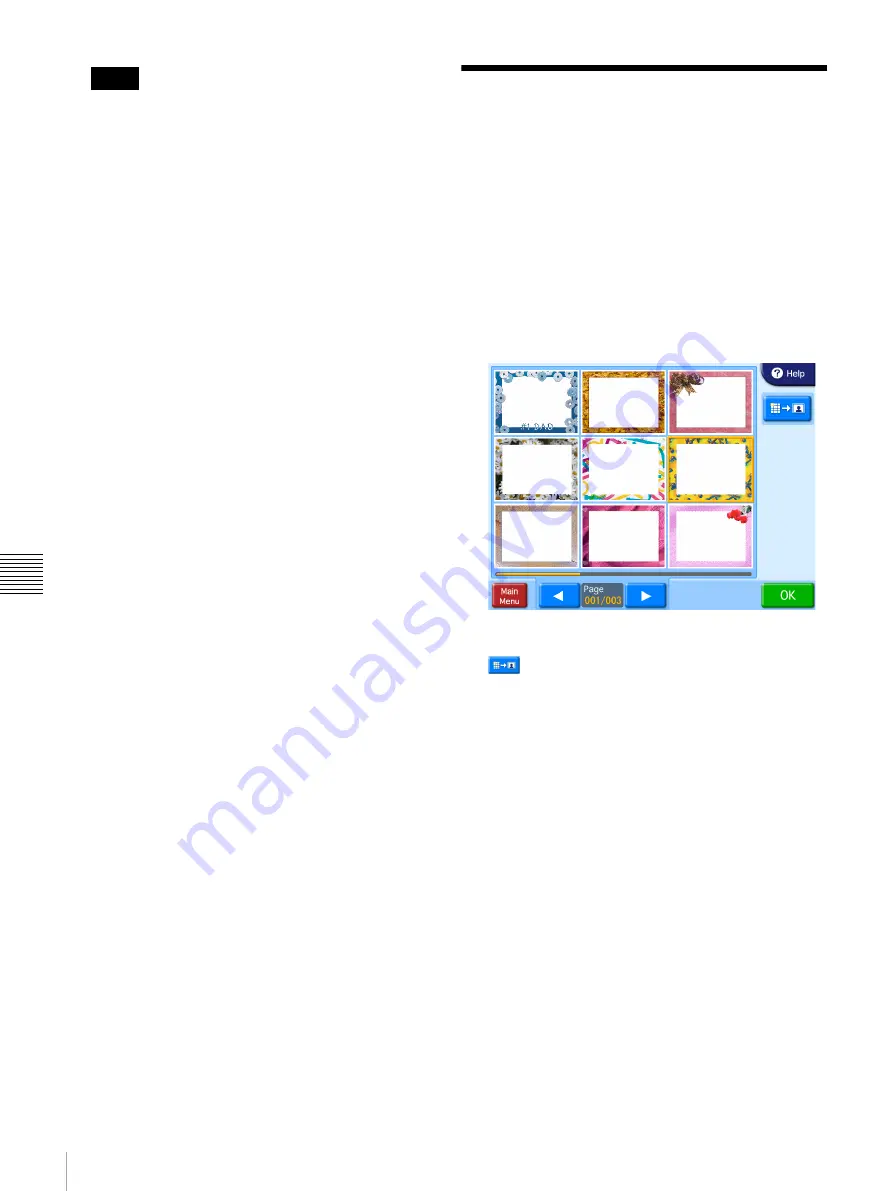
1
From the main menu, touch [Border Print].
The border selection screen appears.
2
Touch the border that you want to use.
button:
Enlarges the border.
3
Touch the [OK] button.
The image selection screen appears.
4
Select the images to be printed.
When you select an image, the layout settings screen
appears. Zoom in and zoom out or move the image to
configure the layout.
For details on configuring the layout, see
the Layout (Crop and Rotate)” on page 61
5
Touch the [OK] button in the layout settings screen.
The image selection screen reappears.
6
Select the print quantity.
For details on this operation, see
.
7
Once all of the desired images have been selected and
the print quantities have been specified, touch the
[OK] button.
Notes
Содержание DS-SL10
Страница 75: ......


