8
Adding system components
Connect the VCR Control
Cable
(Model HAH-SA only)
The DIRECTV
®
Receiver can control your VCR for
unattended recording, using the VCR Control Cable provided.
1. Plug the VCR control cable into the rear panel
VCR CONTROL
jack.
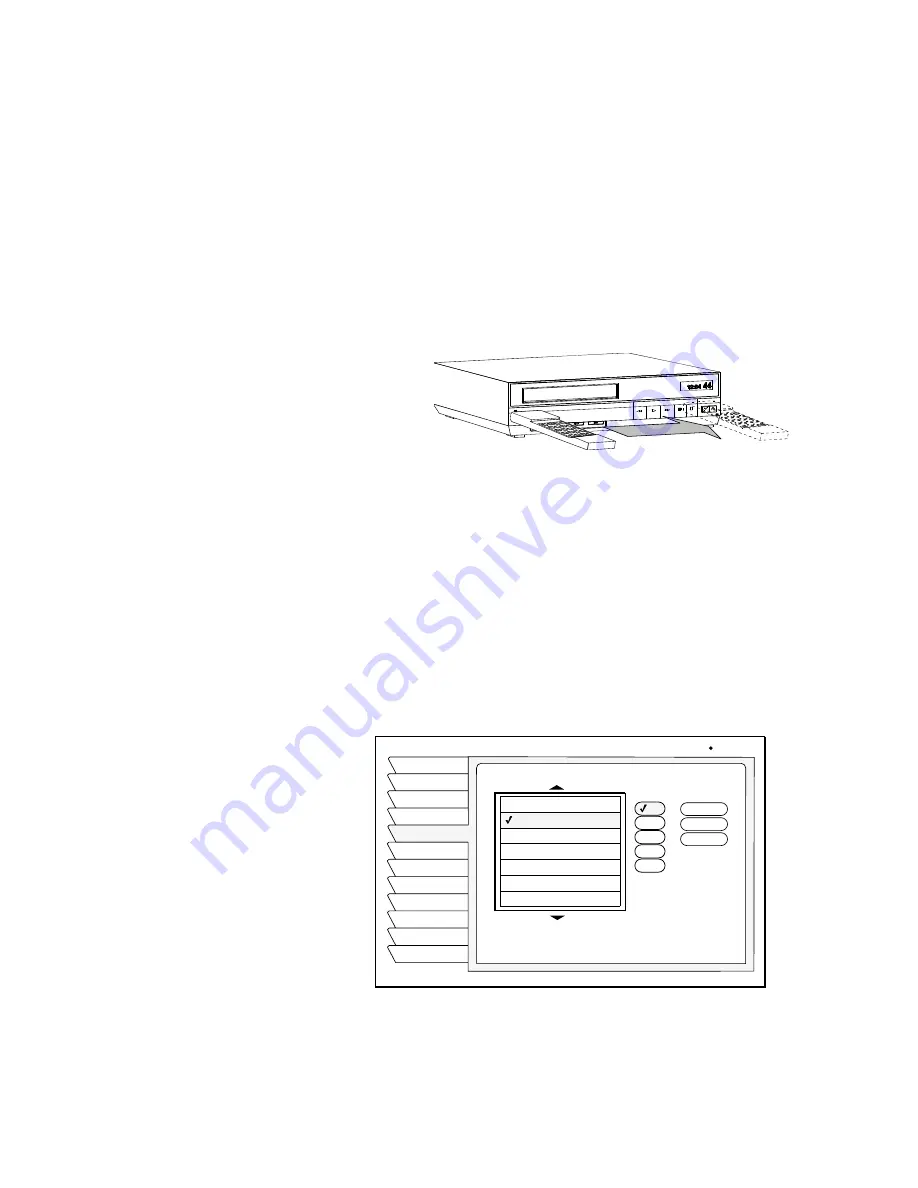
2. Temporarily position the other end over the VCR’s remote control sensor
(normally a small dark plastic window on the VCR front panel).
The remote control sensor may be labeled or identified in your VCR manual.
If it is not identified, scan the front of the VCR with your VCR remote control:
3. Hold the VCR remote control about ½-inch (1.3 cm) from the front left side.
4. Slowly move the remote control to the right as shown in the figure.
5. Repeatedly press the VCR remote control’s power key on and off.
6. When your VCR responds to your pressing the remote control power, note
the position. Temporarily tape the IR emitter to the position you marked
until you verify that it works properly.
Test the VCR (Record/Stop)
This Record/Stop test verifies the specified brand and code controls your VCR.
1. Turn the VCR power on.
2. Insert a recordable videotape into the VCR.
3. Using the satellite receiver front panel buttons, (
don’t
use the remote
control)
SELECT
the
VCR
tab from the
SYSTEM SETUP
menu.
4. Highlight and
SELECT
your VCR brand as shown below.
5.
SELECT
the highlighted
Code
menu button.
6.
SELECT
the
Record
menu button under the
Test
column.
7. Verify the VCR is recording.
8.
SELECT
the
Stop
menu button.
Scanning for the VCR remote control sensor
VCR SETUP
Install
Signal
Wed, Oct 30 11:53AM
Features
Prefs
New Card
Test
Info
Upgrade
Watch TV
VCR
Main Menu
Brand
Test
Code
Select Code
1
2
3
4
5
Clear
Stop
Record
Aiwa
Audio Dynamics
Bell & Howell
Broksonic
Canon
Akai
Capehart
Remote
Содержание HAH-SA
Страница 8: ...viii Contents ...
Страница 18: ...10 Adding system components ...
Страница 24: ...16 Using the remote control ...
Страница 48: ...40 Using access controls ...
Страница 58: ...1032868 0001 Rev A ...


