


5.
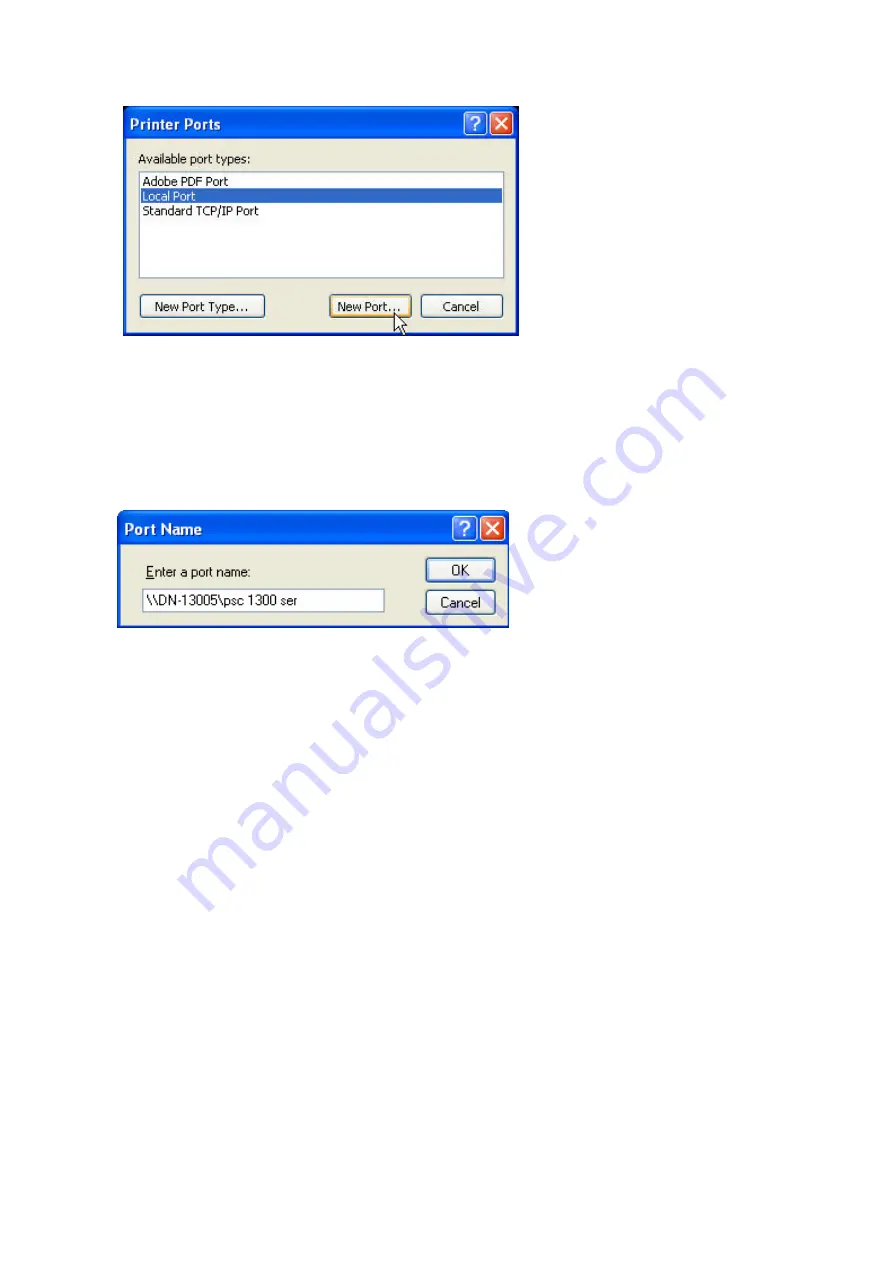
In the Port Name box, type the path to the printer in the following format: ”\\
server’s Host Name\printer name” or ”\\ server’s IP address\printer name”
(Please refer to server’s web pages or MFP Server Control Center tool to know
exact path). For example: if you set server’s Host Name as “DN-13005” and
printer name (USB1 port) as psc 1300 ser, then the network path is expressed
as: \\DN-13005\psc 1300 ser
#
If your server is running on a different LAN than your windows PC such as
Internet PC, you must type IP address in Port Name box.
6.
Click OK, and then select a Windows driver for your printer. If you already have
the printer’s driver installed, you will be asked whether to keep it or to replace
it. Click Next.
7.
Choose whether you want to share the printer with other network users. Do you
want to print a test page? Select the appropriate radio button and click Next
and Finish.
4.4.6
Using Control Center for SMB/CIFS Printing
#
Before using SMB/CIFS printing, you have to login the SMB/CIF Print/File
server in advance and then you may use it; otherwise you have to disable
SMB/CIFS Print/File Server authentication.
#
If you use SMB on Windows 98 SE/ME with Server Authentication, you must
login to your Windows 98 SE/ME using the same user name as in server’s User
Account.
Windows Platform: Windows 98, ME, 2000, XP and 2003
1.
Start MFP Server Control Center, select your MFP server and click Add Printer.
27
Содержание DN-13005
Страница 1: ...DN 13005 2 USB 2 0 Hi Speed Ports MFP Server User s Manual Version 1 16 1 ...
Страница 21: ...9 Click Finish 21 ...
Страница 24: ...9 Click Finish 24 ...
Страница 38: ...38 ...
Страница 52: ...5 Perform scan function 52 ...
Страница 60: ...60 ...
Страница 67: ...be upgraded Click Upgrade to do the real firmware upgrading task 67 ...


