DIGITAL YACHT LTD
AIS200N2 Quick Start Guide
Installation Step 3
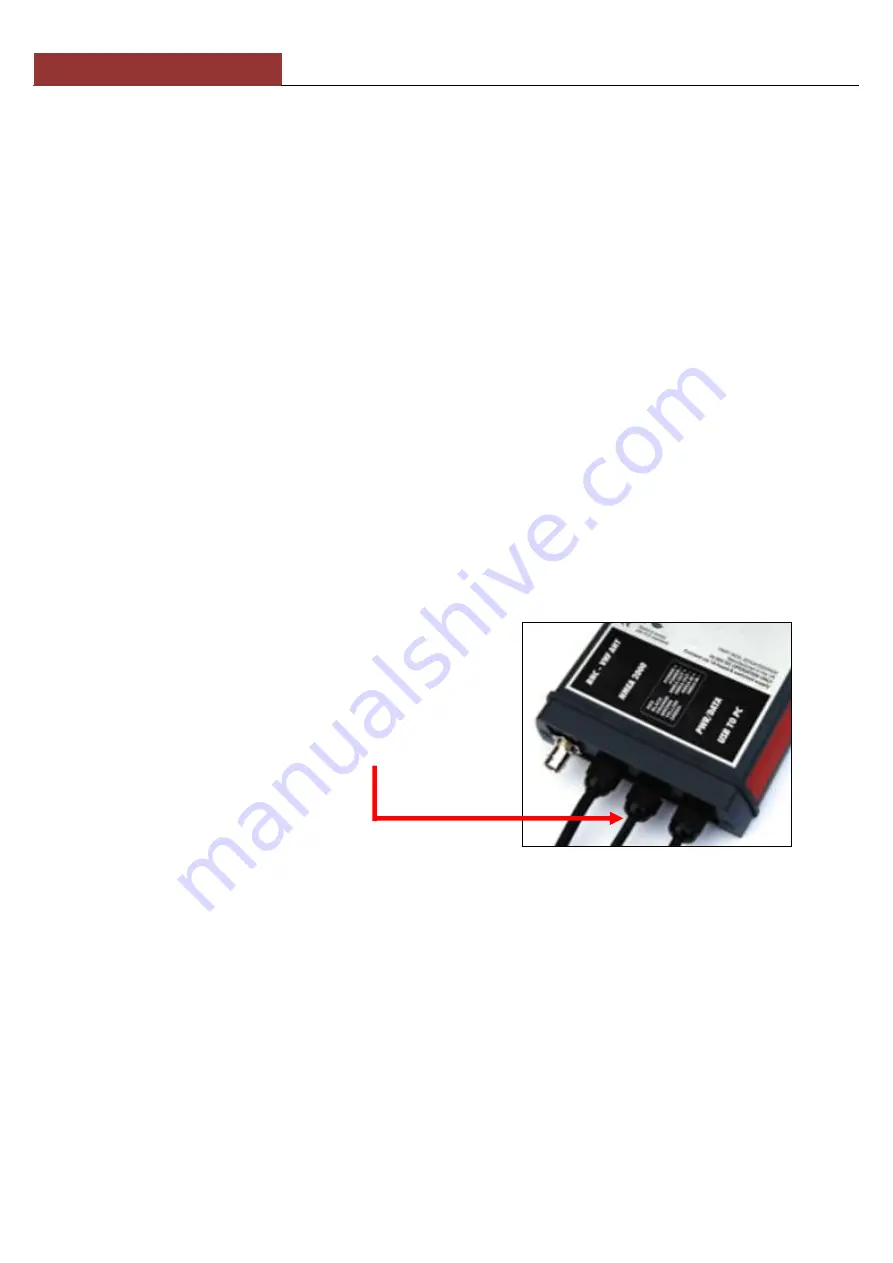
Provide power connections to the unit. Power is connected to the six core PWR/DATA cable on the Red and
Black wires. The Red wire is the positive (+) connection. The Black wire is the negative (-) connection.
Connect the stripped wires to the nearest source of primary 12V or 24V DC power.
Ensure that the supply is
connected via the supplied 1A fuse or suitable circuit breaker.
Add the fuse in the positive power connection
to the unit if necessary.
Installation Step 4
The AIS200N2 Receiver can be connected to other AIS compatible equipment via the NMEA0183 connections on
the PWR/DATA cable, via the
Male “Micro” NMEA2000 connector or via the USB interface (most common
connection for PCs).
When the USB interface
is first plugged in, it will be seen by Windows as a USB to Serial adaptor and the “Found
New Hardware Wizard” will be triggered. The drivers are included on the supplied CD-Rom so please ensure this
is inserted in the PC before connecting the USB cable. Windows Vista and 7 will automatically find the correct
driver on the CD, while Windows XP
may need to be directed to the “USB Driver for AIS units” folder on the CD.
Windows will create a
“virtual” COM port for the AIS200N2 and you will need to go to the Windows Device
Manager program and look in the “LPT&COM Ports” section to find out what COM port number has been
allocated to the AIS200N2. Make a note of this number as you will have to enter this COM port number in the PC
Navigation software, so that it knows which port the AIS is connected to
– consult the instruction manual supplied
with your PC Software to understand how this is configured.
A table showing what each of the 6 wires of the PWR/DATA cable does is printed on the AIS200N2 Receiver and
repeated below for your convenience;
AIS200N2 Receiver PWR/DATA cable
o
RED
-
Power + (12v)
o
BLACK
-
Power
– (0v)
o
ORANGE
-
NMEA0183 Out +
o
BROWN
-
NMEA0183 Out
–
o
YELLOW
-
NMEA0183 In +
o
GREEN
-
NMEA0183 In
–
The most common connection to a dedicated chart plotter is to take the NMEA Output ( and Brown
–)
from the AIS200N2 Receiver and to connect it to a free NMEA Input on the plotter. You must then tell the chart
plotter that AIS data is connected to this port and set the baud rate to 38,400 Baud
– the standard speed for AIS
data. Consult the instruction manual supplied with your Chart Plotter to understand how this is configured.
If your plotter has an NMEA2000 interface, then you can connect the AIS200N2 directly to the NMEA2000
network. The AIS200N2 does not take its power from the NMEA 2000 network, so should a problem exist on the
NMEA 2000 network, the AIS200N2 will continue to work correctly providing AIS data to the NMEA0183 and USB
outputs.
To use the “multiplex” feature of the AIS200N2, which allows other NMEA0183 data (at 4800 baud) to be merged
together with its own AIS data, it is necessary to connect to the NMEA0183 Input of the AIS200N2. Typically the
NMEA0183 output from a GPS, Instrument System or Flux Gate Compass will be connected to the AIS200N2
NMEA0183 input. As long as the connected data is valid NMEA data (must have a checksum) at 4800 baud, then
the AIS200N2 will multiplex this data together and it will appear on each of the three outputs; NMEA0183, NMEA
2000 and USB.


