1
Installation
Mounting
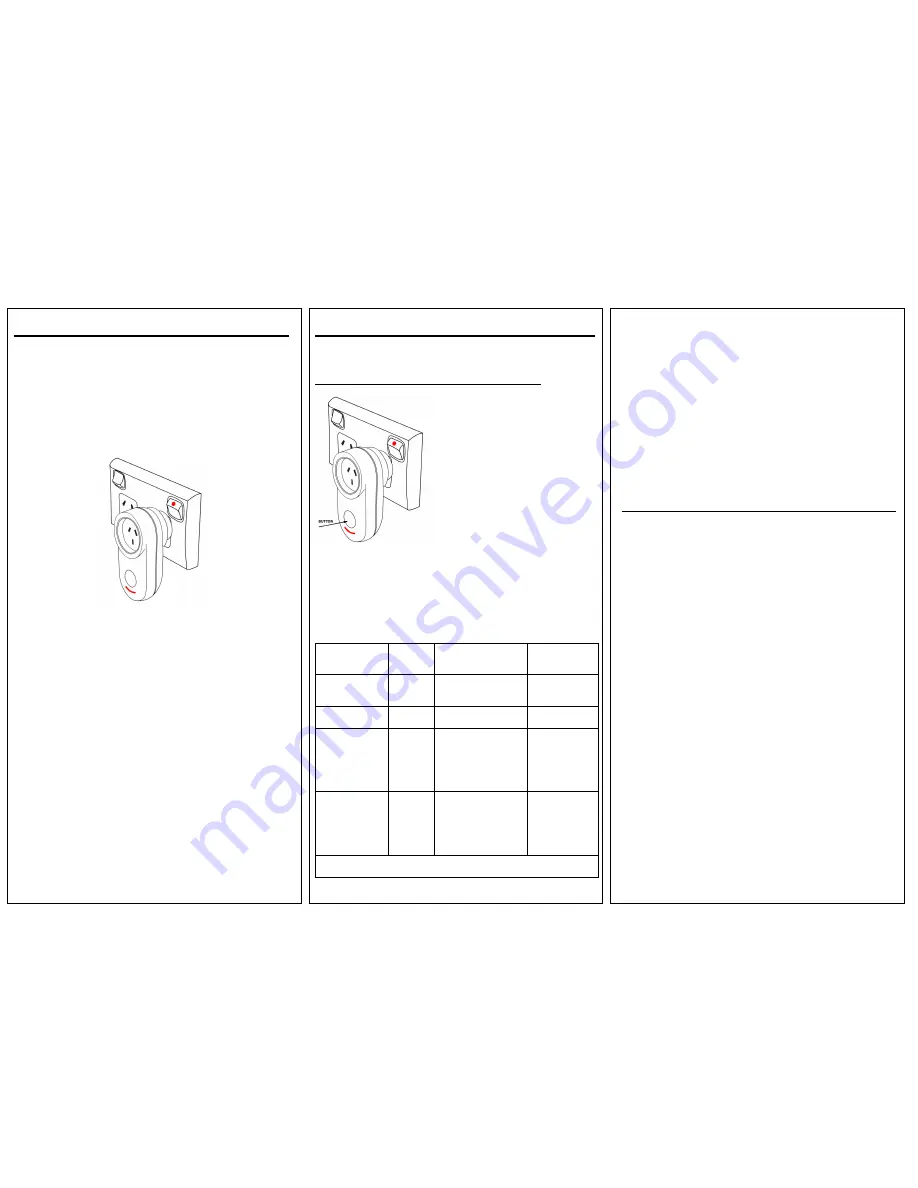
1 | Plug the DHS Z-Wave Plug-In Switch into any compatible power outlet.
Please note: This device is designed for Australia/New Zealand GPO only.
The DHS Z-Wave Plug-In Switch should be installed into any indoor, three-
Prong (Aus Type), 220-240 volt A/C outlet.
2 | Plug a lamp or small appliance into the front of the Plug-In Switch.
3 | The Plug-In Switch is now ready for inclusion into /exclusion from your Z-
Wave network.
Include in or Exclude from Z-Wave network
1 | Make sure your Z-Wave controller within 2-3 meters from the device.
2 | Make sure your Z-Wave controller is in the right operation mode (include
or exclude).
Do it accordingly to your Z-Wave controller manual.
3 | Press and hold the button on the DHS Z-Wave Plug-In Switch for about 4
seconds until LED on the switch starts blinking slowly, then release the
button.
4 | Observe the lights on the controller. The orange light will blink rapidly
while inclusion is taking place. Inclusion is complete when the orange
light becomes solid.
5 | If inclusion was successful you’ll see new device in your home controller
Interface. Your DHS Z-Wave Plug-In Switch if ready for operations.
Please note: if you can’t include DHS Plugin Switch to your compatible Z-
Wave controller in AUS version, then please run the exclusion procedure first
and follow with inclusion procedure again.
LED indication modes
The indicator gives various statuses of the device as follows:
1. Ready for learn mode: Indicator light blinks every second.
2. Learn in progress (add): Indicator light blinks 2 times every second.
3. Learn in progress (remove): Indicator light blinks 3 times every second.
4. Learn mode success: Indicator light is on for second.
5. Learn mode failed: Indicator light blinks 8 times fast.
2
Operation
Manual control
Press the button once to turn the lamp/appliance ON or OFFf
Remote operation
After successful inclusion DHS Z-Wave Plug-In Switch will be represented in
the home controller interface by the single icon with two buttons ON and
OFF you can use to turn switch ON and OFF.
Configuration
Parameter
Number
Size
Value
Preset
1 - Set to Default
(Factory Reset)
1 byte*
All values(00 – 255)
except for
85
can be
used to reset
170
2 – Measure
Decimals
1 byte*
0,1,2,3
(decimals in
power report)
0
3 – Power Limit
The relay auto
switches off
when load is
higher then
2 bytes*
0
: no power limit
selected
1 – 2500:
variable
power limit
3600
4 – Startup with
last known
socket status
1 byte*
0:
When power
applied socket is OFF
1 – 255:
When power
applied socket is the
state before power
was disconnected.
0
•
if a size is other then given size the frame is ignored totally so
configuration values are not changed
Supported Command Classes
Basic type:
BASIC_TYPE_ROUTING_SLAVE
Generic type:
GENERIC_TYPE_SWITCH_BINARY
Specific type:
SPECIFIC_TYPE_POWER_SWITCH_BINARY Listening: TRUE,
Z
‐‐‐‐
Wave Lib:
4.51
class: 0x25 COMMAND_CLASS_SWITCH_BINARY
class: 0x32 COMMAND_CLASS_METER_V2
class: 0x70 COMMAND_CLASS_CONFIGURATION
class: 0x72 COMMAND_CLASS_MANUFACTURER_SPECIFIC
class: 0x73 COMMAND_CLASS_POWERLEVEL
class: 0x75 COMMAND_CLASS_PROTECTION
class: 0x85 COMMAND_CLASS_ASSOCIATION
class: 0x86 COMMAND_CLASS_VERSION
class: 0x31 COMMAND_CLASS_SENSOR_MULTILEVEL
class: 0x27 COMMAND_CLASS_SWITCH_ALL
3
Troubleshooting
NOTE: Before including the product to your Z-Wave network it is advised to
perform exclusion procedure to reset network settings.
This device is using a radio signal that passes through walls, windows and
doors. The range can be influenced by local conditions such as large
metal objects, house wiring, concrete, furniture, refrigerators, microwaves
and similar items. On average, the indoor range is approximately 12- 30
meters.
Do not expose this product to excessive heat or moisture.
Prevent long term exposure to direct sunlight.
Do not attempt to repair this product. If the product is
damaged or if you are in doubt about the proper operation,
take the product back to the place of purchase.
Do not clean the product with any liquid.
Do not paint.
Frequently Asked Questions
Q: Why does the push button on the switch not work?
A1. Check whether the Protection is enabled or not. If it is, disable the
protection and try again. For more information about disabling the
protection please refer to the supporting command classes (parameter 3).
A2. Check if the DHS Plug-in Switch is completely plugged into the socket.
Q: Where can I see the energy consumption measurement?
A1: The energy consumption measurement can be viewed by the use of a
Z
‐
Wave controller. You can request the accumulated or instant measured
values by the use of the meter command class.
Q: Why is the energy measurement not working?
A1: A device must be plugged into the socket of the DHS Plug-in Switch.
Please check if you had any device plugged in before checking the
energy measurement.
Q: Why does the indicator light not work?
A1: Check if the DHS Plug-in Switch is fully plugged into a socket. The
indicator light will not work if there is no power supplied to the switch.
A2: The Indicator light is only on when the switch is on. Press the push
button to turn it on.


