background image

16

17

This feature allows experienced users to see exactly what data is coming to the printer. This can be 
useful in finding software problems.
When you go into the hex dump function, the printer prints all commands and other data in 
hexadecimal format along with a guide section to help you find specific commands.

To use the hex dump feature, follow these steps
1. Please turn printer off.
2. Please turn printer on while press down “Feed” button.
3. Press the FEED button three times when the Self Test printed.
4. Now printer had entered into Hexa dump mode.
5. Run any software program that sends data to the printer. The printer prints ”Hexadecimal printing 
mode…” and then all the codes it receives in a two-column format. The first column contains the 
hecadecimal codes and the second column gives the ASCII characters that correspond to the codes.

Hecadecimal Dump
1B 21 00 1B 26 02 40 40  .!..& . @ @
1B 25 01 1B 63 34 00 1B  .%..c4 ..
41 42 43 44 45 46 47 48  ABCDEFGH

 A period (.) is printed for each code that has no ASCII equivalent.

6. Turn off the printer.
7. Turn on the printer.

7. Hexadecimal Dump

8. Printer cleaning

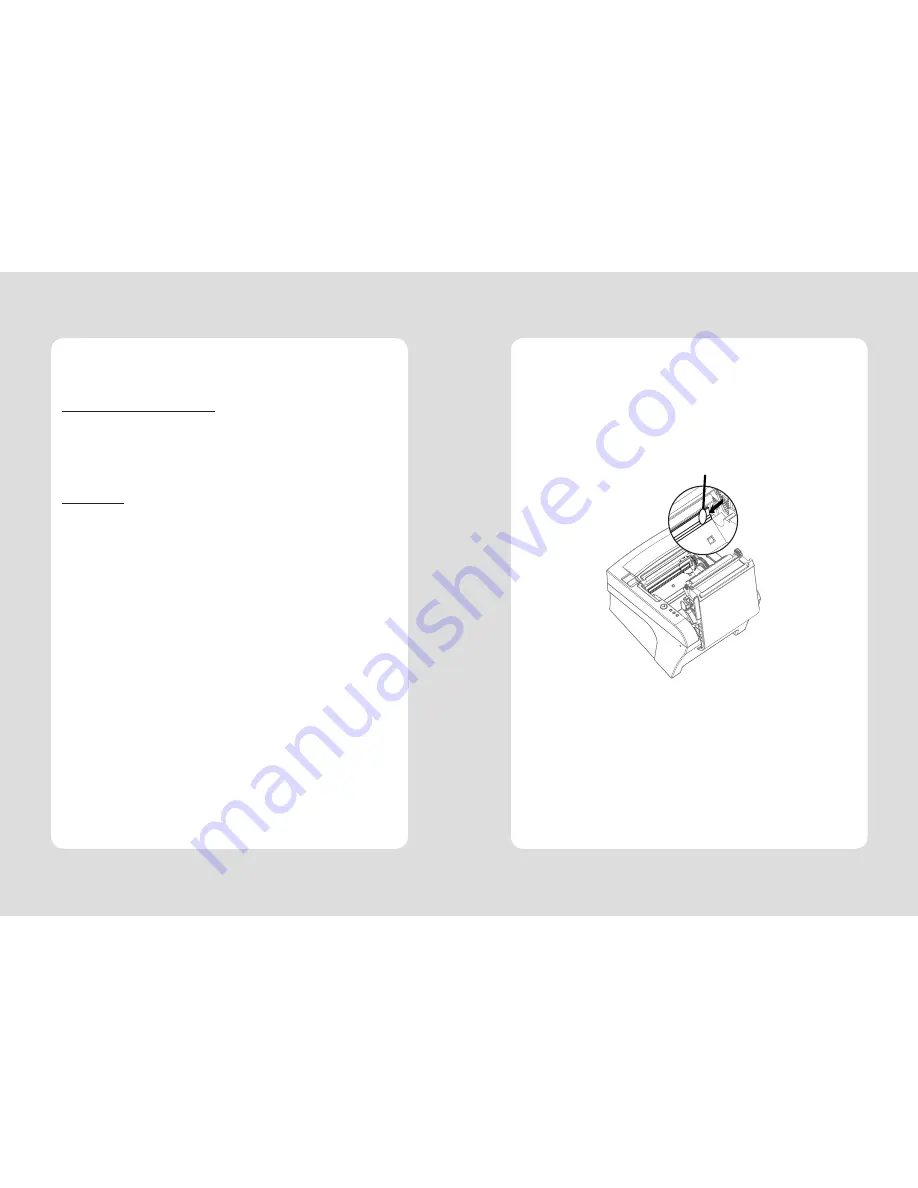
If the interior of the printer is dusty, printing quality can be lowered.
In this case, follow the instructions below to clean the printer. 

1. Use an applicator swab moistened with an alcohol solution to clean the print head and remove 
    any dusts.

2. Once the cleaning is completed, insert paper roll into the printer few minutes later and close 
    the printer cover.

Preventing Overheating

    To prevent the motor from overheating, continuous operation of the printer should be
    1.5 m or less in print length. Set the pause time for 30 seconds or more than it.

Note :

1. Make sure to turn the printer power off prior to cleaning
2. Regarding print head cleaning, as the print head is very hot during printing, turn off the printer 
  power and wait approximately 10 minute before start.
3. When cleaning the print head, take care not to touch the heated part of the print head. 
  The print head subject to be damaged by static electricity.
4. Take care not to allow the print head to become scratched and /or damaged  in any way.

Содержание DS-820

Страница 1: ...All specifications are subject to change without notice Receipt Printer User s Manual MODEL DS 820 DS 820 Rev A 8 12...

Страница 2: ......

Страница 3: ...tions 18 9 2 Auto Cutter Specifications 20 9 3 Interface 20 9 4 Electrical Characteristics 20 9 5 Environmental Requirements 21 9 6 Reliability 21 9 7 Certification 21 10 Command List 22 Table of Cont...

Страница 4: ...ude these items If any items are damaged or missing please contact your dealer for assistance The Printer User s Manual Roll Paper Interface Cable optional Adaptor Optional 2 Setting Up the Printer Fo...

Страница 5: ...33 GROUND System ground 34 NC 35 NC 36 SELLECT IN Input Printer select signal Ethernet Interface PIN SIGNAL I O 1 Data Out Output Data 2 Data Out Output Data 3 GND Ground 4 Data IN Input Data 5 Data I...

Страница 6: ...the paper roll cover by pushing down the cover open button 3 Remove the used paper roll core if there is one inside 4 Insert new paper roll as shown 2 2 2 Cash Drawer Connector The printer can operate...

Страница 7: ...n CAUTION When the paper is jammed with cutter the top cover might be stuck In this case repeat power on and off several times If the top cover is still stuck please follow the steps to release the pa...

Страница 8: ...the top cover of the printer STATUS PAPER ERROR POWER REMARKS RED RED GREEN Power off OFF OFF OFF Normal power is not supplied to the printer Power on OFF OFF ON Normal power is supplied to the printe...

Страница 9: ...le time Printing test page constructed with ACII code Set the speed of Serial Interface You can set the BAUDRATE in this mode Printing the HEX value received from the interface Wait for 5 6 seconds if...

Страница 10: ...A period is printed for each code that has no ASCII equivalent 6 Turn off the printer 7 Turn on the printer 7 Hexadecimal Dump 8 Printer cleaning If the interior of the printer is dusty printing quali...

Страница 11: ...mm sec 3 Dot density 180 DPI Hor Ver 180 180 0 142mm 0 142mm dot 4 Printing Width 180 DPI Max 72mm 512 dots 5 Number of print columns No of columns Font A Font B 180 DPI 42 56 6 Roll paper Refer to ch...

Страница 12: ...24V 10 and more than 1 75A 2 Be careful about installing the printer in an area where there is noise 3 Take the appropriate measure to protect against electrostatic AC line noise etc 9 5 Environmenta...

Страница 13: ...aper sensor s to output paper end signals 36 ESC c 4 Select paper sensor s to stop printing 37 ESC c 5 Enable disable panel buttons 38 ESC d Print and feed paper n lines 39 ESC p General pulse 10 Comm...

Отзывы: