


17.0 TFT Active Matrix LCD Panel User Manual
English 9
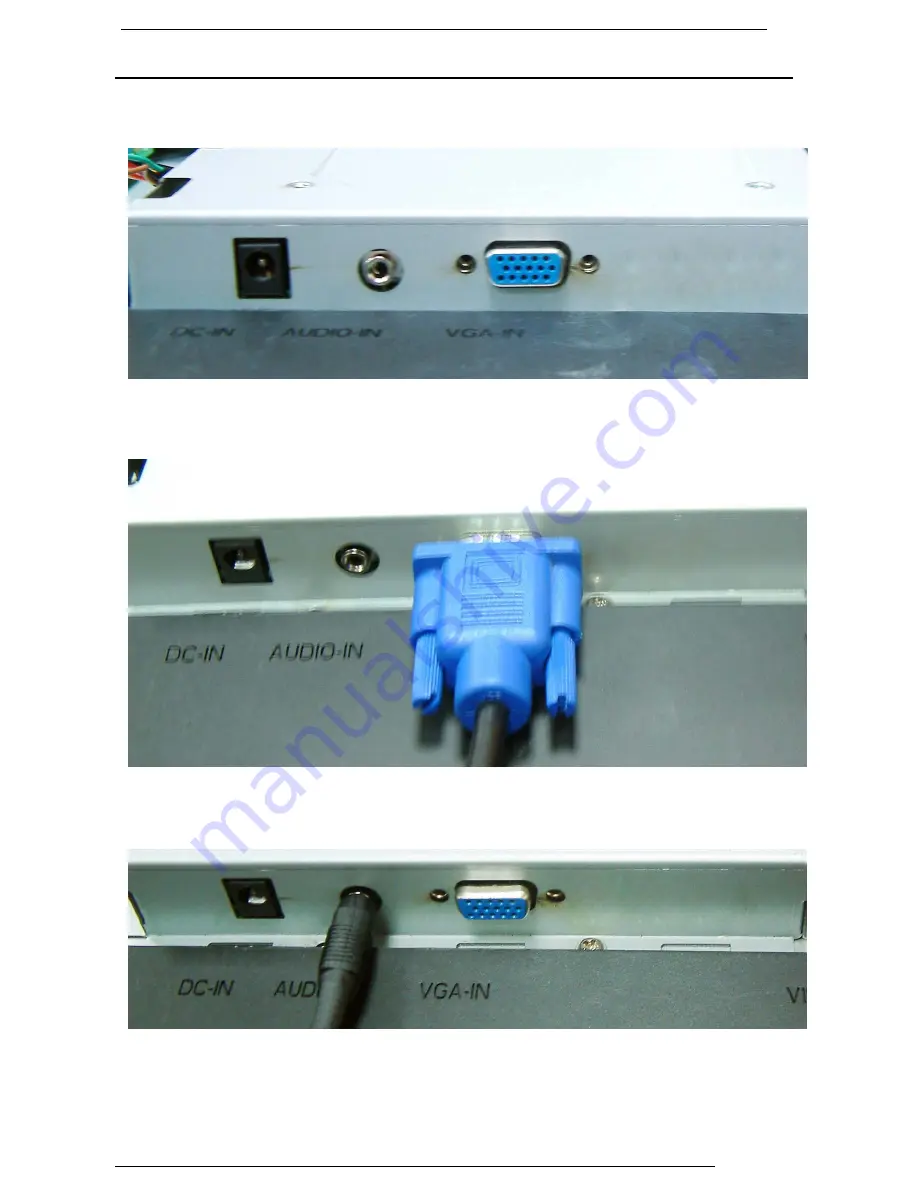
Hardware Installation Step by Step
1. Turn your monitor upside down carefully with panel facing you to locate all
connector port.
2.
Plug in signal cable to VGA-IN of the monitor and the other side of the cable to
the computer.
3.
Connect the audio cable to AUDIO-IN on the monitor, and the other side to
computer line out.


