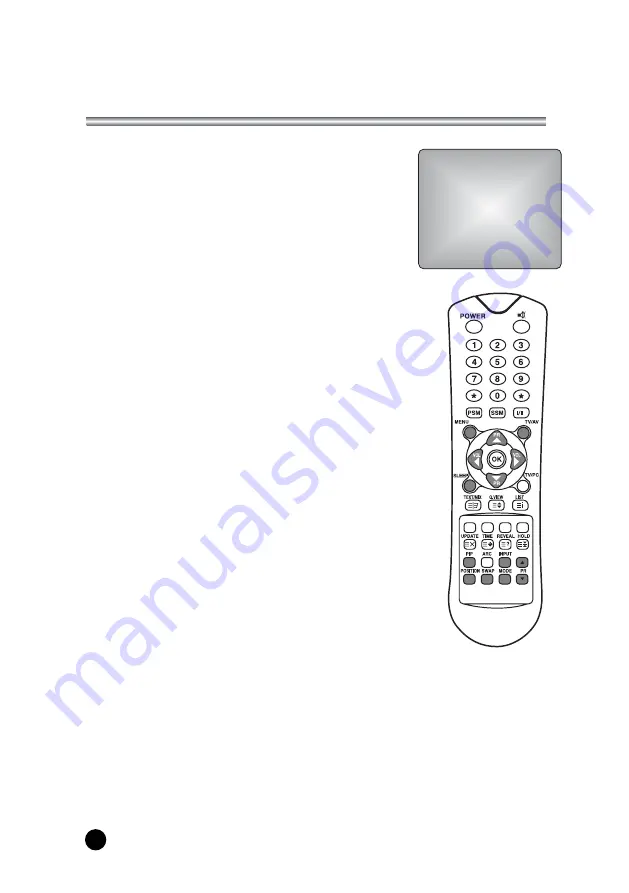
manualshive.com logo in svg
background image

18

Other functions

Sleep timer

You don’t have to remember to switch the set off before you
go to sleep. The sleep timer automatically switches the set
to standby after the preset time elapses.
Press the 

SLEEP

button to select the number of minutes.

The display 

will

appear on the screen, followed by 

0, 10, 20,

30, 60, 90, 120, 180 and 240

. The timer begins to count

down from the number of minutes selected.

Note:

a. To view the remaining sleep time, press the 

SLEEP

button

once.

b. To cancel the sleep time, Select 0 with the 

SLEEP

button.

Sound output selection

In VIDEO mode, you can select output sound for the left and
right loudspeakers. Repeatedly press the 

I/II

button to select

the sound output.

L+R

: Audio signal from audio L input is sent to left

loudspeaker and audio signal from audio R input is sent
to right loudspeaker.

L+L

: Audio signal from audio L input is sent to left and right

loudspeakers.

R+R

: Audio signal from audio R input is sent to left and right

loudspeakers.

PIP function

PIP will let you view two separate source inputs on your TV
screen at the same time.

Viewing the PIP picture

Press the 

PIP

button. (Press the PIP button again, to turn

PIP off.)

Selecting the PIP picture mode

Press the 

MODE

button to adjust the PIP picture mode.

Each press the 

MODE

button, selects the 16:1, 9:1, double

window and multi picture mode.( Multi picture mode is just
available when the main picture is in AV mode.)

Moving the PIP picture

Press the 

POSITION

button to adjust the position of sub picture in PIP mode.

Switching the main and PIP picture

Press the 

SWAP

button to switch the main and sub picture in PIP mode.

Viewing the external source input

Press the 

INPUT

button to select the input source of sub picture in PIP mode.

Press the 

PR

xy

button to select the programme desired in TV mode of sub

picture.

0

B

Содержание LT-32HEP

Страница 1: ...Owner s Manual Model LT 32HEP HLP 32 Wide LCD Color TV...

Страница 2: ...t the antenna cable to the connection marked Ant on the rear For best reception use an outdoor antenna WARNING RISK OF ELECTRIC SHOCK DO NOT OPEN WARNING To reduce the risk of electric shock do not re...

Страница 3: ...use a clean damp cloth Do not use liquid or aerosol cleaners POWER The main plug should be inserted fully into the power outlet to avoid a fire hazard Hold the plug firmly when unplugging If you pull...

Страница 4: ......

Страница 5: ...l picture setup 15 Auto picture setup 15 Sound Control 16 Other functions 17 18 TV SCART1 SCART2 and S VIDEO mode 17 Auto sleep 17 Blue Back 18 ARC Aspect Ratio Control 18 Sleep timer 18 Sound output...

Страница 6: ...on shown by the arrow 2 Insert the batteries with correct polarity to and to 3 Replace the battery compartment cover Install two high quality 1 5V AAA alkaline batteries Don t mix old batteries with n...

Страница 7: ...when the power save mode only PC mode 7 Remote control sensor Accepts the IR signal of remote controller 1 PC ANALOG IN D SUB 2 PC DIGITAL IN DVI I 3 PC AUDIO IN Connect the audio cable from the PC to...

Страница 8: ...Picture Status Memory Recalls your preferred picture setting 5 SSM Sound Status Memory Recalls your preferred sound setting 6 I II Selects the language during dual language broadcast Selects the sound...

Страница 9: ...viewed programme Note In TELETEXT mode The Q VIEW button is used for TELETEXT function 16 LIST Displays the programm list menu 17 PIP Displays a PIP Picture In Picture screen 18 ARC Selects a screen...

Страница 10: ...ogramme number with the PRxy button or NUMBER buttons Volume adjustment Press the VOL q button to adjust the sound level Quick view Press the Q VIEW button to view the last channel you were watching S...

Страница 11: ...Contrast 90 Brightness 75 Colour 75 Sharpness 50 Tint 0 5 6 Equalizer Flat Music Movie Speech User 5 6 Auto programme System BG Storage from 1 Start 73 5 6 Manual programme System BG Channel V UHF 5...

Страница 12: ...menu 3 Select the Auto programme menu 4 Press the PRxy button to select System 5 Select a TV system with the VOL q button BG West Europe Asia M East Africa Australia I UK Hong Kong South Africa DK Ru...

Страница 13: ...L France Only LT 32HLP Model 6 Press the PRxy button to select Channel 7 Press the VOL q button to select V UHF or Cable as required If possible select the programme number directly with the number b...

Страница 14: ...Press the GREEN button All the following programmes are shifted down one position Moving a programme 1 Select a programme to be moved with the PRxy or VOL q button 2 Press the YELLOW button 3 Move the...

Страница 15: ...M button repeatedly to select PSM Each press of the button changes the screen display as below Dynamic Standard Mild Game User Dynamic Vivid Picture Appearance Standard Standard Picture Appearance Mil...

Страница 16: ...n c Make appropriate sound level with the PRxy button d Press the MENU button to return to preceding MENU and the TV AV button to return to normal TV viewing 7 Select the Balance menu and adjust the b...

Страница 17: ...the TV s S VIDEO Input To return to TV mode press the TV AV button Alternatively you can select the TV SCART1 SCART2 S VIDEO PC ANALOG or PC DIGITAL mode by pressing the TV AV button Auto sleep If you...

Страница 18: ...right loudspeaker L L Audio signal from audio L input is sent to left and right loudspeakers R R Audio signal from audio R input is sent to left and right loudspeakers PIP function PIP will let you v...

Страница 19: ...been set up to be skipped by auto programming or in the programme edit mode b Some programmes with the channel number shown in the programme list indicate there is no station name assigned Selecting...

Страница 20: ...otes the next group and the blue field indicates the next block Group block page selection 1 With the BLUE button you can progress from block to block 2 Use the YELLOW button to proceed to the next gr...

Страница 21: ...ess this button again Return to index page TEXT MIX Functions MENU SIZE HOLD INDEX Displays the TV picture on the screen while waiting for the new TELETEXT page The display will appear at the top left...

Страница 22: ...tenna in jack on the VCR 3 Use the TV AV button to select TV mode 4 Press the PLAY button on the VCR SCART 2 1 Connect the AV out jacks on the AV device to the SCART on the TV 2 Use the TV AV button t...

Страница 23: ...AV button repeatedly 4 Press the PLAY button on the VCR The VCR playback picture appears on the screen Headphone jack Insert the headphone plug to the headphone jack on the TV You can listen to the s...

Страница 24: ...o minimize any vertical bars or stripes visible on the screen background And the horizontal screen size will also change Phase This function allows you to remove any horizontal noise and clear or shar...

Страница 25: ...ode Resolution Note a If possible use the VESA 1 024x768 60Hz video mode to obtain the best image quality for your LCD monitor If used under the other resolutions some scaled or processed pictures may...

Страница 26: ...DK SECAM BG DK LT 32HLP PAL BG I DK SECAM BG DK L Television programme VHF 2 13 UHF 21 69 Cable S1 S41 LCD Panel 32 wide TFT LCD panel Power consumption 150W External antenna impedance 751 Audio outp...

Страница 27: ...terminal Make sure COLOR and CONTRAST settings Is the unit receiving interference from other devices Transmission antennas of radio broadcasting stations and transmission antennas of amateur radios an...

Страница 28: ...28 LIMITED WARRANTY...

Отзывы: