


Thermal Jet
Section 4: Maintenance & Shutdowns
5780-320 Operations Manual Rev C
Page 22
Shutdowns Less Than 3 Days
The ink cartridge can remain in the print head uncapped. When restarting the print head,
follow the Daily Maintenance procedure.
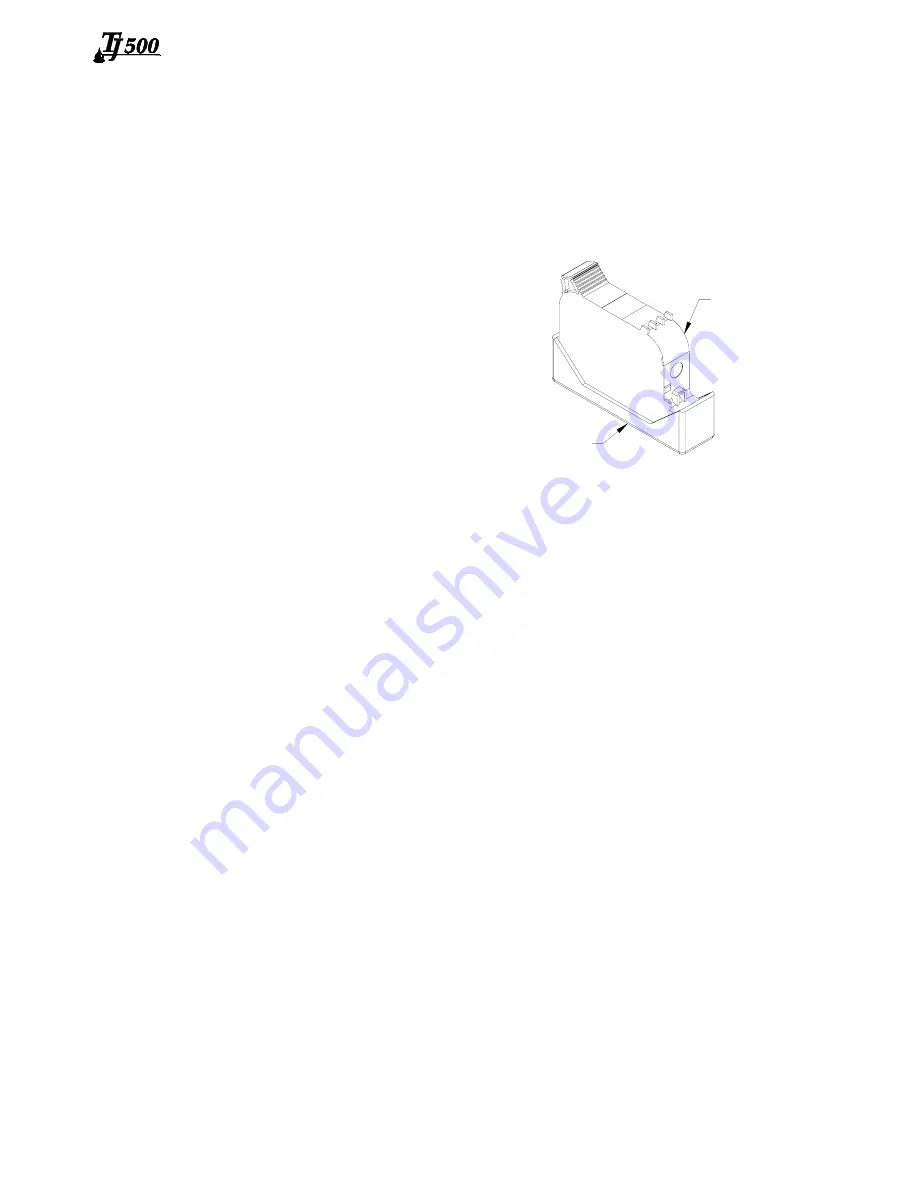
Shutdowns More Than 3 Days
For extended shutdowns, follow
the Daily Maintenance procedure,
remove the ink cartridge from the
print head and store in the optional
Cartridge Boot Cap (Diagraph Kit
p/n: 5780-208).
CARTRIDGE BOOT CAP
PEN CARTRIDGE


