background image

(5)

 Press <RED> button to enter 

Book

 page and <YELLOW> button to save

after edit. If it conflicts with itself or other event, a conflict message will be 
displayed.  The successful booking will be added to 

Main Menu-> SETUP->

Advance Timer(

see section 

2.2.4)

6

2.4  ACCESSORY

There are three options

: Gomoku,


Calendar, Calculator

.

Gomoku 
    

Press <Up/Down/Left/Right> button to set play mode and difficulty.

    Press <OK> button to start and play Gomoku.
    Press <Up/Down/Left/Right> button to select the position.
    Press <OK> button to place the piece.

Calendar 

displays the year, month, and date

Calculator 

can used for mathematical calculations.

Figure7. Normal Play - Radio

3.Normal Play

Normal Play

 means STB in  TV or listening  Radio mode. 

See Figure 7.

3.1   Information

Press <Info> button once to display info banner. Banner displays the 
program No., favorite setting, current time, program name, now and 
next event, lock, scramble, subtitle and teletext info. 
Press <Info> button when banner exist to display detail info of now 
event. Press <Info> button when detail exist to display current 
program info. See Figure 8. 

3.2   Switch Program

User can switch program by CH+/- or input program number directly. 
If the input program number doesn't exist, STB will ignore the input. 
Or press <Recall> button to switch to last watching program from 
current watching program.

3.3  Volume

Press <Vol-/Vol+> button to adjust the volume.
Press <Mute> button to mute.
If adjust the volume while mute, mute will be canceled.

Figure 8. Program Info

3.4   Program List

Press <OK> button to display 

Program List

 with No., name and lock/

scramble/skip status. 
Press <Up/Down/Left/Right> to switch the program.
Press <OK/Exit> to return normal play mode.


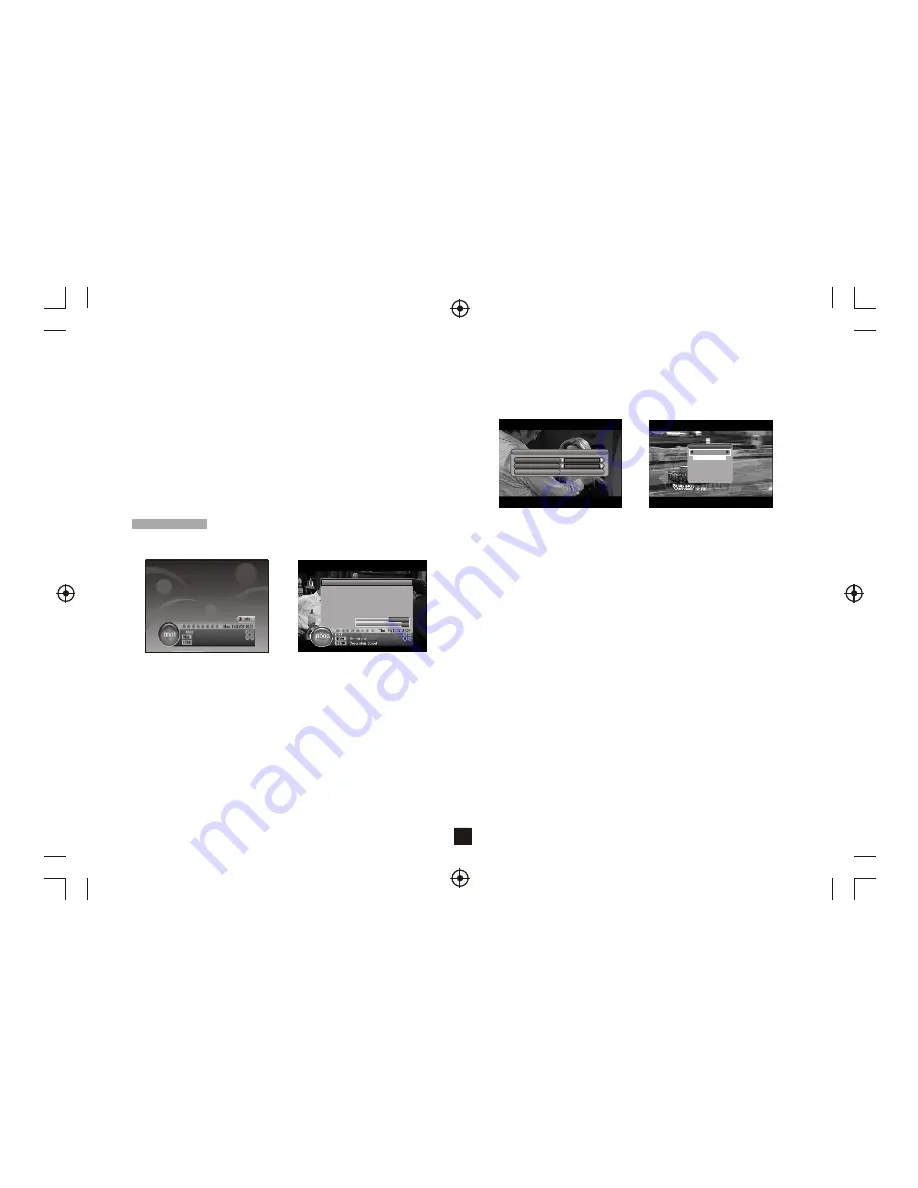
Figure 10. Teletext Setting Page

Figure 9. Audio Channel

3.5  Audio

Switch the sound channel and switch sound mode to LR(stereo) or LL
(left) or RR(right). If setting audio language at 

SETUP->Installation->

Audio Language

, the audio channel default language will be chosen 

by setting. See Figure 9. Press <Audio> button to display the audio 
channel page. Press <Up/Down> button to select Channel/Audio PID 
or Sound Mode option. Press <Left/Right> button to set the value.

3.6  Pause

Pause video and audio. But it will be canceled by any input. 

3.7   Favorites

User can switch the favorite programs in the same favorite group. 
About favorites setting, see  section 

2.3.1.1

 for details.

Press <YELLOW> button to switch the favorite group in Program list. 
Press <CH +/-> button to switch the same favorite program in normal 
play mode.

3.8   Teletext

Display teletext on screen, the style of teletext may be different by 
content provider. See Figure 10.
Press <Text> button to display the teletext setting page.
Press <Up/Down> button to select the teletext language if the program 
has teletext.
Press <OK/Exit> button to exit the teletext setting page.
Press <0~9/Up/Down/Left/Right> button to change teletext page if 
teletext exists.

Program Info

Program Name    ITV1
Program No      0003     Video PID          0512
Channel No.     0045     Audio PID          0650
Frequency        665934   KHz
Bandwidth        0008     MHz
Constellation      QAM64   Hierarchy Mode     N/A
Guard Interval     1/32    HP Code Rate      7/8
FFT              8K      LP Code Rate      1/2 
Strength     62%
Quality      88%


Audio PID

0650

Channel 

eng

Audio channel

Sound Mode

LR


TELETEXT

Teletext


Language


eng

OFF

Содержание DG-SD3401

Страница 1: ...User Manual DG SD3401 Technical Support 1800 189 941 ...

Страница 2: ......

Страница 3: ...ally or has been dropped 14 Mains plug should be turned off if apparatus is not in use for a 15 The ventilation should not be impeded by covering the ventilation openings with items such as newspapers table cloth curtains etc 16 No naked flame sources such as lighted candles should be placed on the apparatus 17 Attention should be drawn to the environmental aspects of battery disposal 18 Use appar...

Страница 4: ...he time or channel information 5 3 5 1 2 3 4 5 6 7 8 1 2 3 COMPONENT VIDEO OUT 4 5 6 7 RF IN This socket connects to your external aerial RF LOOP THROUGH This socket will bypass the RF signal to either your TV or another video system These sockets connect to your TV component input terminals COAXIAL This socket connects to a coaxial socket on your surround sound system USB This socket is used to u...

Страница 5: ...al set top box The remote control has a range of up to 7 metres from the set top box at an angle of up to 60 degrees The remote control will not operate if its path is blocked Sunlight or very bright light will decrease the sensitivity of the remote control Connections 2 100 240V 50 60Hz IN R F LOOP R F THROUGH COMPONENT VIDEO AUDIO OUT Cb Cr Y R COAXIAL L VIDEO OUT VIDEO S VIDEO Upgrade USB RFIN ...

Страница 6: ...requency and Bandwidth for scanning If the user scans the same Frequency and Bandwidth more than once the previous programs will be overwritten 9 Press GREEN button to enter Manual Scan Page 10 Press Up Down button toselect Frequency option 11 Press 0 9 button to input the Frequency value 12 Press Up Down button to select Bandwidth option 13 Press Left Right button to set Bandwidth value 14 Press ...

Страница 7: ... content This setting should bematched with user sTV 2 2 2 3 OSD Transparency Set the On ScreenDisplay transparency 1 is the most transparent 2 2 2 4 Banner Display Time Set Banner displays time Banner doesn t disappear when set as Always and disappears at timeout when set as other values 2 2 2 5 Video Output Set the video outputmode to TV 2 2 2 6 Video Enhancement Set the VideoEnhancement See Fig...

Страница 8: ...o List without saving Figure 6 Guide Event 2 3 1 4 Move Move will allow you to move the position of the channels in the list Note This option will not appear in this list when SETUP Installation LCN is set to ON 2 3 1 5 Sort Sort will allow youto sort the channels byA Z or Pay Free Note This option willnot appears in this list when SETUP Installation LCN is set to ON 2 3 1 6 Skip Skip will skip th...

Страница 9: ... button to display Program List with No name andlock scramble skip status Press Up Down Left Right to switch the program Press OK Exit to return normal play mode Figure 10 Teletext Setting Page Figure 9 Audio Channel 3 5 Audio Switch the sound channel and switch sound mode to LR stereo or LL left or RR right If setting audio language at SETUP Installation Audio Language the audio channel default l...

Страница 10: ...ee Figure 12 Press YELLOW button to display digest Press Up Down Left Right button to browse program Press OK button to switch program and watch it Press Exit button to return normal play mode Press Text Subtitle button to display teletext or subtitle setting page Press Left Right button to select TTX Subtitle Press Up Down button to select teletext subtitle language Press OK Exit button to exit t...

Страница 11: ... Specifications This symbol on theproduct or in theinstructions means that yourelectrical and electronic equipment should bedisposed at the endof life separately fromyour household waste Thereare separate collection systemsfor recycling in theEU For more information pleasecontact the local authorityor your retailer where you purchased the product Troubleshooting ...

Отзывы: