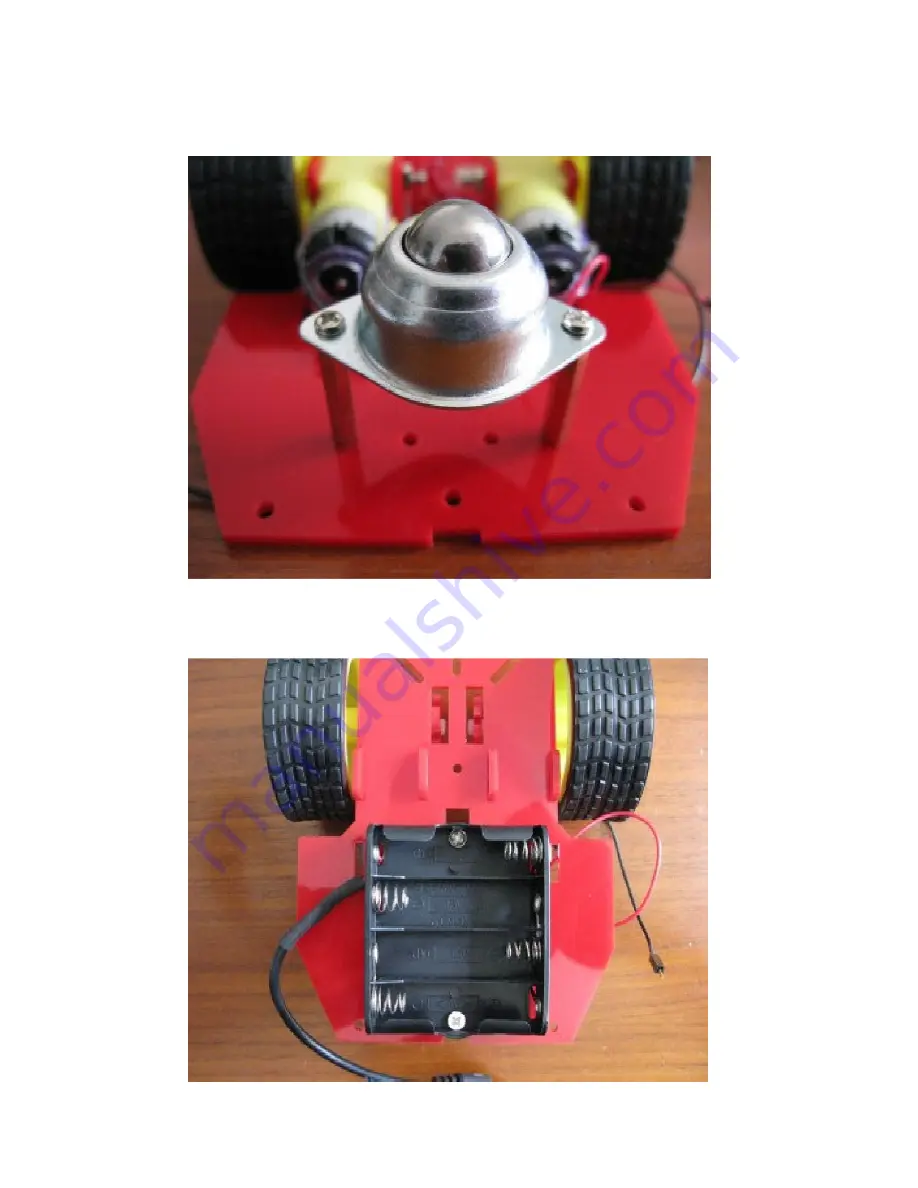
5.
Put the ball caster using two standoffs.
6.
Fix the battery holder on the chassis with two screws and we end the first part of our robot.
Страница 1: ...ible with a contained expense and a couple of hours to disposition Kit Red plastic cover x2 Motor supports x2 Motors x2 Wheels x2 Indented plastic washers x2 Infrared Proximity Sensor Sharp GP2Y0A21YK x1 Motor Driver 1A Dual TB6612FNG x1 Battey holder 4xAA with Jack Connector x1 Ball Caster x1 Jumper F F x10 Jumper F M x10 Cross screwdriver x1 Pack of screws x1 Pack of standoffs x1 Handbook x1 ...
Страница 2: ...otors on which are positioned the two indented washers The indented plastic whashers can be used to count motor s turns with an encoder 2 Put two motor supports on the cover with less holes and insert the long screws on the others two ...
Страница 3: ...3 Pass the screws through motors holes then fix it with two dice for each motor 4 Insert the wheels on motors drive axle ...
Страница 4: ...5 Put the ball caster using two standoffs 6 Fix the battery holder on the chassis with two screws and we end the first part of our robot ...
Страница 5: ...7 Then put the standoffs on the chassis the central one is an optional 8 Screw the superior chassis ...
Страница 6: ... the sensor using a L aluminum bracket 10 Ends here the installation of the mechanical part In the next tutorial you will assemble the electronics and you will see a first sketch of sensor calibration Finally assembly ...