Welcome to the DFRobot blog
:
www.dfrobot.com/blog-tag-microbit.html
22
/
86
Connection
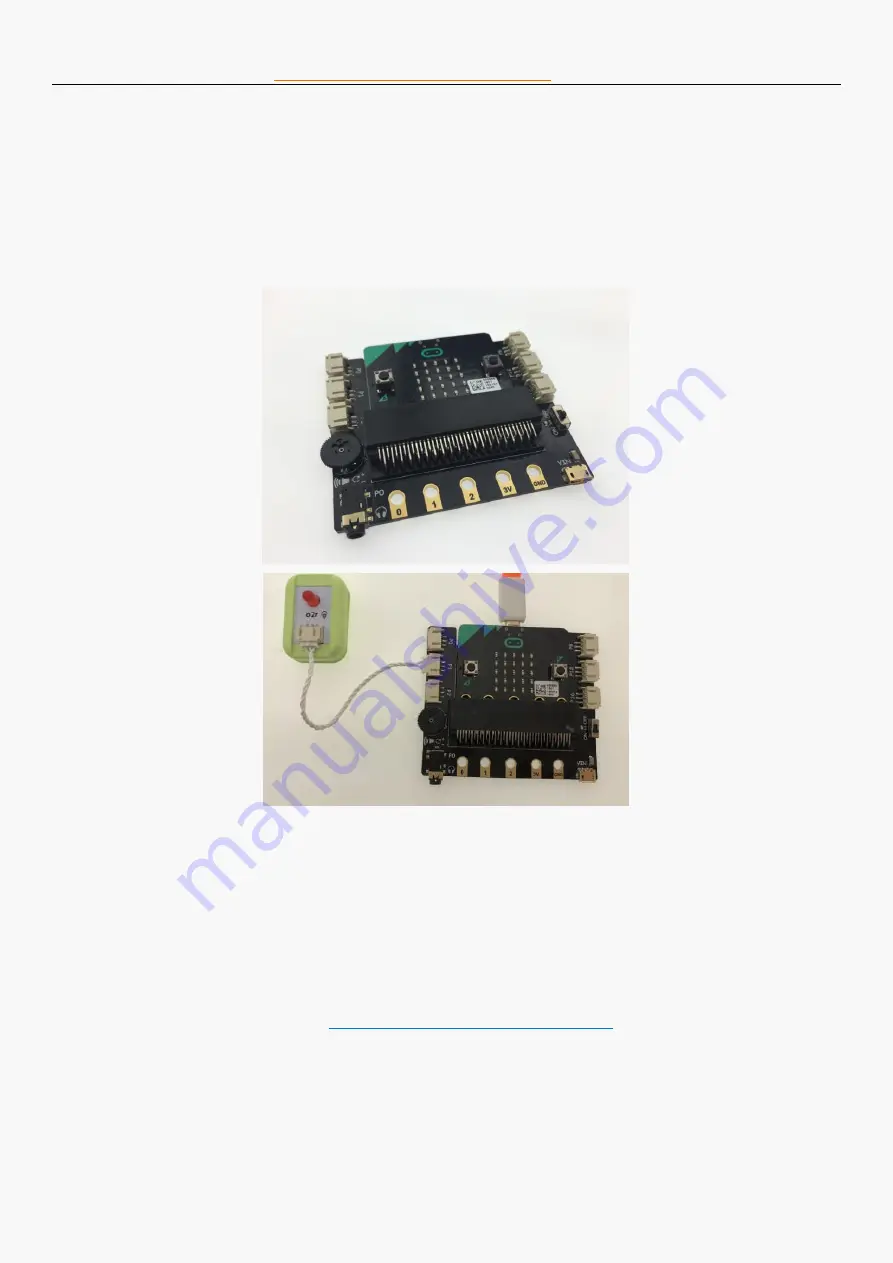
Insert micro:bit into the expansion board.
Note
:
micro: bit will stay inside the expansion board in all following chapters. We will skip this step in
all following chapters.
Connect the LED module to P1
Program
Task 1: Turn on the LED
.
STEP 1: Open MakeCode website:
https://makecode.microbit.org/
and start a new project.
STEP 2: This time, Since the LED module is connected to P1 of the micro: bit as an external
component, to control the LED, we will need to set the status of the pin that the LED connects to.
The function block “digital write” is the one that does the job. “Digital write” can either make the
pin output a high voltage (presented as 1), or a low voltage (presented as 0), which
correspondingly turn on and turn off the LED. First, we turn on the LED. To do this, go to
“Advance"->"Pins", and set digital write pin p1 to HIGH (1).


