57
3
BIOS Setup
Power On Function
This field allows you to use the PS/2 keyboard or PS/2 mouse to
power-on the system.
Keyboard 98
When this option is selected, press the “wake up”
key of the Windows
®
98 compatible keyboard to
power-on the system.
Button only
Default setting. Uses the power button to power
on the system.
Hot Key
When this option is selected, select the function
key you would like to use to power-on the system
in the “Hot Key Power On” field.
Mouse Left
When this option is selected, double-click the left
button of the mouse to power-on the system.
Mouse Right
When this option is selected, double-click the right
button of the mouse to power-on the system.
Any Key
Press any key to power-on the system.
Super IO Device
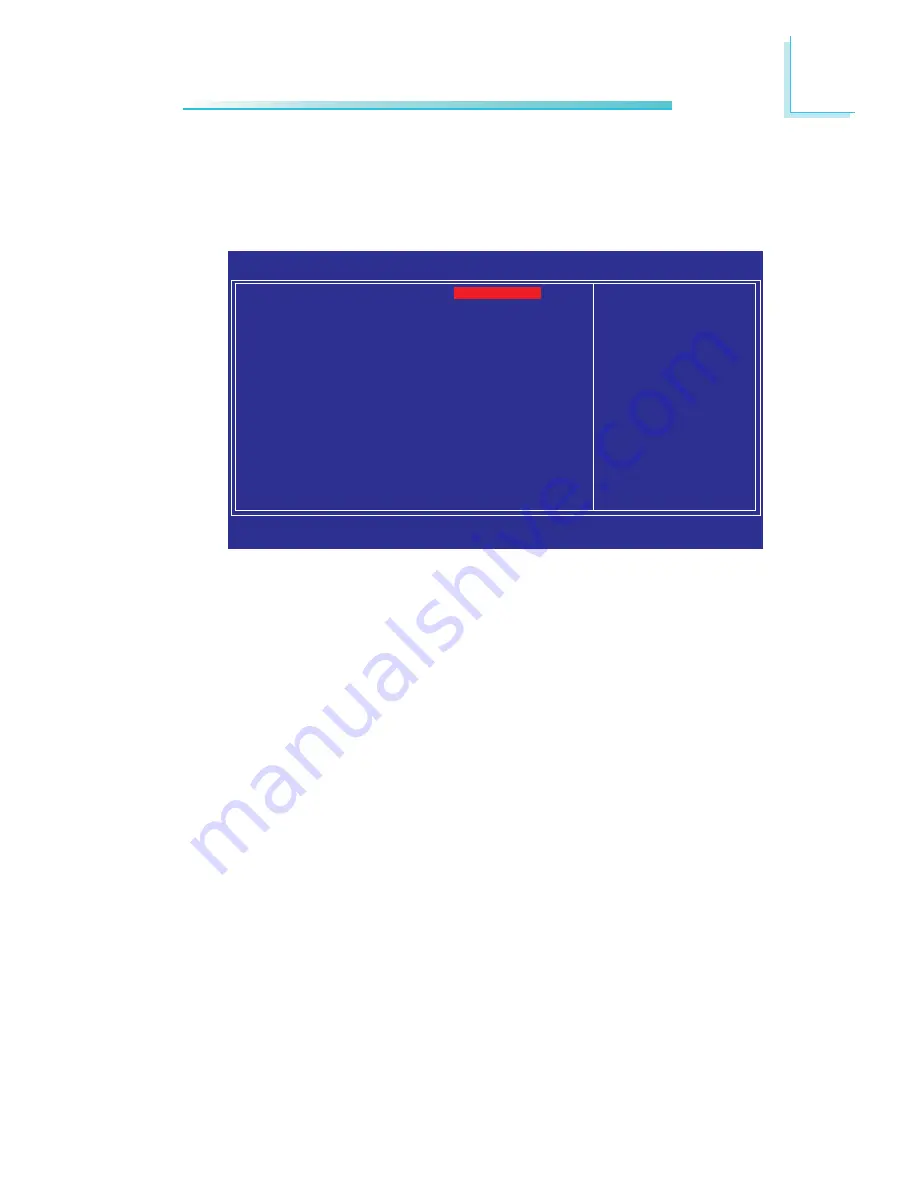
Move the cursor to this field and press <Enter>. The following
screen will appear.
The settings on the screen are for reference only. Your version may not be
identical to this one.
Phoenix - AwardBIOS CMOS Setup Utility
Super IO Device
Item Help
Menu Level
XX
↑↓→←
: Move
Enter: Select
F1: General Help
+/-/PU/PD: Value
F10: Save
ESC: Exit
F5: Previous Values
F6: Fail-Safe Defaults
F7: Optimized Defaults
Power On Function
x Hot Key Power ON
Onboard FDC Controller
PWRON After PWR-Fail
Onboard Serial Port 1
Serial Port 1 Use IRQ
Serial Port 1 Mode
Onboard Serial Port 2
Serial Port 2 Use IRQ
Onboard Serial Port 3
Serial Port 3 Use IRQ
Onboard Serial Port 4
Serial Port 4 Use IRQ
W83627HF/HG.WDT Time
BUTTON ONLY
Ctrl-F1
Enabled
Off
3F8
IRQ4
Normal
2F8
IRQ3
3E8
IRQ10
2E8
IRQ11
0
Содержание NP900-B16C
Страница 1: ...NP900 B16C COM Express Board User s Manual 935 NP9001 000G A07800843 ...
Страница 11: ...11 2 Hardware Installation Chapter 2 Hardware Installation System Board Layout ...
Страница 83: ...83 4 Supported Software 3 After completing installa tion click Finish to exit setup ...
Страница 85: ...85 4 Supported Software 4 After completing installa tion click Finish to exit setup ...
Страница 90: ...90 4 Supported Software 4 You can now access the utility ...
Страница 94: ...94 4 Supported Software 4 The screen on the right will appear Select the driver ...
Страница 96: ...96 4 Supported Software 5 Click Finish to exit installaion 4 Click Install to begin installation ...
Страница 99: ...9 9 4 Supported Software 3 Click Finish Reboot the system for DirectX to take effect ...
Страница 106: ...106 4 Supported Software 3 After completing installa tion click Finish to exit setup ...
Страница 108: ...108 4 Supported Software 4 After completing installa tion click Finish to exit setup ...
Страница 116: ...116 4 Supported Software 5 Click Finish to exit installaion 4 Click Install to begin installation ...
Страница 121: ...121 A Watchdog Timer mSuperio_Exit_Config ret W83627Hx_WDT endP end start ...


