6
7
A/V INPUT
1. Connect the A/V jacks on the unit to audio&video source, for example, DVD player with
an RCA cable.
2. Press the POWER button to turn the unit on.
3. Press the SOURCE button repeatedly to switch to AV mode.
4. Use the native controls on the connected audio&video device to begin playing music
through the connected the unit.
5. It may input audio source through the Audio Right&Left Jacks of the A/V Jacks to the unit
following above instructions.
COMPOSITE VIDEO OUTPUT
1. Connect a RCA cable to the Composite Video Output and a television.
2. Power on the TV set and the unit.
3. Adjust the connected television to the proper input setting.
4. Press VIDEO button repeatedly to switch between Composite and Component video
output modes.
5. Video from a docked iPhone/iPod or the connected DVD or the like can now be played
through the unit to the connected television.
Note: Make sure the docked iPhone or iPod’s TV out option is turned on.
COMPONENT VIDEO OUTPUT
The Component Video Output jacks only works at iPod mode. It cannot output video from
the A/V input.
1. Connect a component video cable to the Component Video Output jacks on the unit and a
television.
2. Adjust the connected television to the proper input setting and make sure the docked
iPhone or iPod’s TV out option is turned on.
3. Press VIDEO button on the remote to switch to Component video output modes.
4. Video from a docked iPhone/iPod can now be played through the bar speaker to the
connected television.
SUBWOOFER OUTPUT
The unit comes with a built-in subwoofer and allows you to output the subwoofer signal to an
external amplifier (such as a 2.1CH amplifier or 5.1/6.1/7.1CH amplifier or a 2.1CH micro
system) via the SUB OUTPUT jack on the rear of the unit. Follow the below steps to connect
the external amplifier:
1. Use a RCA cable to connect the external amplifier with a SUB INPUT jack to the Sub
Output jack on the unit.
2. Power on the unit and the external amplifier.
3. When audio is played through any source, the sound will be produced from the unit and
the connected external amplifier synchronously for enhancing the sound effect.
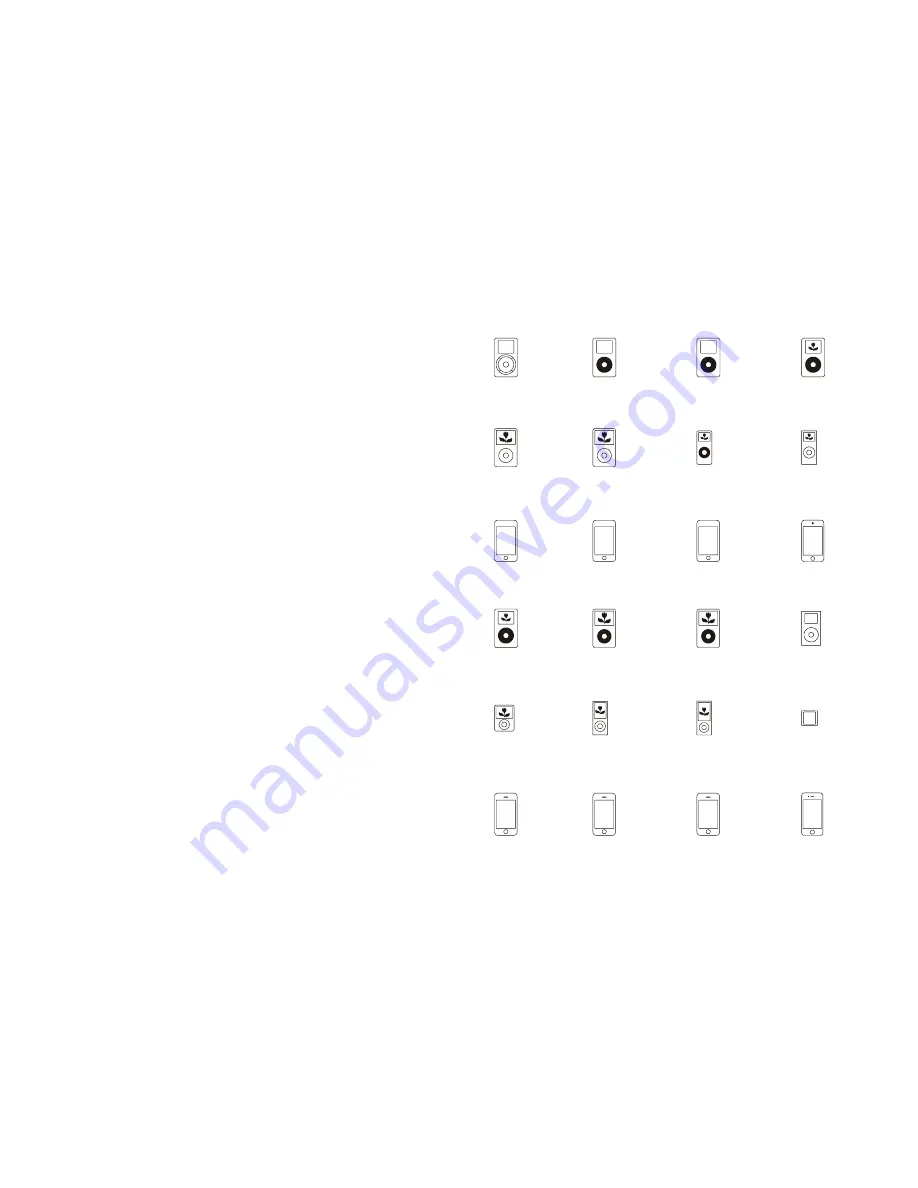
COMPATIBLE WITH THE FOLLOWING iPod® and iPhone®
Made for iPod
1st + 2nd generation
5GB 10GB 20GB
Made for iPod
4th generation
20GB
Made for iPod
4th generation
40GB
Made for iPod
4th generation
(color display)
20GB 30GB
Made for iPod classic
80GB 160GB (2007)
Made for iPod classic
160GB (2009)
Made for iPod nano
1st generation
1GB 2GB 4GB
Made for iPod nano
2nd generation
(aluminum)
2GB 4GB 8GB
Made for iPod touch
1st generation
8GB 16GB 32GB
Made for iPod touch
2nd generation
8GB 16GB 32GB
Made for iPod touch
3rd generation
32GB 64GB
Made for iPod touch
4th generation
8GB 32GB 64GB
Made for iPod
4th generation
(color display)
40GB 60GB
Made for iPod
5th generation
(video)
30GB
Made for iPod
5th generation
(video)
60GB 80GB
Made for iPod mini
4GB 6GB
Made for iPod nano
3rd generation
(video)
4GB 8GB
Made for iPod nano
4th generation
(video)
8GB 16GB
Made for iPod nano
5th generation
(video camera)
8GB 16GB
Made for iPod nano
6th generation
8GB 16GB
Made for iPhone
4GB 8GB 16GB
Made for iPhone 3G
8GB 16GB
Made for iPhone 3GS
8GB 16GB 32GB
Made for iPhone 4
16GB 32GB


