


Operation Instructions
1.
Charging
Connect the camera to the car charger via the USB port.
2.
Turn on/off camera
If the camera is connected to the car charger, the camera will automatically turn on when the car is
started.
If the camera is not connected to the car charger, turn on the camera via the following way.
Long press the Power button to turn on the camera.
Long press the Power button again to turn off the camera.
3.
Video recording
For first time use, format your SD card through the format menu option if the video recording is
not possible.
After formatting your SD card, press the OK button to start video recording. Press the OK button
again to stop video recording.
4.
Photo taking
Switch to photo mode using the Mode button, then press the OK button to take a photo.
5.
Playback
Switch to Playback mode using the Mode button, then you can playback the video and photo
recorded.
6.
Menu setup
In video mode, press the Menu button to enter the video menu page. To go to the next menu page,
press the Menu button again.
In photo mode, press the Menu button to enter the photo menu page. To go to the next menu page,
press the Menu button again.
7.
WiFi APP connection
The App allows you to wirelessly control your camera with a smart phone or tablet
Download to your smartphone or tablet the “DriverLook ” app from Google Play Store or
APP Store.
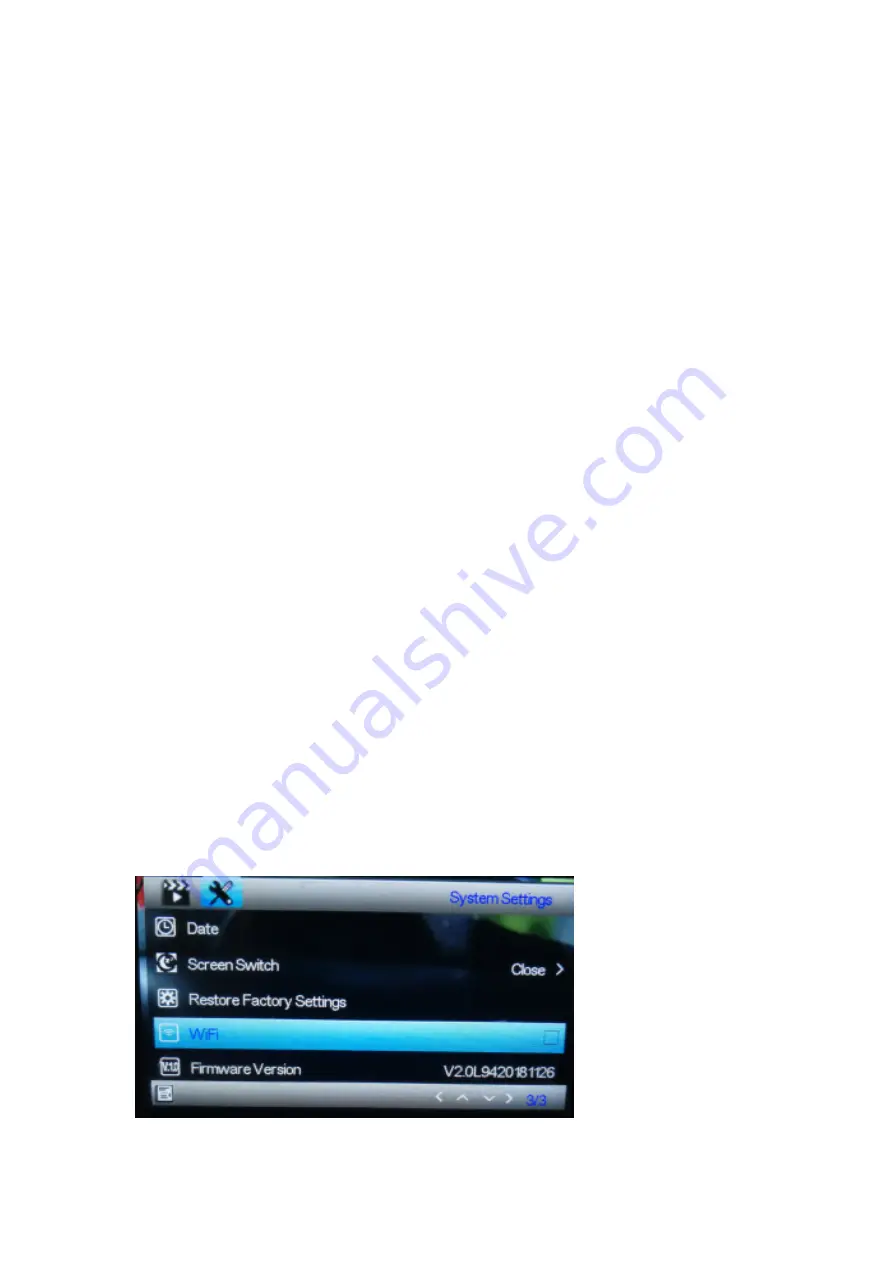
Then select the WiFi menu option in the camera menu, and press the OK button to confirm.
The camera’s WiFi is turned on, and the WiFi icon is displayed on the camera’s screen in
video mode.
Then on your smartphone, turn on WiFi to search and select the camera name "CCG-
4010.......", and input the password "12345678" when prompted for connection.
Then launch the “DriverLook” app to control the camera via your smartphone or tablet.
To exit Wi-Fi mode, select the WiFi menu option in the camera menu, then press the OK
button to turn off WiFi.
8.
Locking function
2 ENG
Содержание CCG-4010
Страница 6: ...6 ENG ...


