


Remote control unit
A
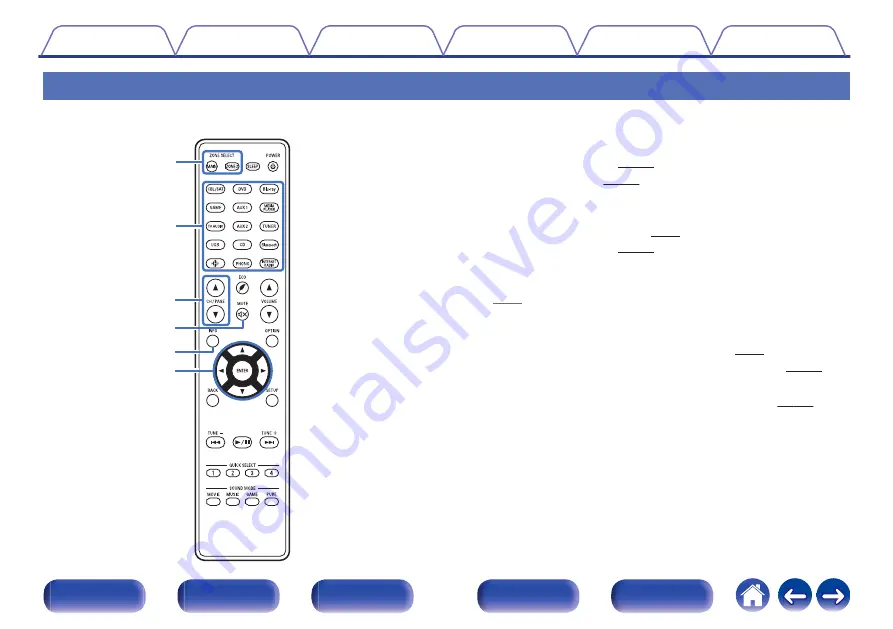
ZONE SELECT buttons
These switch the zone (MAIN ZONE, ZONE2) that is operated through
the remote control unit.
0
0
B
Input source select buttons
These selects the input source.
0
“Selecting the input source” (
0
C
Channel/page search buttons (CH/PAGE
df
)
These select radio stations registered to presets or switch pages.
D
MUTE button (
:
)
This mutes the output audio.
0
“Turning off the sound temporarily (Muting)” (
0
“Turning off the sound temporarily (Muting) (ZONE2)” (
E
Information button (INFO)
This displays the status information on the TV screen. (
F
Cursor buttons (
uio
p
)
These select items.
e
t
r
y
q
w
24


