INSTRUCTION MANUAL
TM
PART NO. 1349945
©
Delta International Machinery Corp. 1996
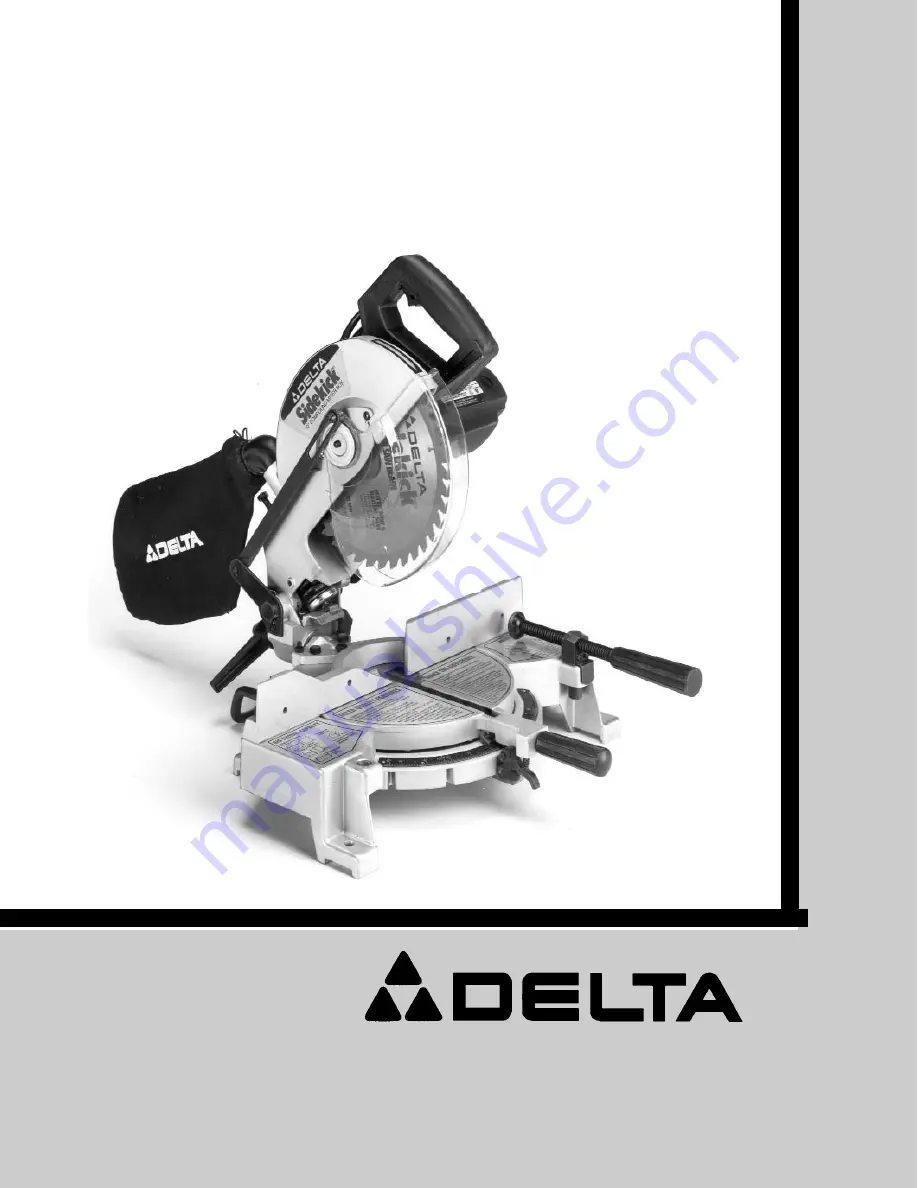
Sidekick
10" Compound Miter Box
(Model 36-210
)
beginning with serial no. K9611
DATED 4-1-96
Страница 1: ...INSTRUCTION MANUAL TM PART NO 1349945 Delta International Machinery Corp 1996 Sidekick 10 Compound Miter Box Model 36 210 beginning with serial no K9611 DATED 4 1 96...
Страница 2: ...9 Brush Inspection And Replacement 20 Printed in U S A Delta Building Trades and Home Shop MachineryTwo Year Limited Warranty Delta will repair or replace at its expense and at its option any Delta ma...
Страница 3: ...starter keys 10 DON T FORCE TOOL It will do the job better and be safer at the rate for which it was designed 11 USE RIGHT TOOL Don t force tool or attachment to do a job for which it was not designe...
Страница 4: ...MAKE SURE blade is not contacting workpiece before switch is turned on 20 NEVER lock the switch in the ON position 21 IMPORTANT After completing cut release power switch and wait for coasting blade to...
Страница 5: ...the cuttinghead A locked in the down position and the table control arm B rotated to the 45 degree right miter position Fig 4 ASSEMBLY INSTRUCTIONS WARNING FOR YOUR OWN SAFETY DO NOT CONNECT THE MITER...
Страница 6: ...tom of blade guard as shown ASSEMBLING DUST BAG 1 Assemble dust bag B Fig 7 to free end of dust spout A as shown ASSEMBLING WORK CLAMP 1 The work clamp A Fig 8 can be used on either the right or left...
Страница 7: ...gth If in doubt use the next heavier gage The smaller the gage number the heavier the cord FASTENING MACHINE TO SUPPORTING SURFACE Before operating your compound miter box make sure it is firmly mount...
Страница 8: ...ctrician Improper connection of the equipment grounding conductor can result in risk of electric shock The con ductor with insulation having an outer surface that is green with or without yellow strip...
Страница 9: ...left Simply loosen lock handle A Fig 15 pull out plunger trigger B and move thecontrol arm to the desired angle THEN TIGHT EN LOCK HANDLE A The miter box is equipped with positive stops at the 0 22 1...
Страница 10: ...EL CUTTING The cuttinghead of your compound miter box can be tilted to cut any bevel angle from a 90 degree straight cut off to a 45 degree left bevel angle by loosening bevel lock handle A Fig 17 til...
Страница 11: ...transporting the saw REAR SUPPORT CARRYING HANDLE A rear support bar A Fig 19 is provided to prevent the miter box from tipping to the rear when the cuttinghead is returned to the up position after a...
Страница 12: ...0 degrees as shown in Fig 22 4 If an adjustment is necessary loosen the lock handle A Fig 23 one turn Then loosen locknut B and turn eccentric nut C right or left as necessary and tighten lock nut B 5...
Страница 13: ...ustment is necessary loosen locknut E Fig 28 and turn screw F until screw F contacts cast ing G when blade is 45 degrees to the table Then tight en locknut E 8 These positive stops enable you to rapid...
Страница 14: ...by hand to make certain the teeth do not contact any metal surfaces and adjust if necessary CHANGING HANDLE POSITION The cuttinghead handle A Figs 29 and 30 can be repositioned for operator convenienc...
Страница 15: ...1 Before cutting make certain the cutting arm and table are at their cor rect settings and firmly locked in place 2 Before cutting determine that the workpiece is the right size for the saw 3 Place t...
Страница 16: ...provided in the fence to attach an auxiliary fence A Fig 34 This auxiliary fence is constructed of straight wood approximately 1 2 inch thick by 3 inches high by 20 inches long NOTE The auxiliary fenc...
Страница 17: ...r box When cutting aluminum extru sions or other sections that can be cut with a saw blade and are within the capacity of the machine position the material so the blade is cutting through the smallest...
Страница 18: ...e and make the cut as shown in Fig 42 NOTE The piece of crown moulding used for the outside corner will always be on the right hand side of the blade as shown at A Fig 42 The piece of crown moulding u...
Страница 19: ...construct work supports Fig 46 illustrates the miter box mounted to two standard 2 x 4 s A Fasten the grooves in the four mounting legs two of which are shown at B to the 2 x 4 s using four screws thr...
Страница 20: ...reinstall them in the same position as removed 3 Rotate arbor cover B Fig 48 and lower guard G to the rear exposing arbor screw C as shown 4 Remove arbor screw C Fig 48 by turning screw clockwise with...