RetroSign GRX User Manual / December 2017
73
DELTA
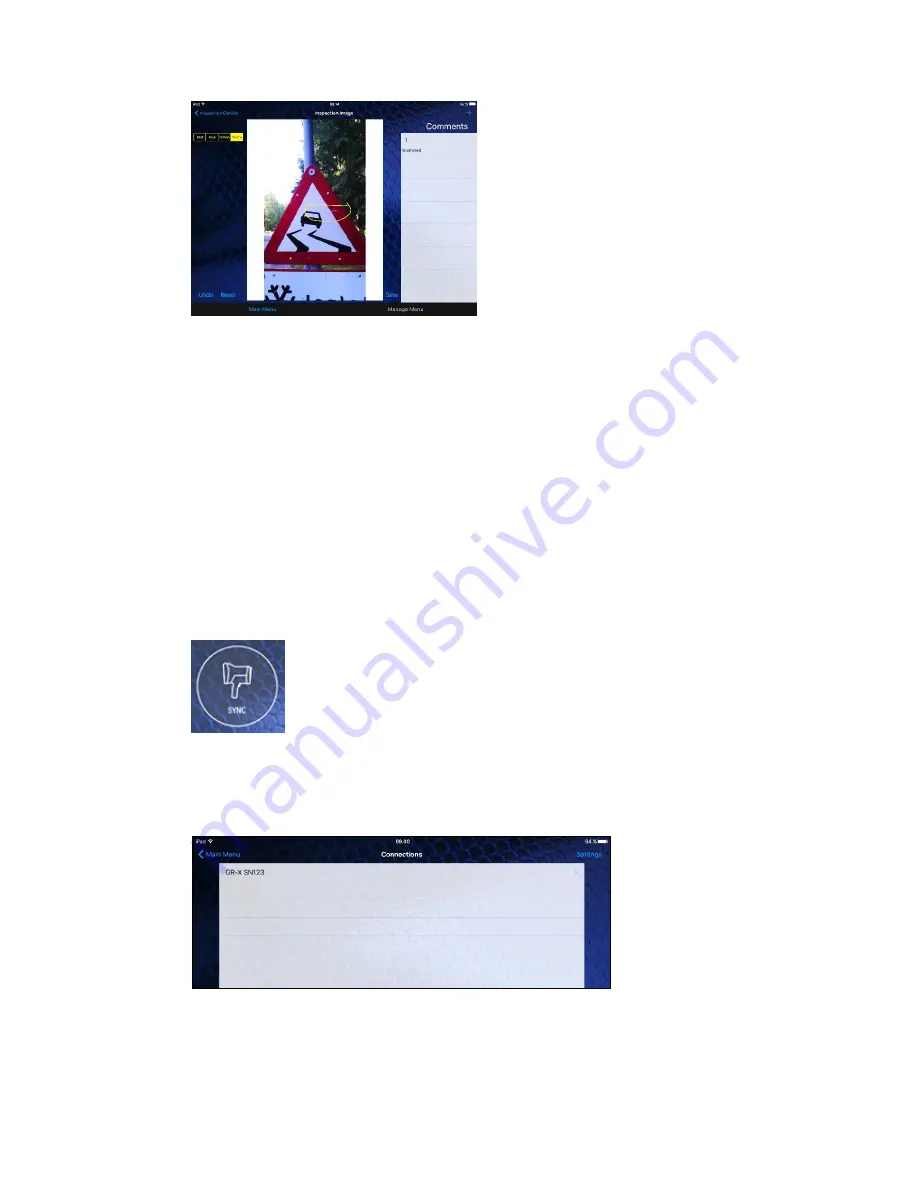
Press ‘save’ to save your comments.
4.
MUTCD database picture (USA only):
image from the MUTCD database of the relevant
type of sign.
5.
Field information:
list of information for each of the fields linked to the inspection. Fields
marked with a ‘>’ symbol indicate that the fields can be edited. To add extra fields to the list,
select the +sign.
6.
Pass/Fail to comply:
indicates if the inspection pass or fail to comply.
7.
Measurement data:
average of the measurement data for legend and background
When you have finished, press Main Menu at the bottom of the screen to return to the main menu.
2. Sync
•
To synchronise Inspections, Series, Templates and Users
with the GRX, select ‘SYNC’ in the
Main Menu:
Note:
Remember to activate WiFi connection under ‘Settings’ prior to synchronizing the data.
•
Choose (tap) the GRX instrument on the list (see example below), and the GRX starts to
synchronise data between the GRX and the App.
3. Graphs
•
To see a graphical presentation of the data, select ‘GRAPHS’ in the Main Menu:
Содержание RetroSign GRX-1
Страница 4: ...RetroSign GRX User Manual December 2017 4 DELTA...
Страница 5: ...RetroSign GRX User Manual December 2017 5 DELTA...
Страница 6: ...RetroSign GRX User Manual December 2017 6 DELTA...
Страница 44: ...RetroSign GRX User Manual December 2017 44 DELTA Inspection page 1...
Страница 45: ...RetroSign GRX User Manual December 2017 45 DELTA Inspection page 2...
Страница 46: ...RetroSign GRX User Manual December 2017 46 DELTA Inspection page 3...
Страница 51: ...RetroSign GRX User Manual December 2017 51 DELTA Vertical view Google Earth file...
Страница 79: ...RetroSign GRX User Manual December 2017 79 DELTA The data is then exported to an Excel spreadsheet...


