RS-422/485 Multiport Serial PCI Card
11
5. Installing
Drivers
The RS-422/485 PCI card is plug-and-play so the driver
installation is quite straightforward. Please “Browse” to the
correct path on the Driver CD when Windows asking for the
driver’s location.
5.1 Windows 98, ME, 2000, XP, 2003
When Windows start-up, OS will display Found New Hardware
Wizard. Click
〝
Next
〞
to continue.
1.
Insert Driver CD into the CD/DVD-ROM drive
(
for example
D
:)
, select
〝
Search for a suitable driver for my device
(Recommended)
〞
and click
〝
Next
〞
.
2. Select
〝
Specify a location
〞
then click
〝
Next
〞
to continue,
click
〝
Browse
〞
to specify the driver’s location.
D:\IO\OXFORD\
3. Click
〝
Next
〞
to continue, and click
〝
Finish
〞
to complete
the installation.
5.2 Windows
NT
4.0
Since the Windows NT is not plug and play, you need to double
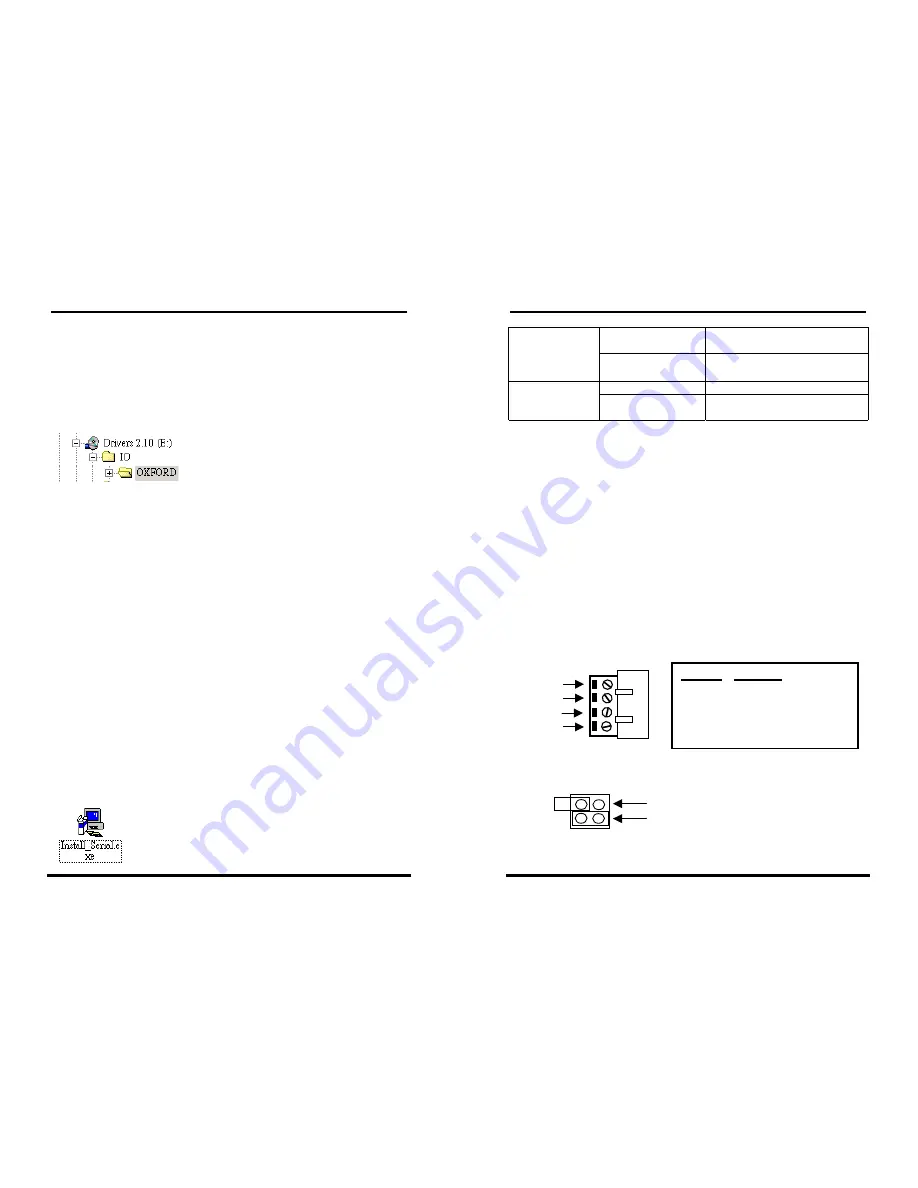
click the following icon in the D:\IO\OXFORD\WinNT4 folder or
run the
Install_serial.exe
in the same folder.
RS-422/485 Multiport Serial PCI Card
8
ECHO Transmitting
data
will
be
echoed
back
ECHO/NO_ECHO
NO_ECHO
(Default)
No echo data
LOOP
RTS will be connected to CTS
LOOP/NO_LOOP
NO_LOOP
(Default)
RTS and CTS operate normally
Please note that if the mode were set at “422” mode, the
other settings (AUTO, ECHO and LOOP settings) will take no
effect.
The Echo mode is useful for the application program to
detect if the RS-485 bus were in a collision. If the echoed
data was not equal to the transmitted data, then the bus
was in a collision.
If you want to set the RS-485 transceiver to “AUTO” mode,
you have to go to Windows Device Manager to turn on
this option as well. You only need to do it once and the
Windows will keep the settings afterward. Please note that
S1 and S2 have its own setting. You need to go to each
port to turn on both settings.
3.2.3 S1,S2 Terminal Block Connectors Pin Assignments
3.2.4 S1,S2
Terminator
Settings
4 Pins
Signal
1 TXD- (DATA-)
2 TXD+ (DATA+)
3 RXD+
4 RXD-
TXD Terminator
RXD Terminator
1
2
3
4


