


Steps
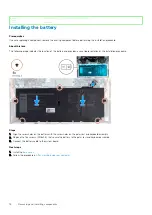
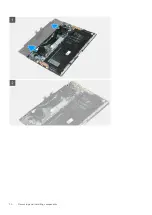
1. Connect the battery cable to the system board, if applicable.
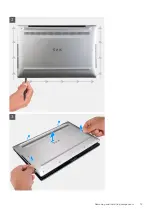
2. Align the screw holes on the base cover with the screw holes on the palm-rest and keyboard assembly, and then snap the base cover
into place.
3. Replace the eight screws (M2x3, Torx 5) that secure the base cover to the palm-rest and keyboard assembly.
Next steps
1. Follow the procedure in
After working inside your computer
.
Identifier
GUID-F65273B2-AF5E-4C69-B895-7CEF2148F79D
Version
1
Status
Released
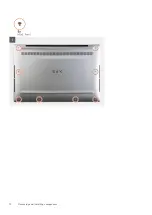
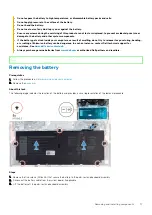
Battery
Identifier
GUID-22C7DCB3-8D29-41D7-8D51-D90ABC7C2D63
Version
10
Status
Released
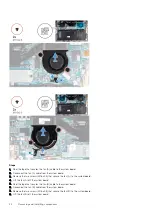
Lithium-ion battery precautions
CAUTION:
• Exercise caution when handling Lithium-ion batteries.
• Discharge the battery as much as possible before removing it from the system. This can be done by disconnecting
the AC adapter from the system to allow the battery to drain.
• Do not crush, drop, mutilate, or penetrate the battery with foreign objects.
16
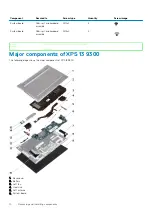
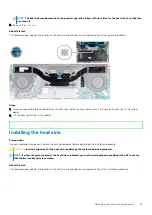
Removing and installing components
Содержание XPS 13 9300
Страница 1: ...XPS 13 9300 Service Manual Regulatory Model P117G Regulatory Type P117G001 ...
Страница 12: ...12 Removing and installing components ...
Страница 13: ...Removing and installing components 13 ...
Страница 15: ...Removing and installing components 15 ...
Страница 27: ...Removing and installing components 27 ...
Страница 30: ...30 Removing and installing components ...
Страница 33: ...Removing and installing components 33 ...
Страница 53: ...3 The Bios flash menu will open then click the Flash from file 4 Select external USB device System setup 53 ...