


6.
Check all cable connections, and fold cables out of the way to provide airflow for the fan and cooling vents.
7.
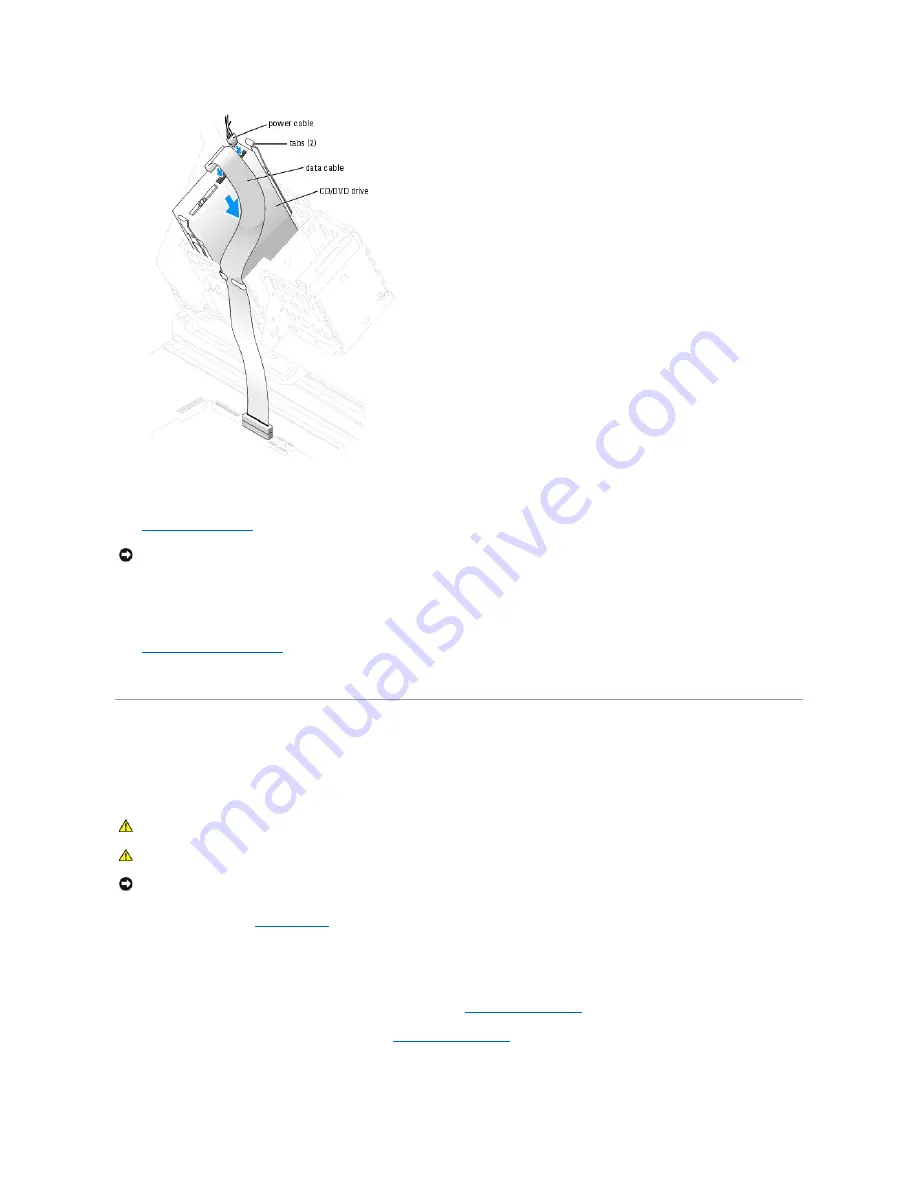
Close the computer cover
.
8.
Connect your computer and devices to electrical outlets, and turn them on.
See the documentation that came with the drive for instructions on installing any software required for drive operation.
9.
Enter the system setup program
and select the appropriate
Drive
option.
10.
Verify that your computer works correctly by running the Dell Diagnostics.
Processor Airflow Shroud
Removing the Processor Airflow Shroud
1.
Follow the procedures in "
Before You Begin
."
2.
Press the shroud release tabs towards one another.
3.
Lift the shroud up to disengage the anchors.
4.
Disconnect the cooling fan power cable from the FANREAR connector (see "
System Board Components
") on the system board.
5.
Disconnect the CPU fan from the FANCPU connector (see "
System Board Components
") on the system board.
NOTICE:
To connect a network cable, first plug the cable into the network port or device and then plug it into your computer.
CAUTION:
Before you perform this procedure, follow the safety instructions in the
Product Information Guide
.
CAUTION:
To prevent static damage to components inside your computer, discharge static electricity from your body before you touch any of
your computer's electronic components. You can do so by touching an unpainted metal surface on the computer chassis.
NOTICE:
To avoid damaging the fan power cables, do not slide the shroud too quickly.


