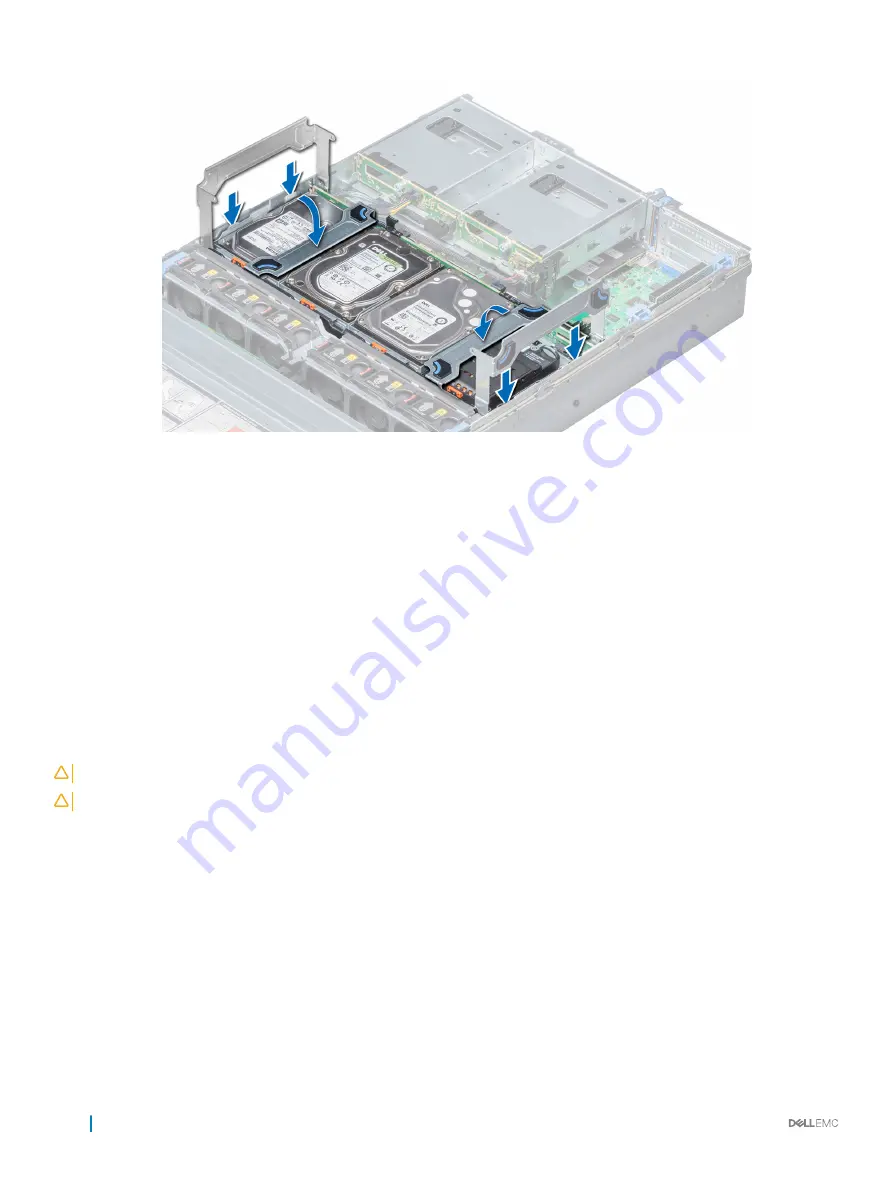
Figure 40. Installing the mid drive tray
Next steps
1
Connect all the cables to the backplane.
2
Follow the procedure listed in
After working inside your system
.
Removing drive blank from drive carrier
The procedure to remove drive blank from drive carrier is identical to removal of drive from drive carrier. The procedure for removing 2.5
inch and 3.5 inch blanks from drive carriers is identical.
Prerequisites
1
Follow the safety guidelines listed in
2
Follow the procedure listed in
Before working inside your system
.
CAUTION:
To maintain proper system cooling, all empty drive slots must have drive blanks installed.
CAUTION:
Mixing drive blanks from previous generations of PowerEdge servers is not supported.
Steps
1
Push out at the edges of the drive carrier to disengage the tabs on the drive carrier from the slots on the drive blank.
2
Lift the drive carrier away from the drive blank.
Next step
Install drive blank into drive carrier.
Related link
Installing drive blank into the drive carrier
90
Installing and removing system components
Содержание PowerEdge R740xd
Страница 9: ...Figure 1 Supported configurations PowerEdge R740xd system overview 9 ...
Страница 151: ...Figure 103 Installing GPU 2 and 3 Installing and removing system components 151 ...
Страница 208: ...Related link Removing the system cover Installing the system cover 208 Jumpers and connectors ...


