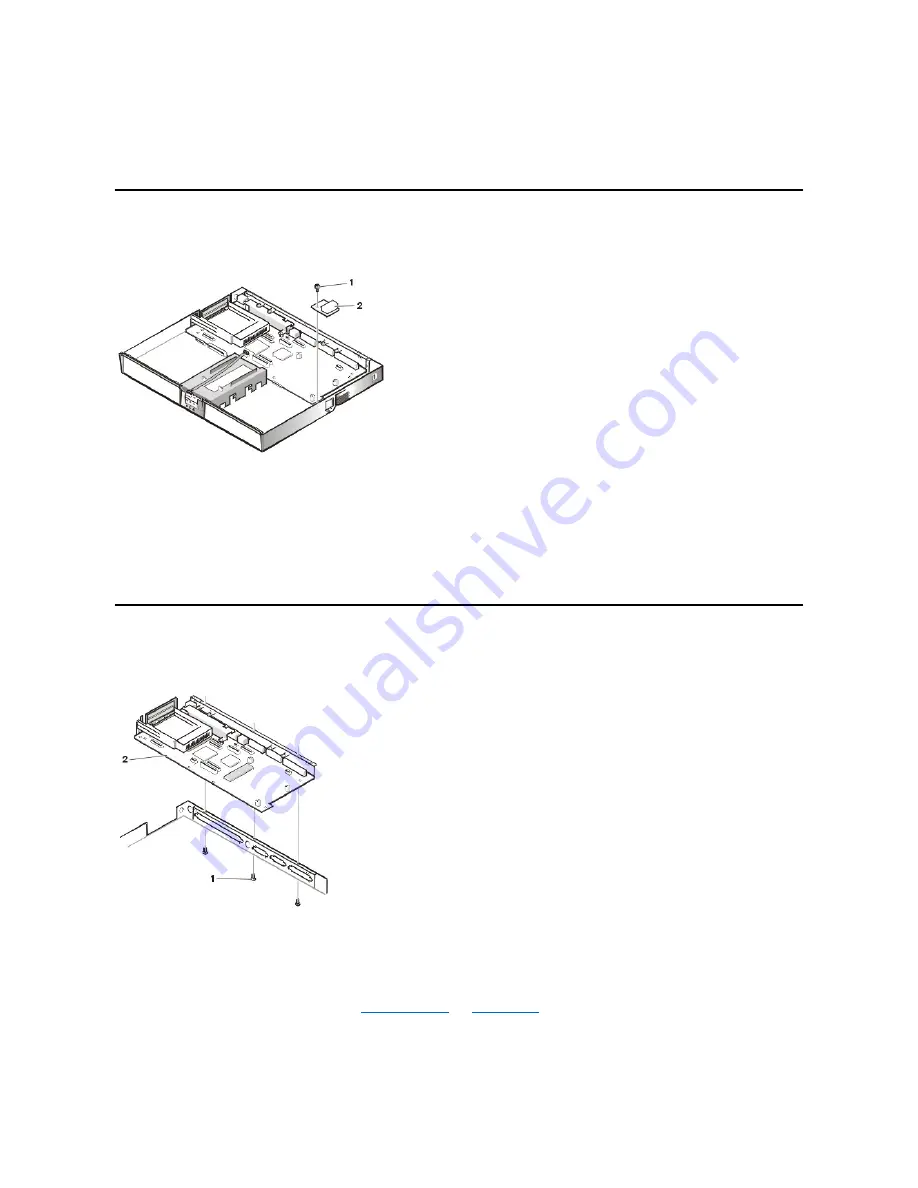
4.
Remove the 10-mm screw and 20-mm screw from the left hinge saddle and remove the saddle.
5.
Disconnect the LED cable from connector J6 on the system board.
6.
Remove the 6-mm screw from the plastic frame, remove any tape, and remove the plastic frame.
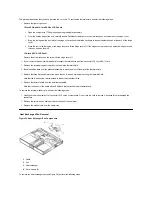
RJ-11 Card Removal
Figure 34. RJ-11 Card Components
1
4-mm screw
2
RJ-11 card
To remove the RJ-11 card (see Figure 34), perform the following these steps:
1.
Remove the 4-mm screw securing the RJ-11 card to the system board.
2.
Lift the card off the system board.
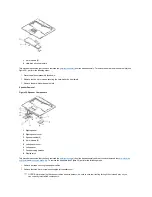
System Board Removal
Figure 35. System Board Components
This procedure assumes that you have removed the
. To remove the system board (see Figure 35), perform
the following steps:
1.
Remove the three 4-mm screws from the bottom of the computer.
2.
Remove the system board from the bottom case.
2
RJ-11 card
1
4-mm screws (3)
2
System board
Содержание Inspiron 7500
Страница 6: ...Back to Contents Page AC Adapter Dell Inspiron 7500 ...
Страница 7: ...Back to Contents Page Audio Jacks Dell Inspiron 7500 ...
Страница 10: ...Back to Contents Page Component Locations Back View Dell Inspiron 7500 ...
Страница 12: ...Back to Contents Page Battery Charge Gauge Dell Inspiron 7500 ...
Страница 13: ...Back to Contents Page Removing and Installing a Battery Dell Inspiron 7500 ...
Страница 26: ...Back to Contents Page ...
Страница 38: ...Exploded View of 13 3 Inch Display Assembly Dell Inspiron 7500 ...
Страница 39: ...Exploded View of 14 1 Inch Display Assembly Dell Inspiron 7500 ...
Страница 40: ...Back to Contents Page Exploded View of 15 Inch SXGA Display Assembly Dell Inspiron 7500 New artwork pending ...
Страница 42: ...Back to Contents Page Exploded View of 15 4 Inch SXGA Display Assembly Dell Inspiron 7500 New artwork pending ...
Страница 44: ...Back to Contents Page Exploded View of Computer Dell Inspiron 7500 ...
Страница 45: ...Back to Contents Page Exploded View of Palmrest Assembly Dell Inspiron 7500 Back to Contents Page ...
Страница 47: ...Back to Contents Page Component Locations Front View Dell Inspiron 7500 New artwork pending ...
Страница 54: ...Back to Contents Page I O Connectors Dell Inspiron 7500 ...
Страница 60: ...Back to Contents Page 30 Cone of Infrared Light Dell Inspiron 7500 ...
Страница 64: ...Back to Contents Page Embedded Numeric Keypad Dell Inspiron 7500 ...
Страница 88: ...system You can also double click the PC Card icon on the Windows 98 desktop Back to Contents Page ...
Страница 89: ...Back to Contents Page PC Card Slots Dell Inspiron 7500 ...
Страница 103: ...Back to Contents Page Removing the Memory Module Dell Inspiron 7500 ...
Страница 104: ...Back to Contents Page Removing the Memory Module Cover Dell Inspiron 7500 ...
Страница 136: ...Back to Contents Page Removing the Hard Disk Drive Dell Inspiron 7500 ...
Страница 138: ...Back to Contents Page Removing Devices From the Media Bay Dell Inspiron 7500 ...
Страница 140: ...Back to Contents Page Security Cable Slot Dell Inspiron 7500 ...
Страница 159: ...Back to Contents Page Touch Pad Dell Inspiron 7500 ...
Страница 162: ...8 Unlatch the display assembly and lift the assembly off the computer base Back to Contents Page ...


