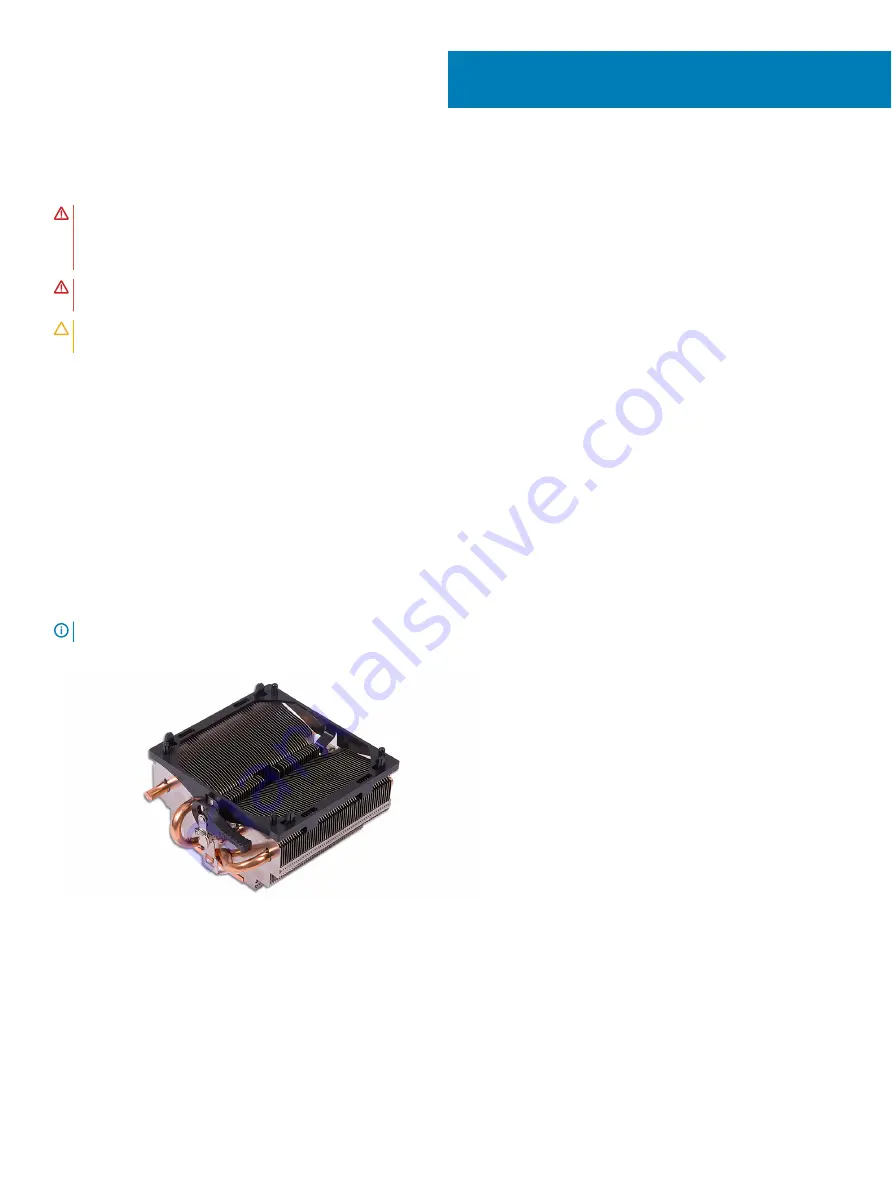
Removing the heat sink
WARNING:
Before working inside your computer, read the safety information that shipped with your computer and follow the
steps in
Before working inside your computer
. After working inside your computer, follow the instructions in
. For more safety best practices, see the Regulatory Compliance home page at
WARNING:
The heat sink may become hot during normal operation. Allow sufficient time for the heat sink to cool before you
touch it.
CAUTION:
For maximum cooling of the processor, do not touch the heat transfer areas on the heat sink. The oils in your skin can
reduce the heat transfer capability of the thermal grease.
Topics:
•
•
Prerequisites
1
Remove the
2
Remove the
Procedure
NOTE:
Applicable only for computers with processor fan.
After performing all the above steps, you are left with the heat sink.
43
Removing the heat sink
75
Содержание Inspiron 5676
Страница 23: ...Removing the memory module 23 ...
Страница 26: ...26 Removing the solid state drive ...
Страница 30: ...30 Removing the 3 5 inch hard drive ...
Страница 32: ...Post requisites Replace the right side cover 32 Replacing the 3 5 inch hard drive ...
Страница 34: ...34 Removing the 2 5 inch hard drive ...
Страница 36: ...Post requisites Replace the right side cover 36 Replacing the 2 5 inch hard drive ...
Страница 46: ...46 Removing the wireless card ...
Страница 54: ...Post requisites Replace the right side cover 54 Replacing the power supply unit ...
Страница 58: ...58 Removing the left side cover ...
Страница 64: ...64 Removing the processor cooling assembly ...
Страница 72: ...72 Removing the processor ...
Страница 74: ...Post requisites 1 Replace the processor fan 2 Replace the right side cover 74 Replacing the processor ...
Страница 80: ...80 Removing the front I O panel ...
Страница 84: ...84 Removing the front panel light board ...
Страница 90: ...6 Remove the slim optical drive bezel from the optical drive 90 Removing the slim optical drive ...
Страница 94: ...94 Removing the power button board ...
Страница 98: ...98 Removing the front bezel ...
Страница 100: ...8 Replace the right side cover 100 Replacing the front bezel ...
Страница 104: ...4 Replace the power supply unit 5 Replace the right side cover 104 Replacing the rear cover ...


